v 13.0.11

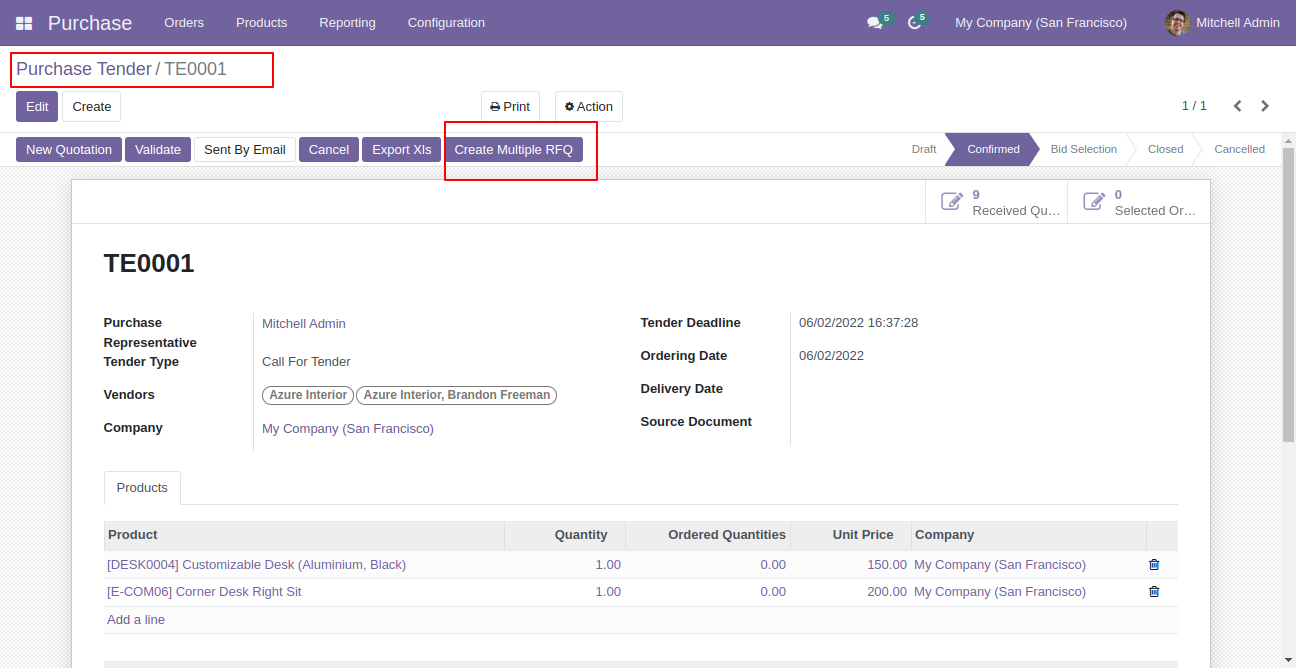
Press button "Create Multiple RFQ".
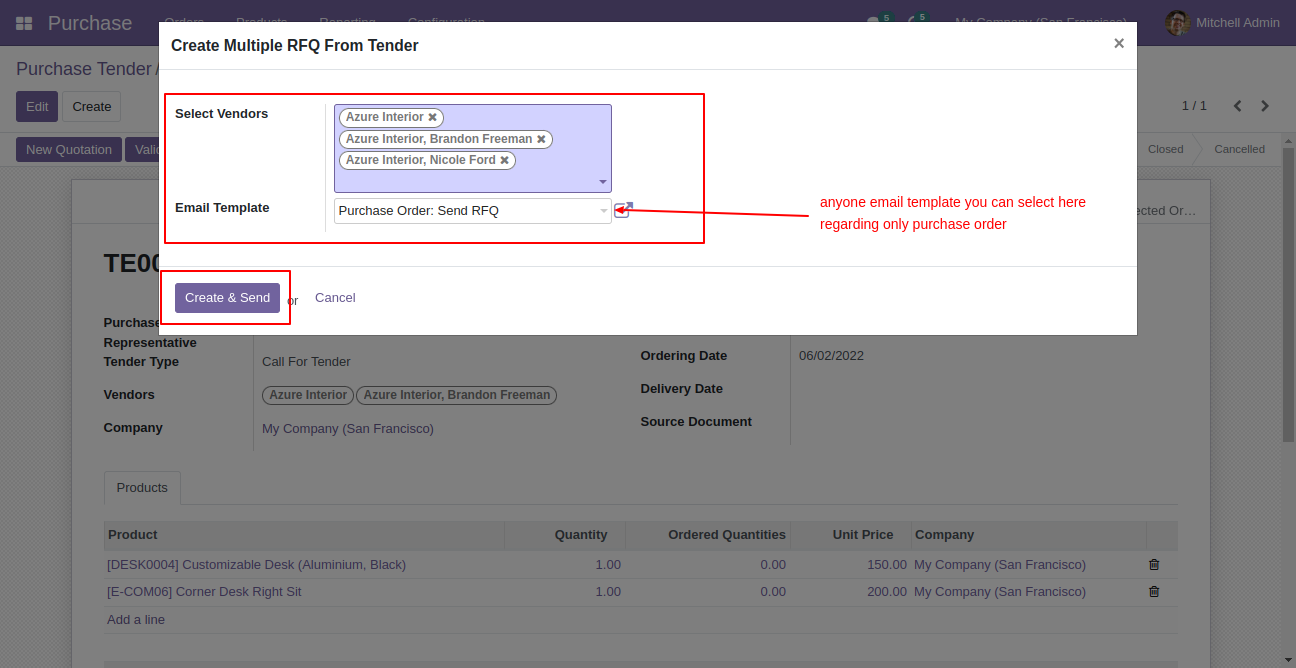
After that this wizard opens, choose vendors & email templates.
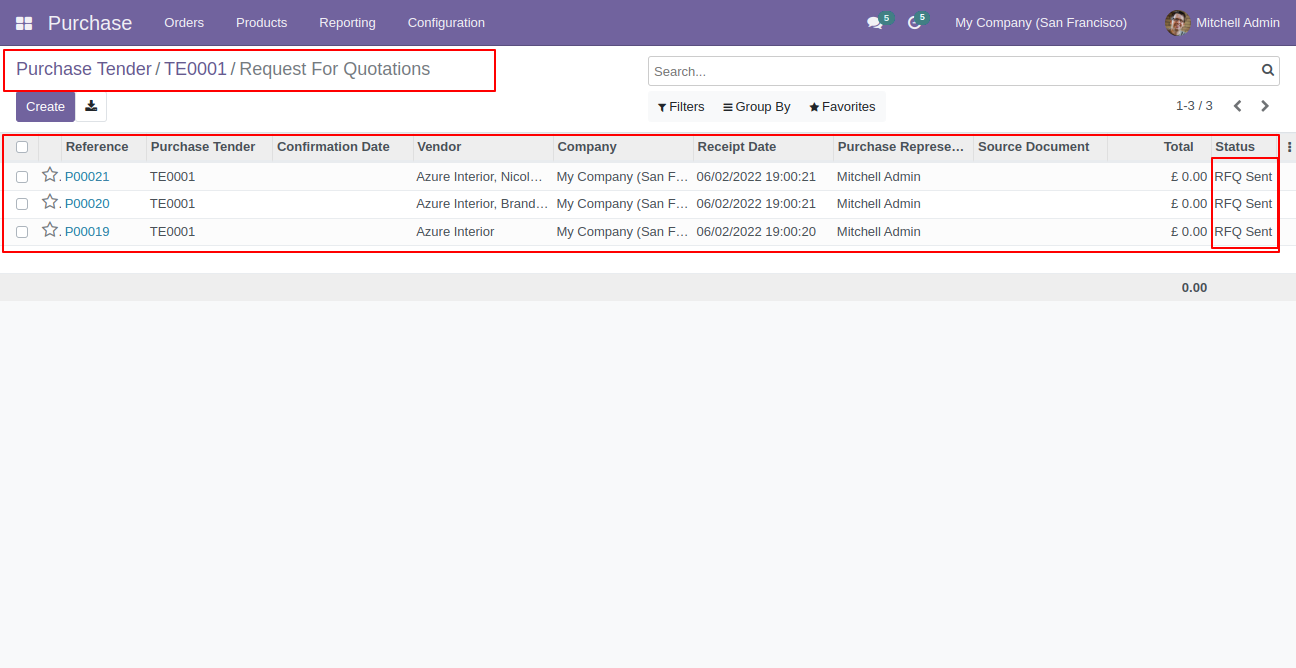
Multiple RFQs created.
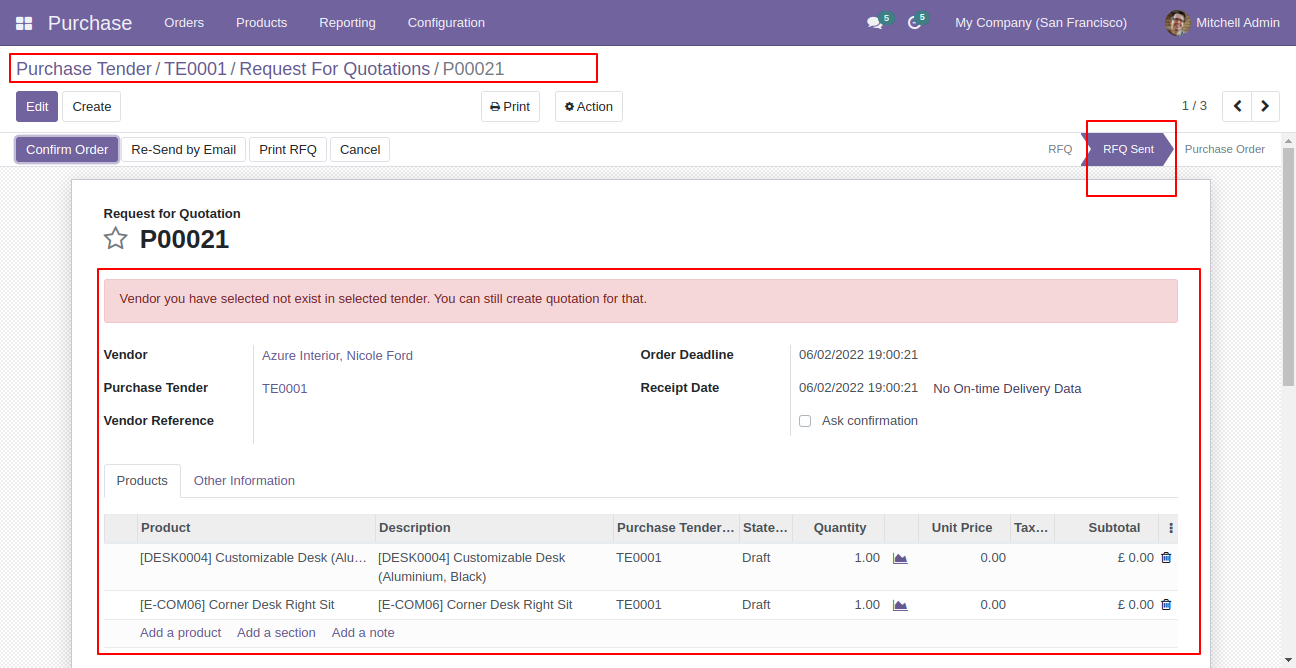
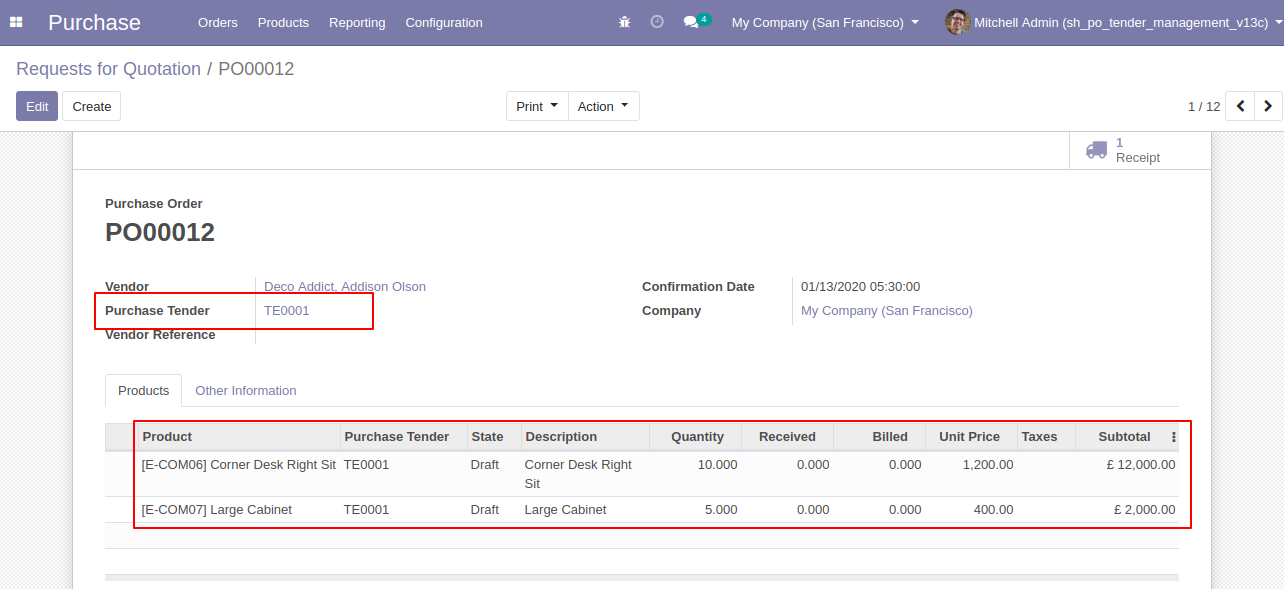
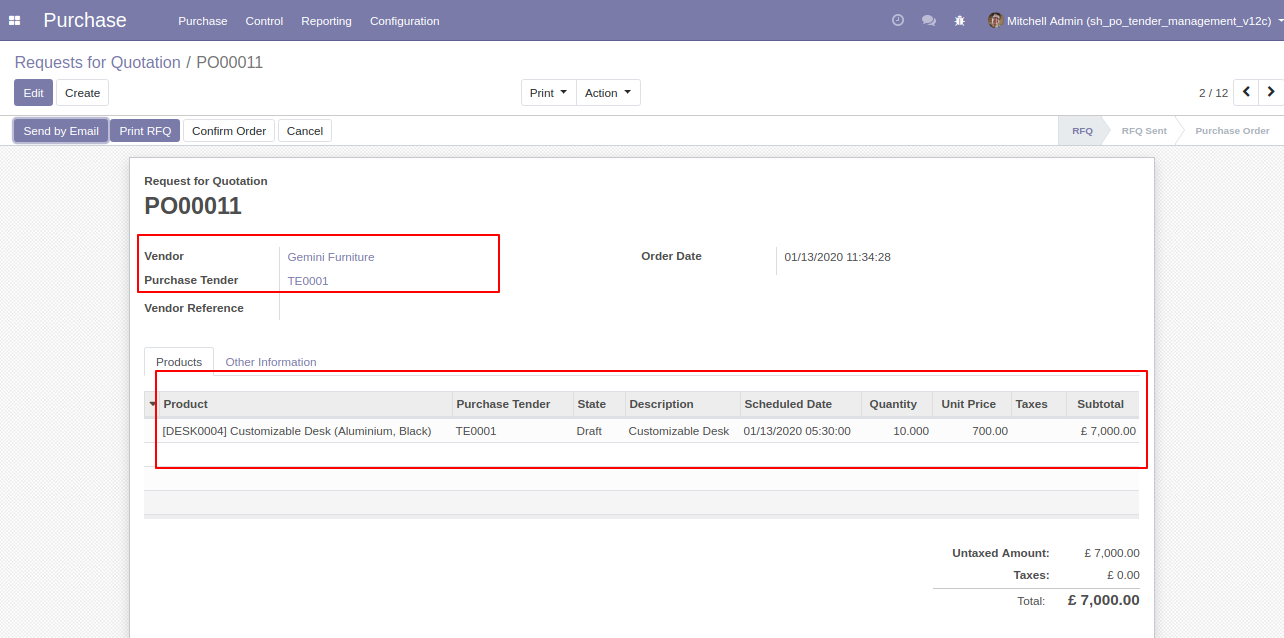
Created RFQ form view.
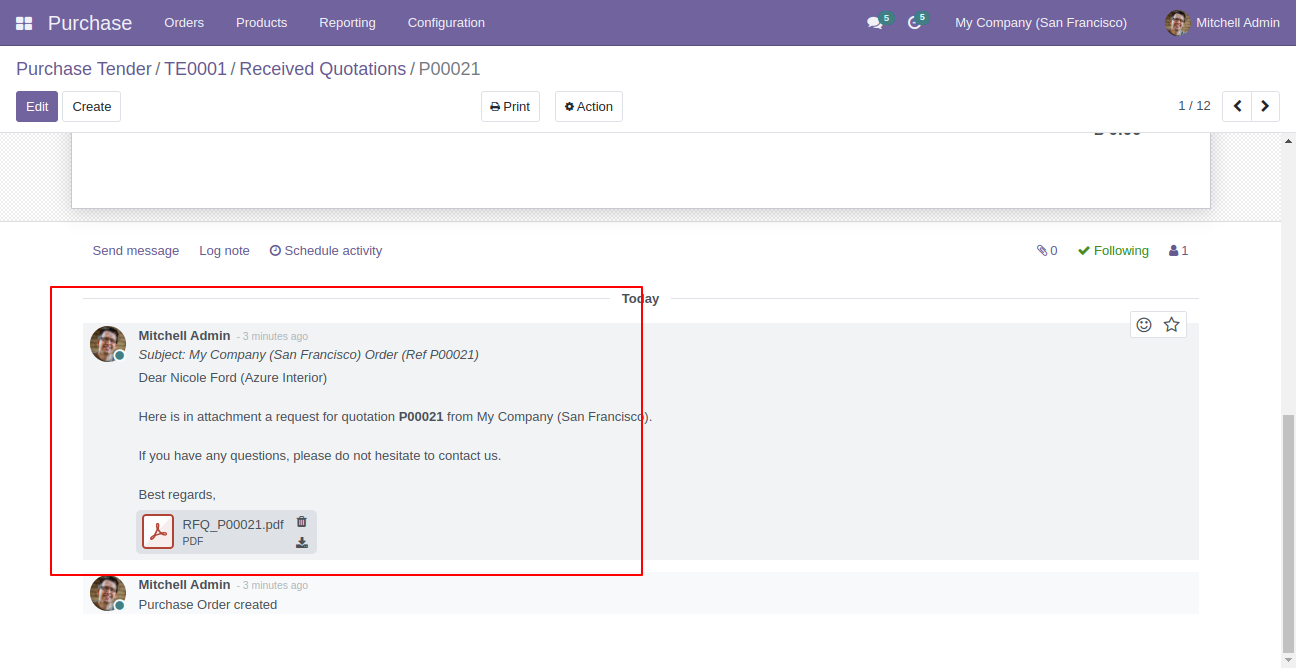
RFQ with chatter.
v 13.0.10
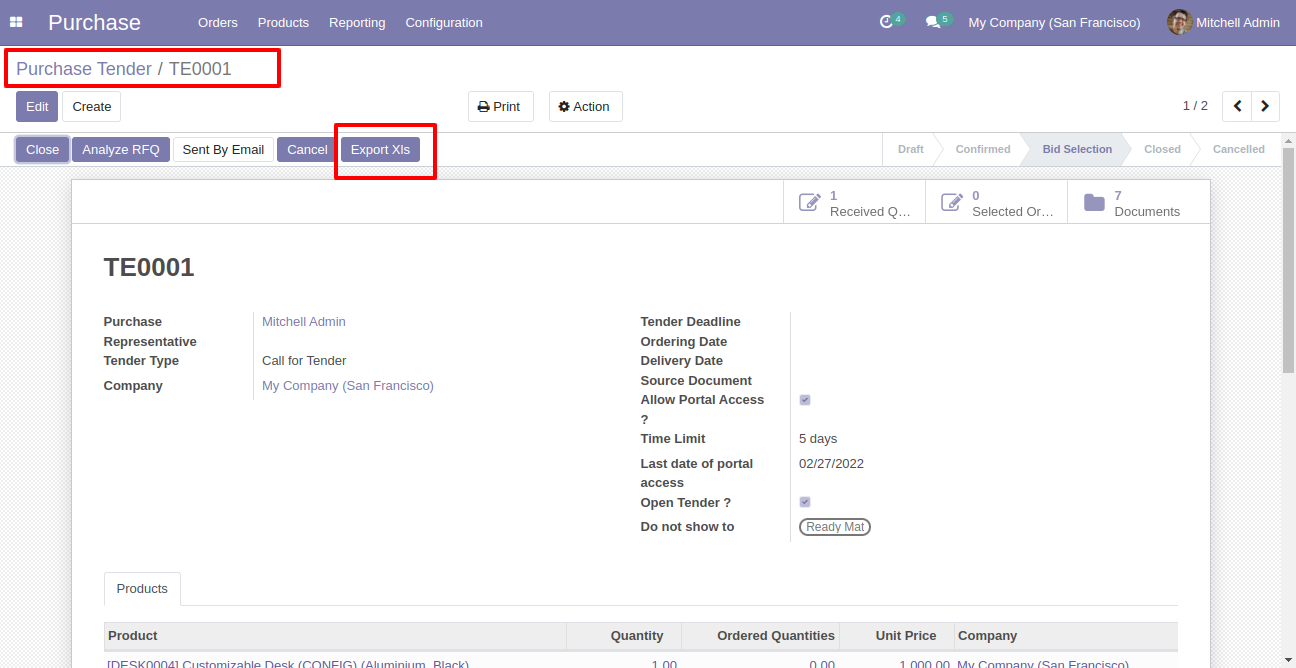
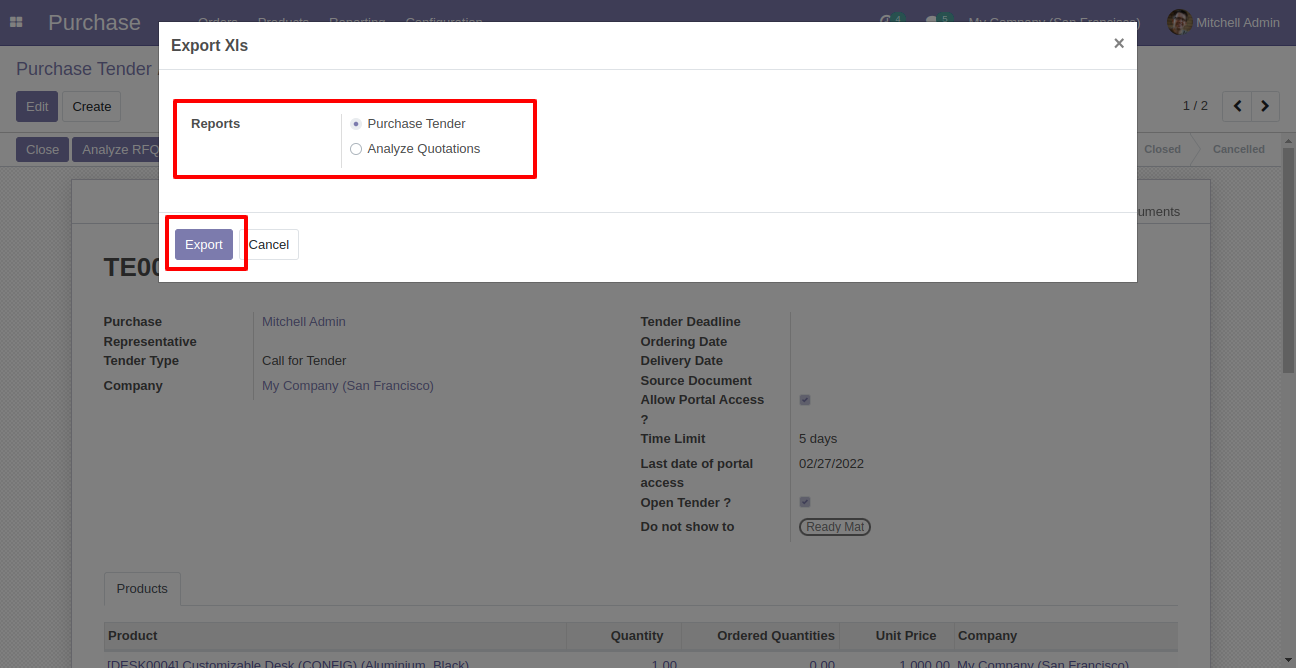
Press "Export XLS" in purchase tender.
Select report and press "Export".
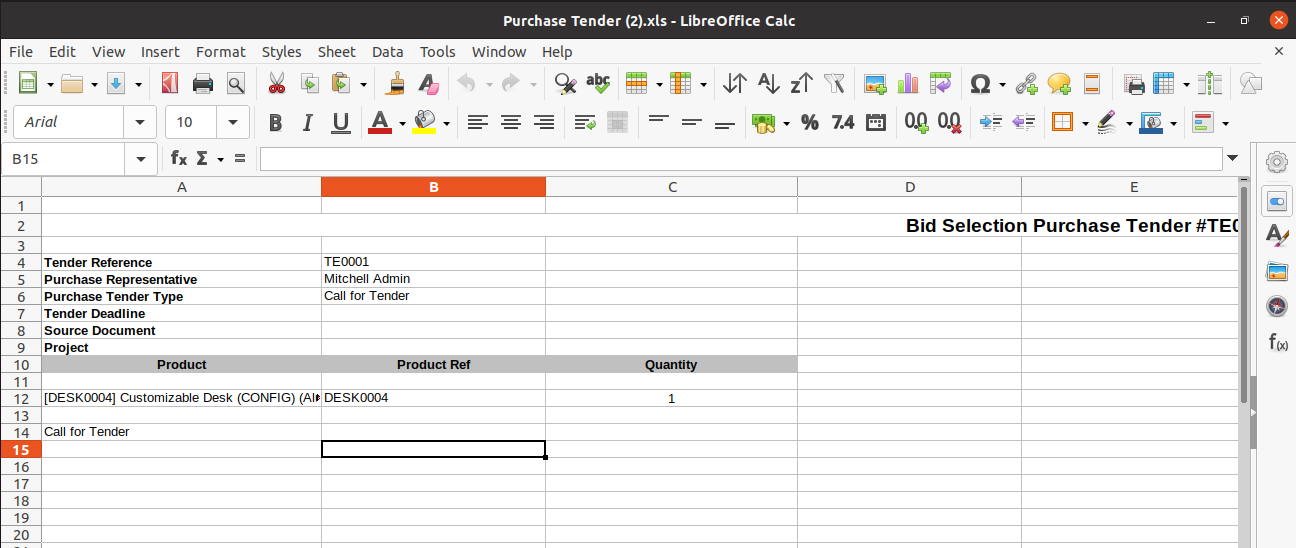
"Purchase Tender" XLS report looks like below.
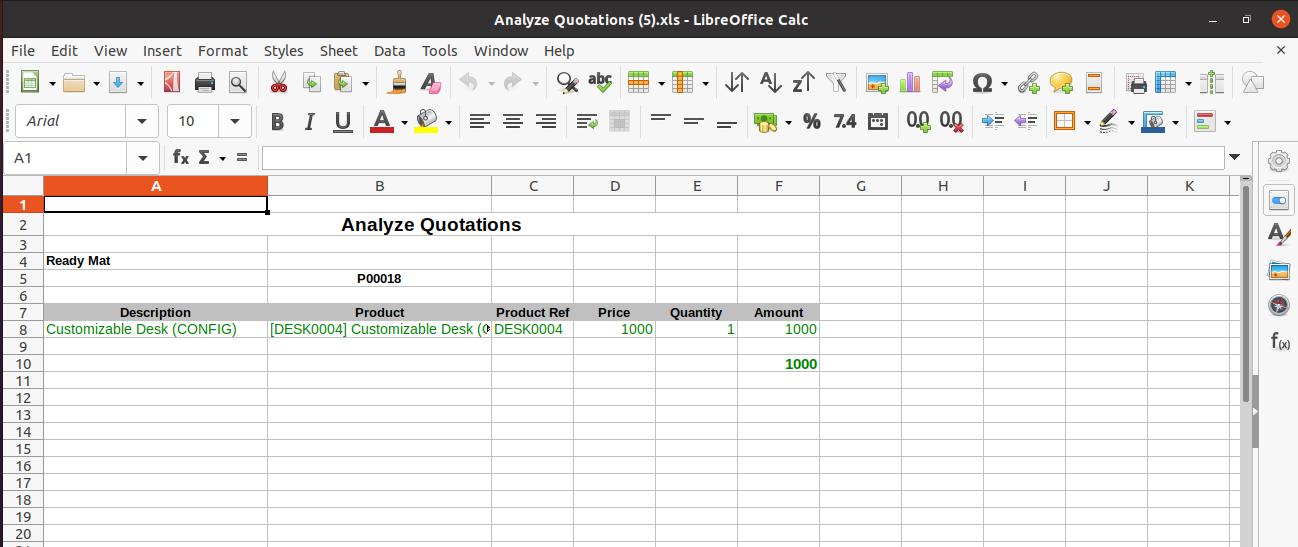
"Analyze Quotation" XLS report looks like below.
v 13.0.9
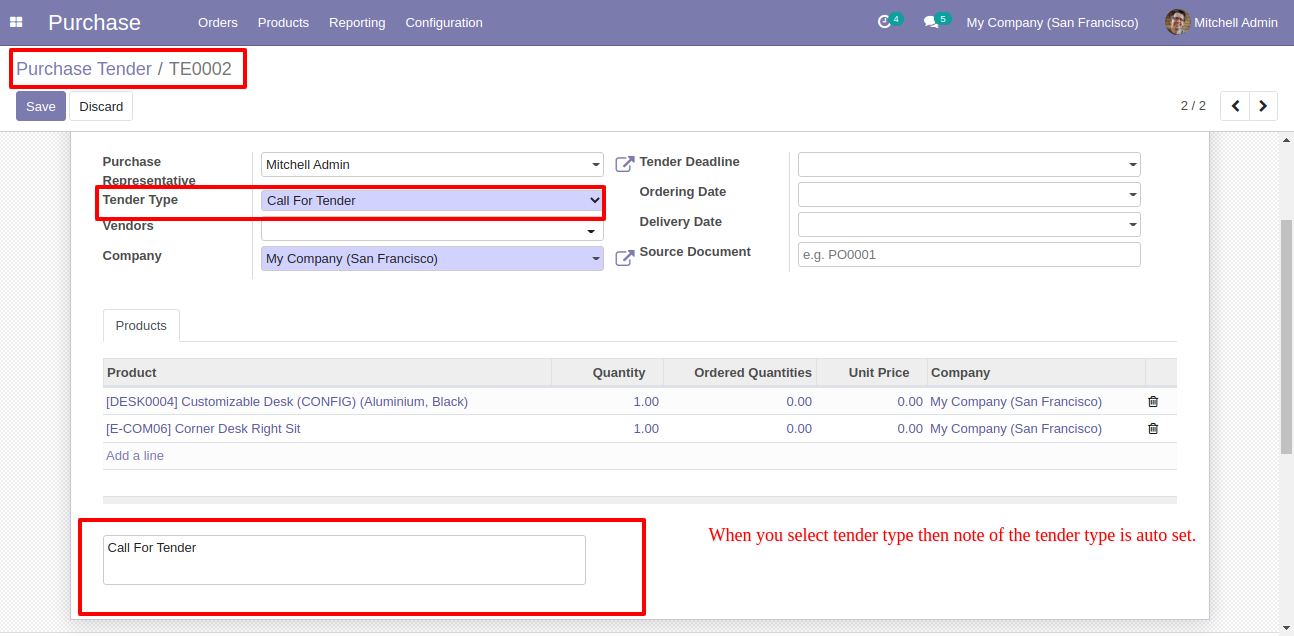
'Purchase Tender Type' form view with note field.
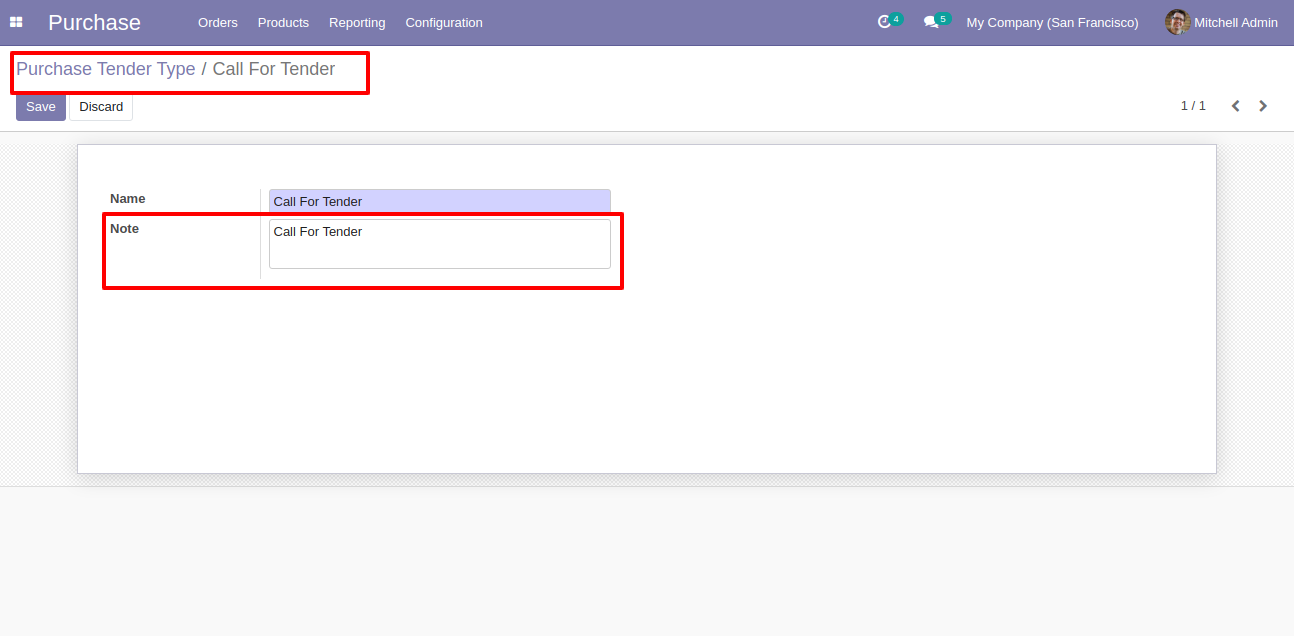
Tender type note is change based on tender type.
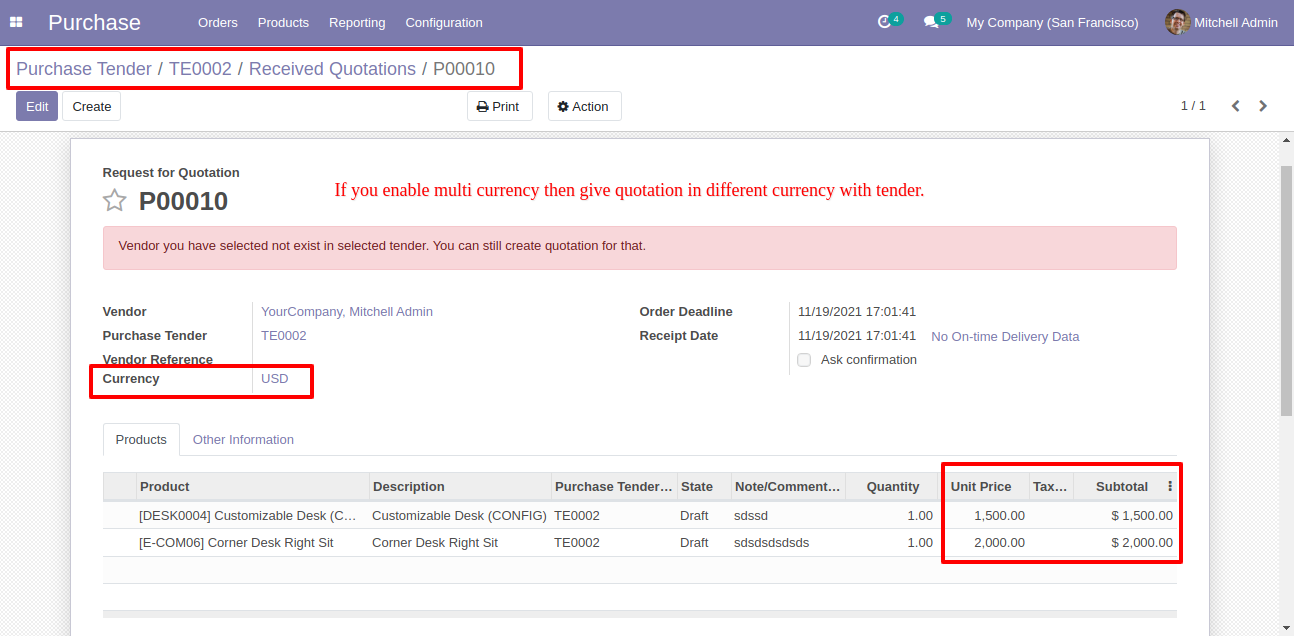
Quotation in different currency with tender.
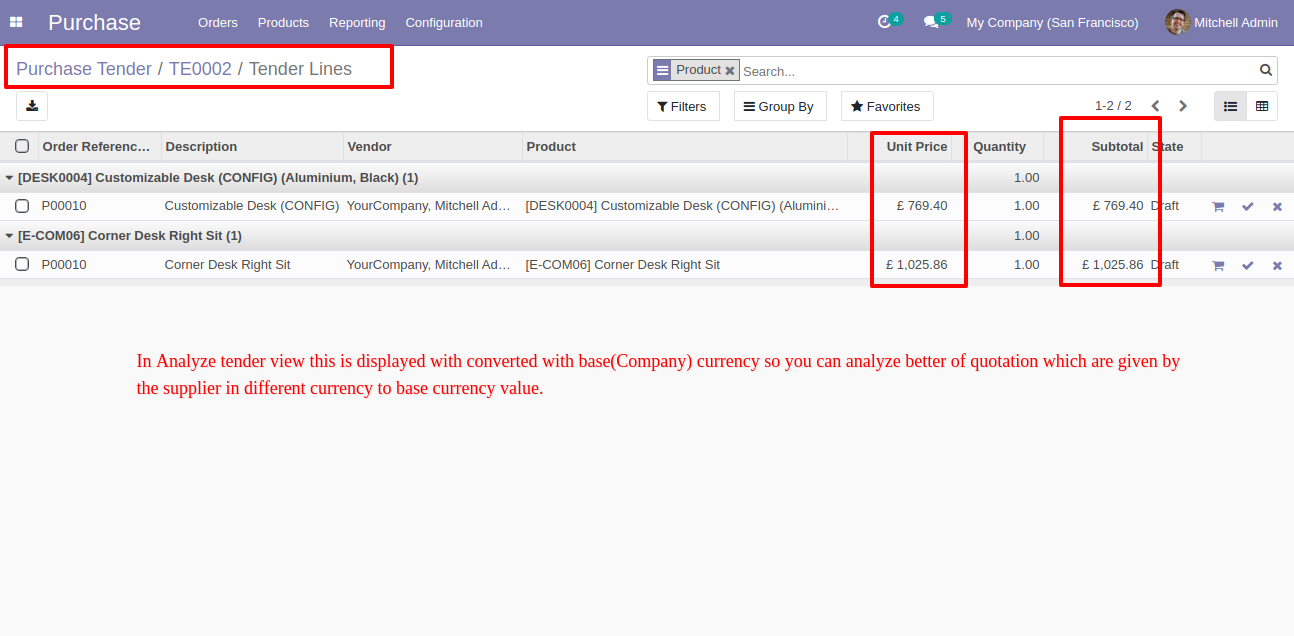
Analyze tender view updated with base currency value.
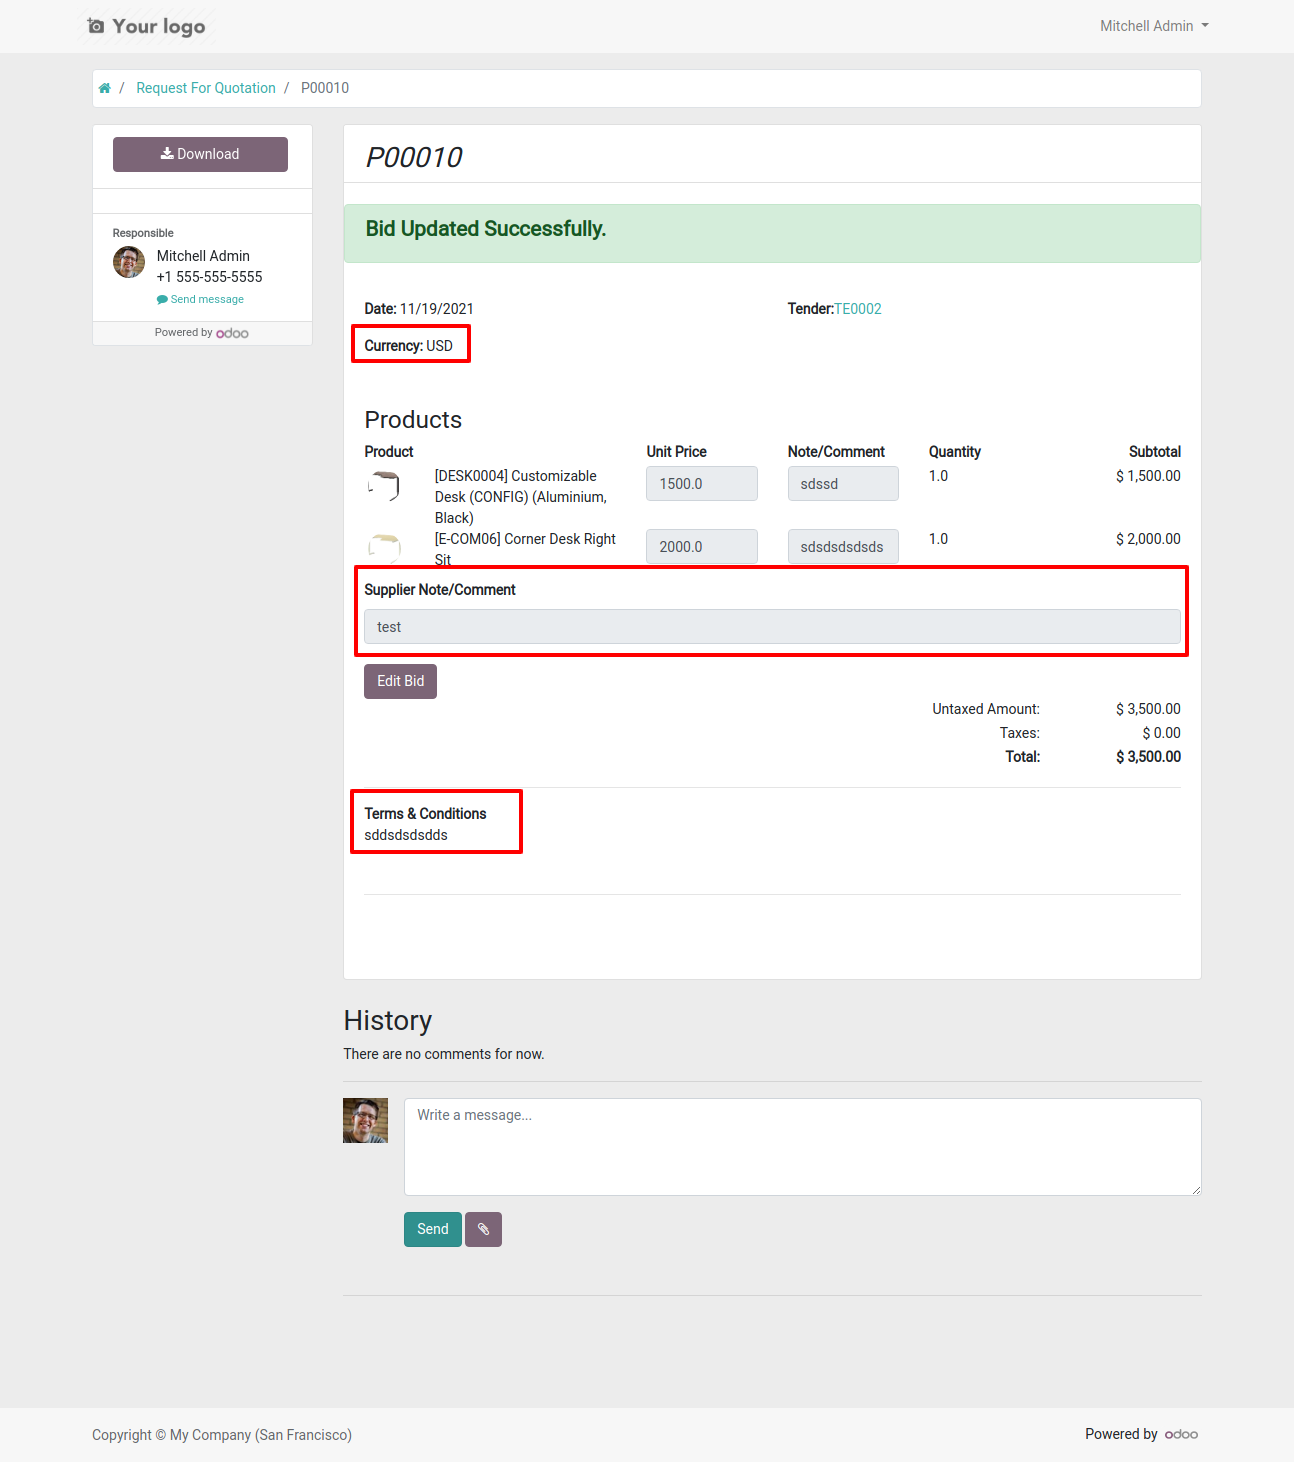
Portal view looks like this.
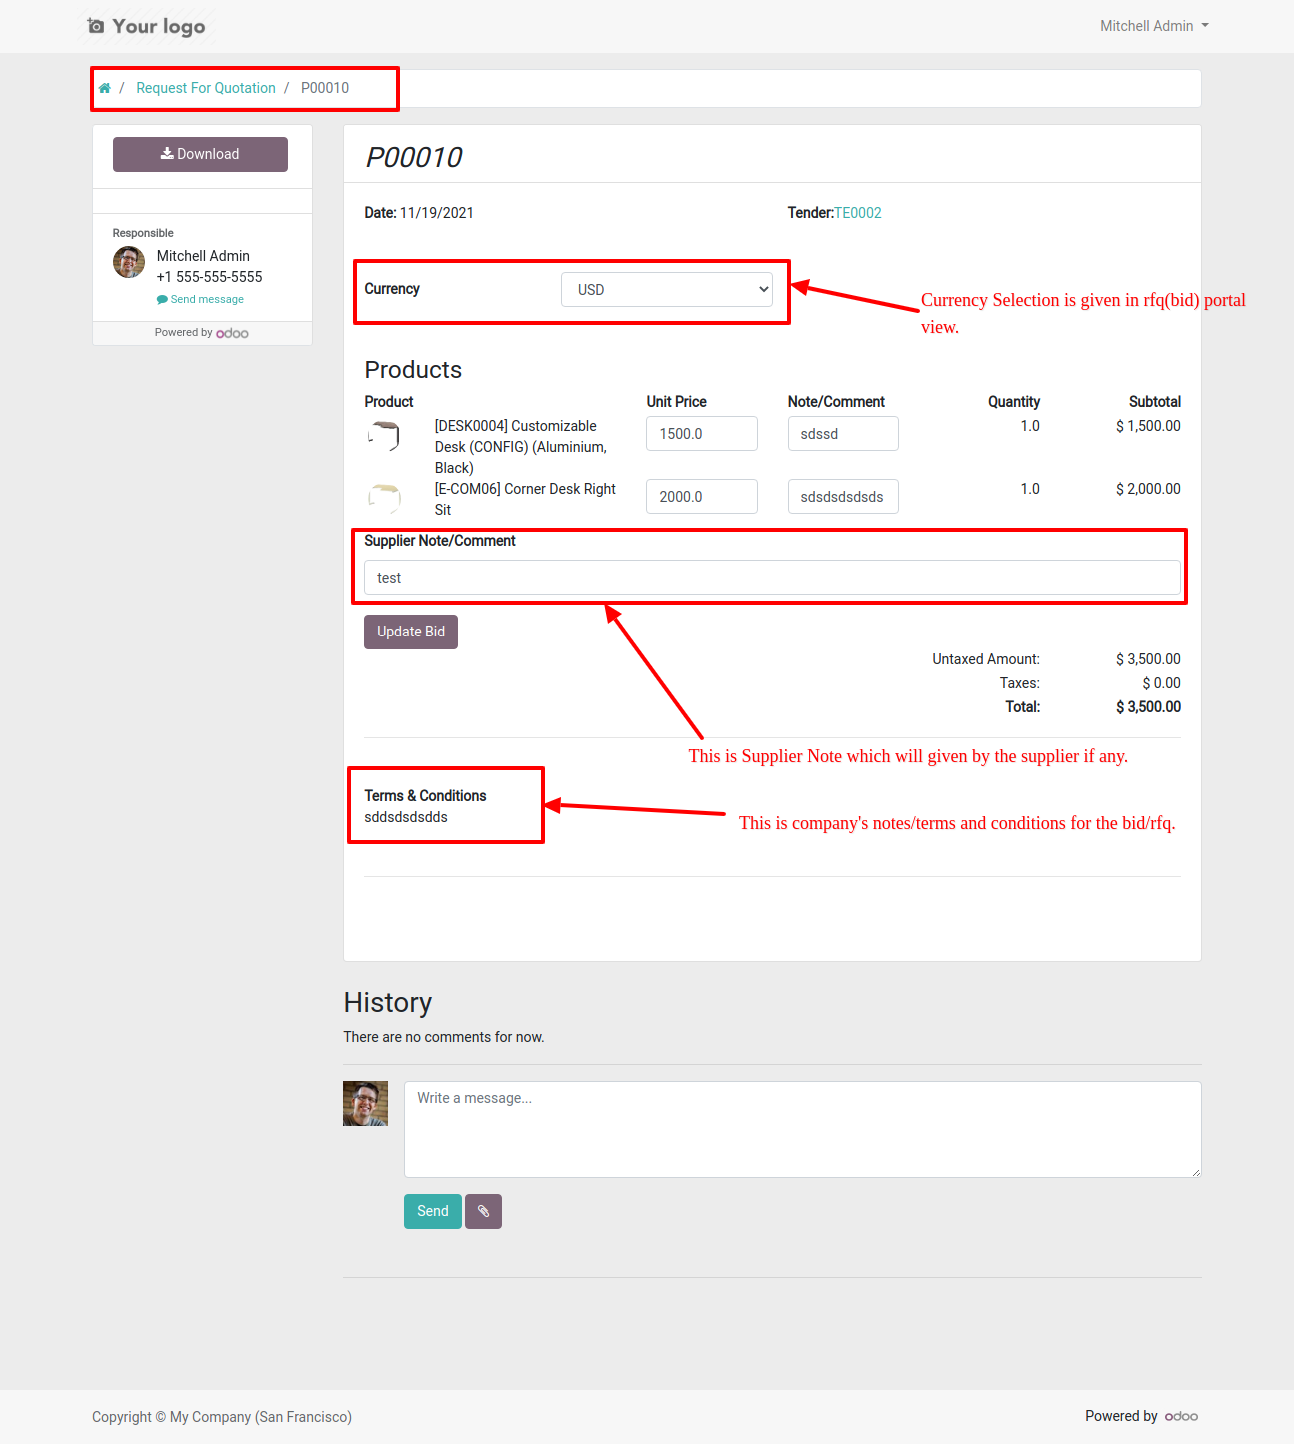
Now we change currency, add note & terms-conditions.
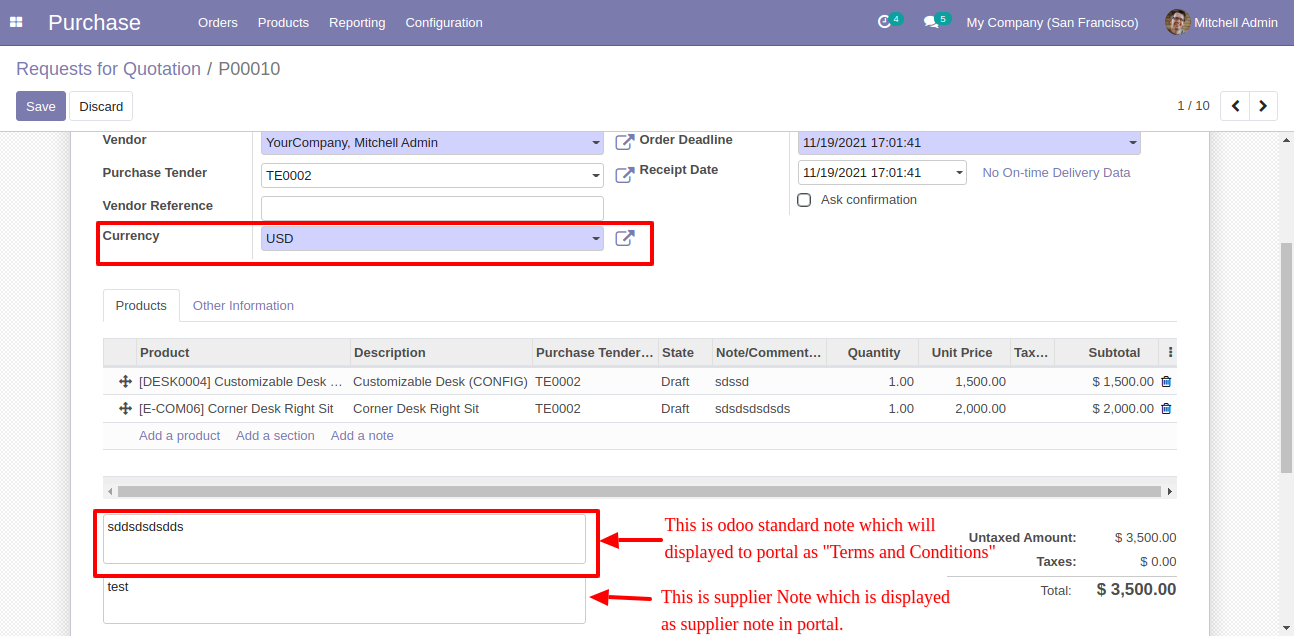
Backend view looks like this with currency, add note & terms-conditions.
v 13.0.1
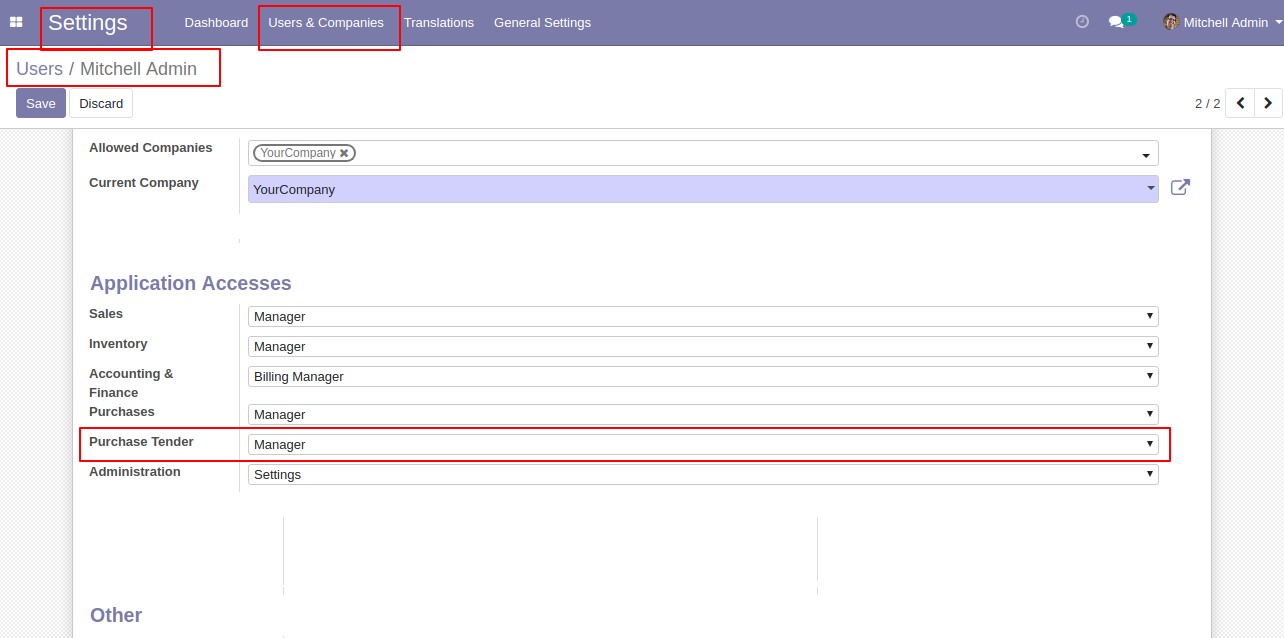
Goto User setting and select a group of purchase tender manager or user.
In the configuration, there is a menu for tender type where you can define a type of tenders.
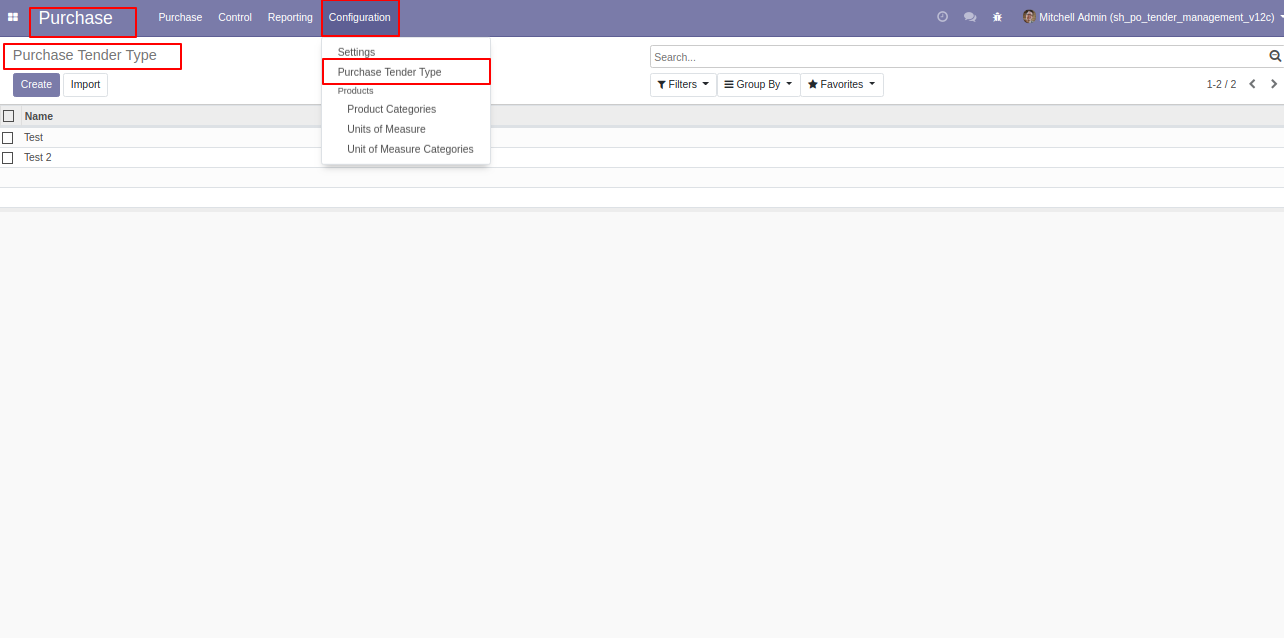
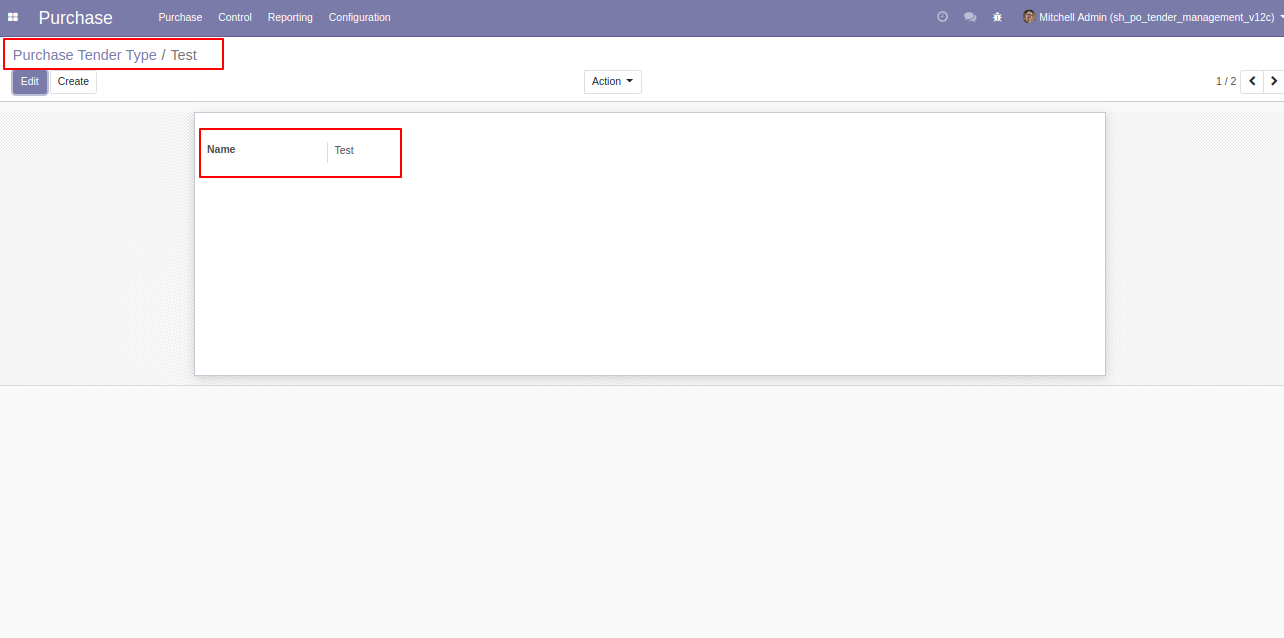
'Purchase Tender Type' form view.
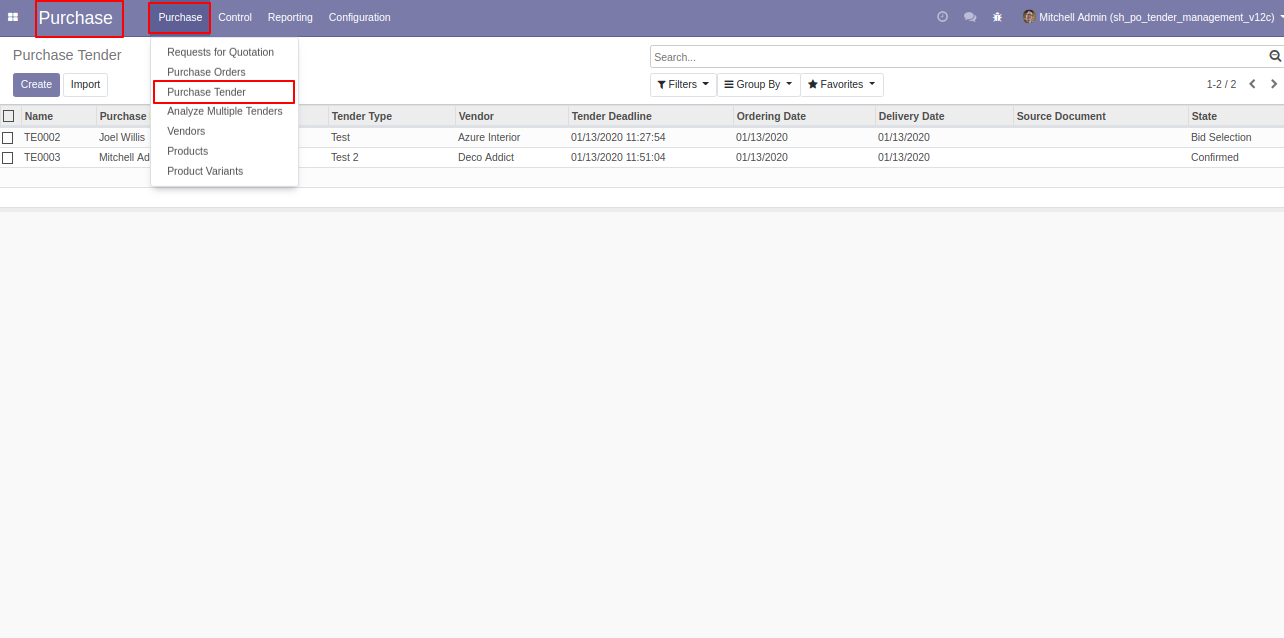
'Purchase Tender' menu and tree view.
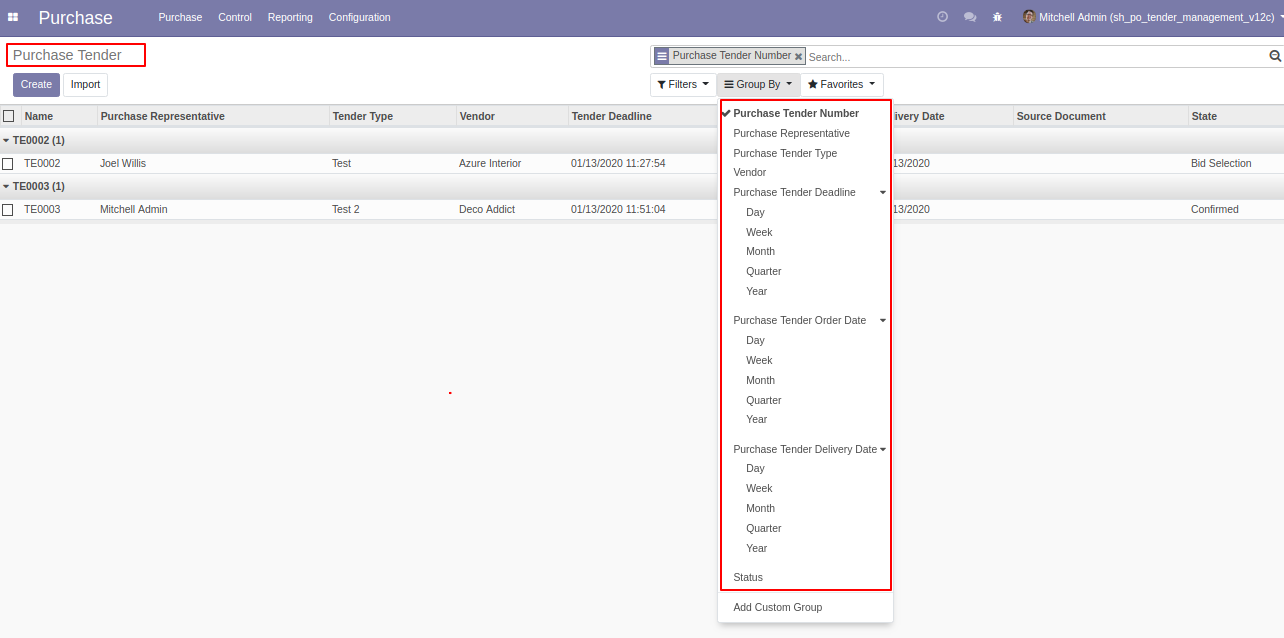
Group purchases tender by using Purchase tender number, type, representative, deadline, order date, delivery date, and vendor also status.
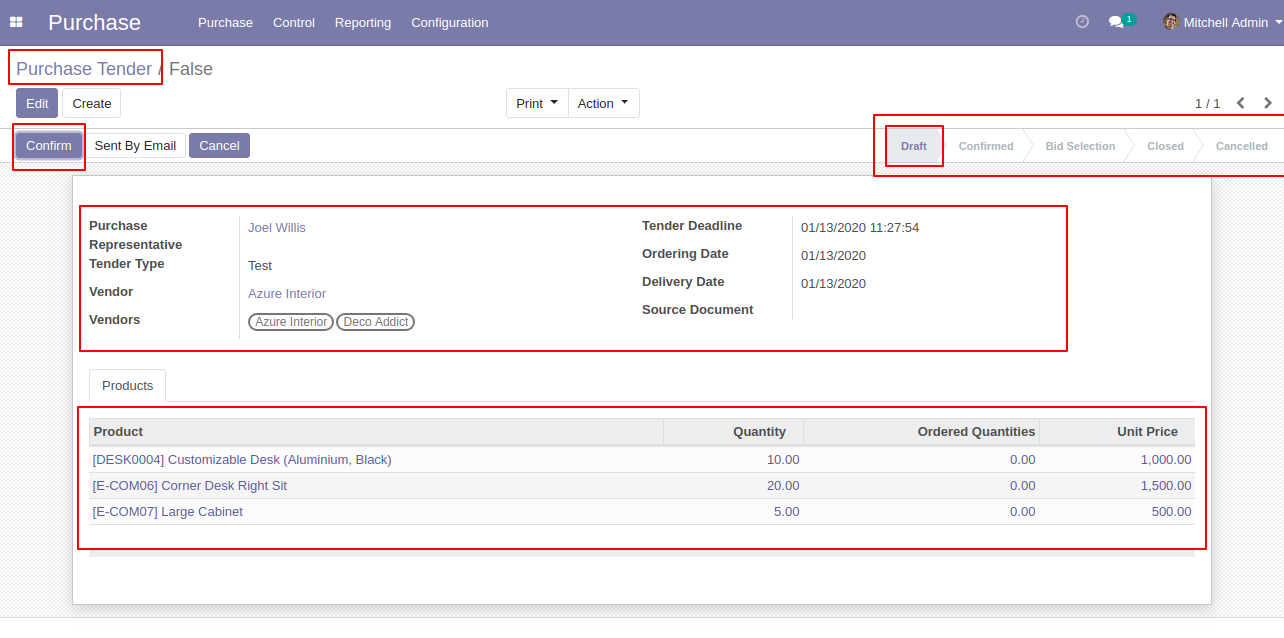
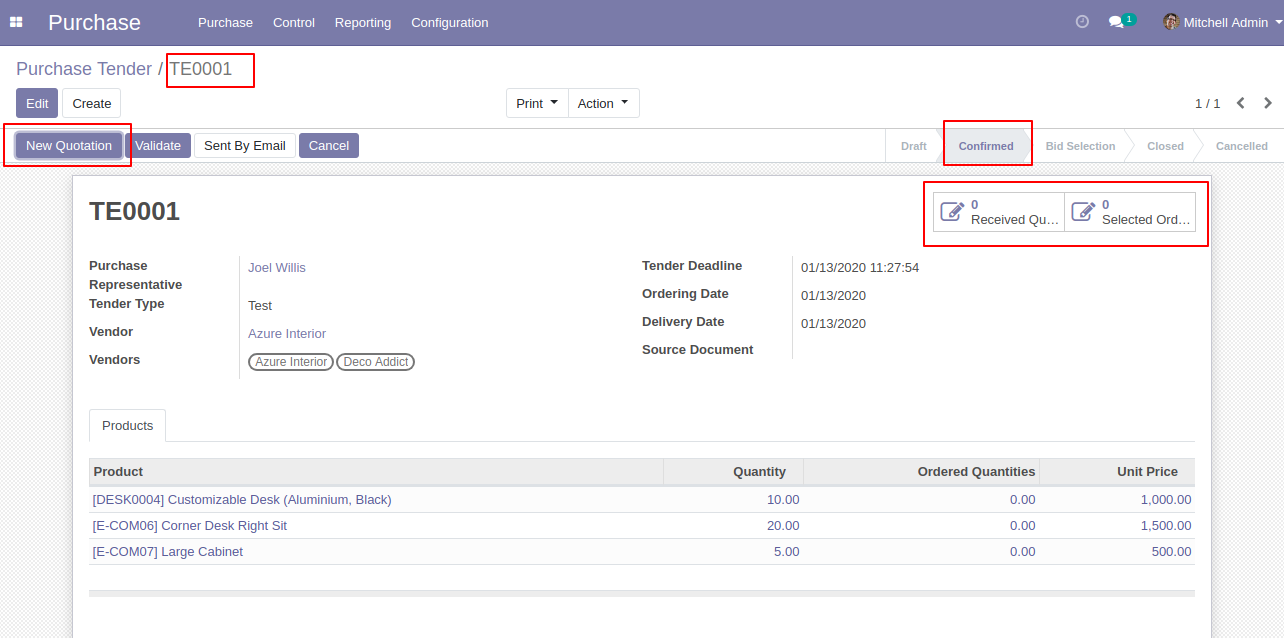
Purchase tender form view where you can create purchase tender and click 'confirm'.
You can choose multiple vendors and selected vendors can see that tender if you have not selected any vendors then anyone can see the tender.
After confirming tender you can make the new quotation for that tender, and you can track all RFQ/PO from the smart button 'Received Quotation'.
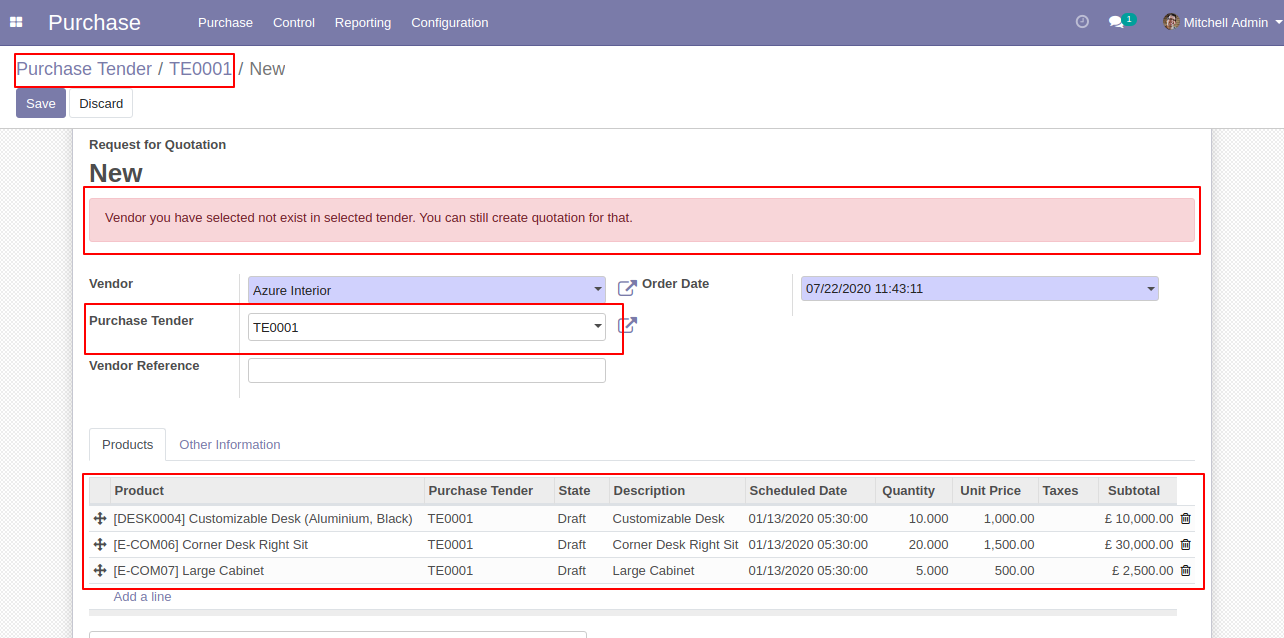
After click 'New Quotation' this form will appear. Where purchase tender automatically set in RFQ.
After creating RFQ in the smart button where you can see the number of RFQ/Purchase Order. And click 'Validate' to validate this purchase tender.
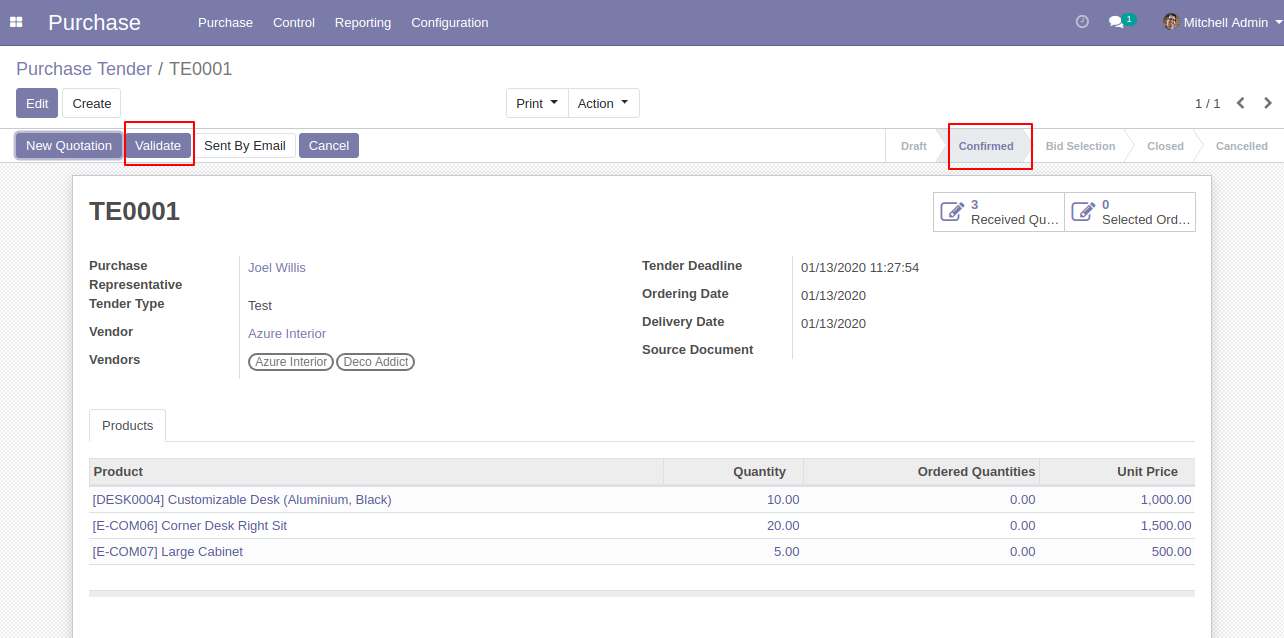
After click validates button purchase tender set in 'Bid Selection' state and 'Analyze RFQ' button will appear.

Tender lines list view.

Tender lines kanban view.
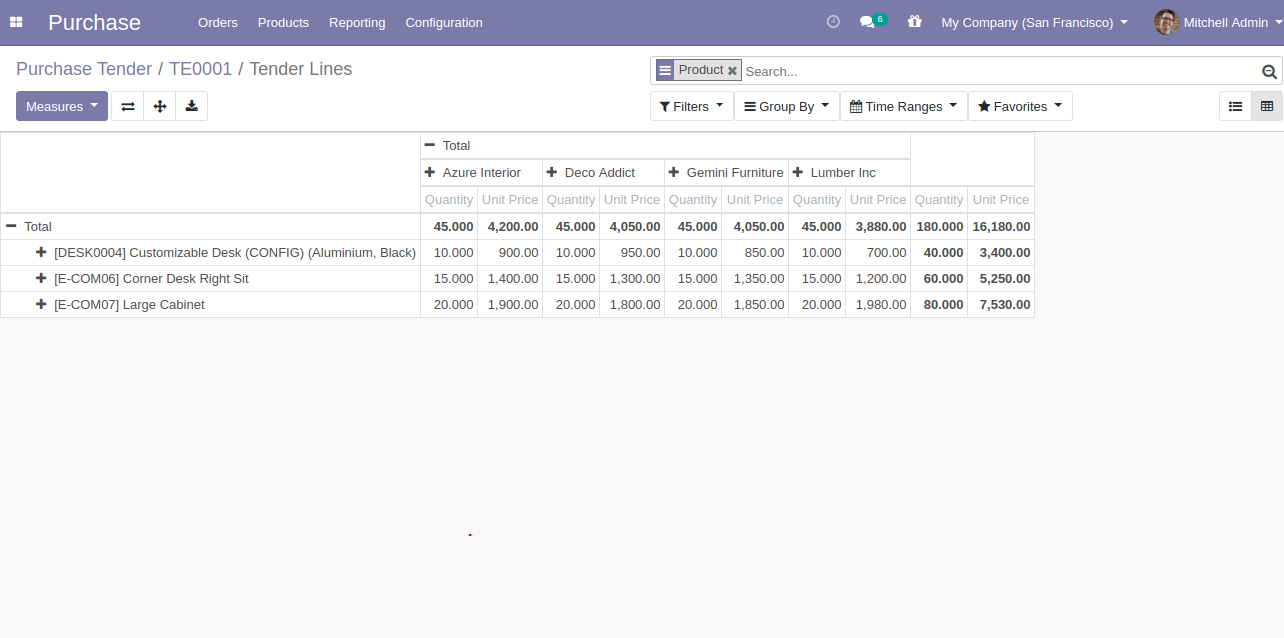
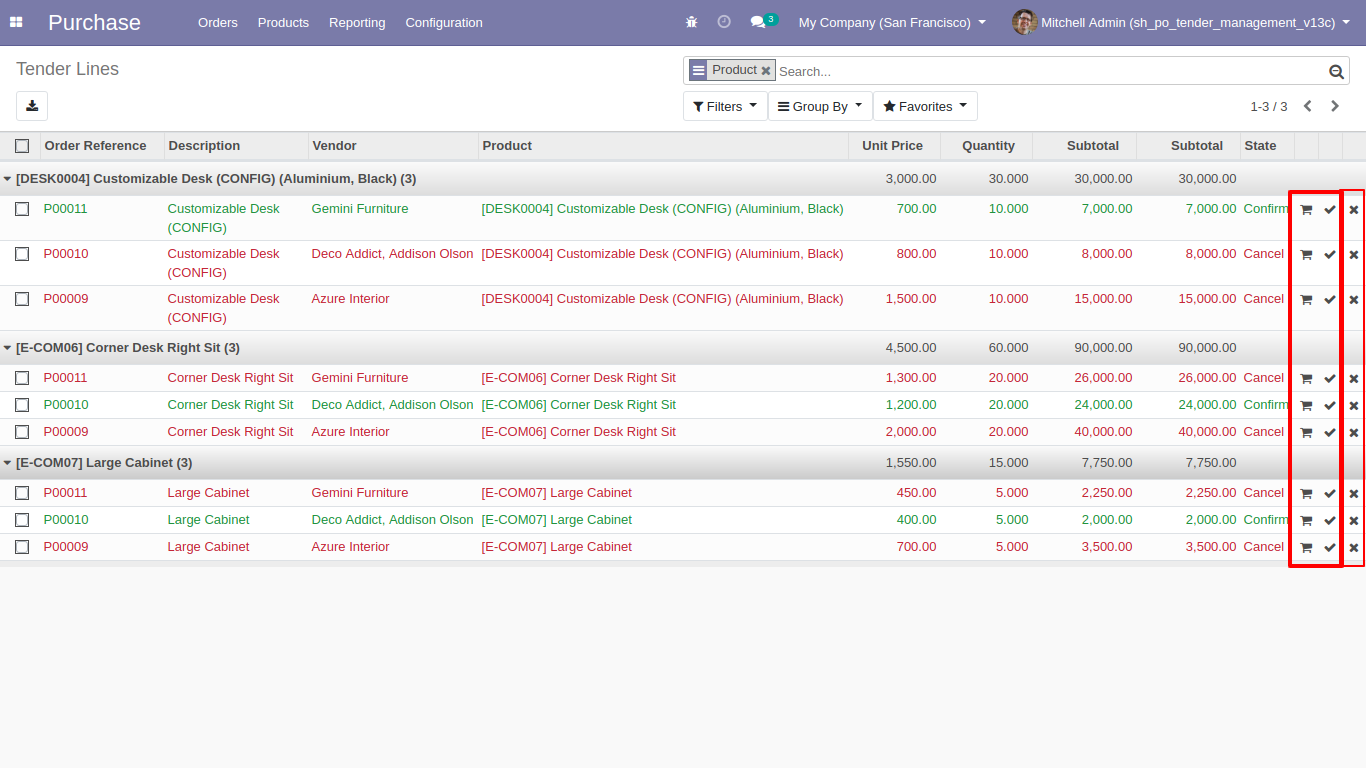
After click 'Analyze RFQ' 'Tender Lines' tree view appears, where you can see three-button in lines,
1) Cart: Update Order Qty in RFQ. 2) Correct Mark(✔): To Confirm RFQ, after clicking this mark that line will become 'Green'. 3) False(✗): To cancel RFQ, after clicking this mark that line will become red.
Tender lines detailed kanban view.
After clicking on the cart icon, this wizard will popup where you can change product quantity in the tender.
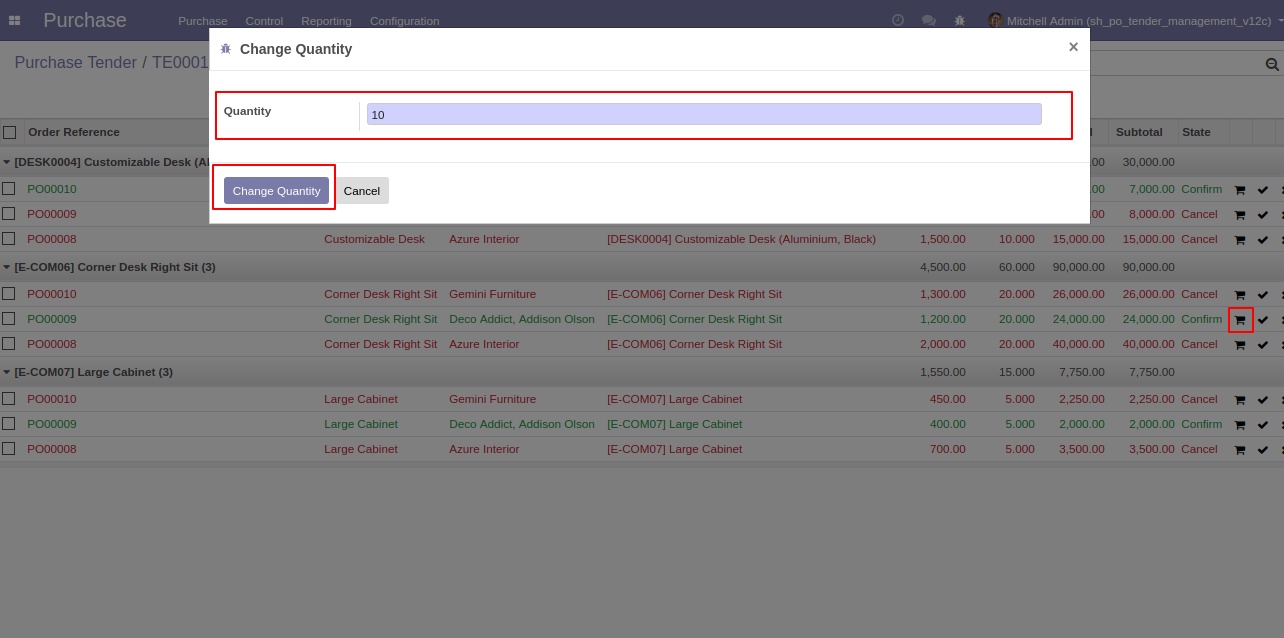
RFQ product quantity is updated.

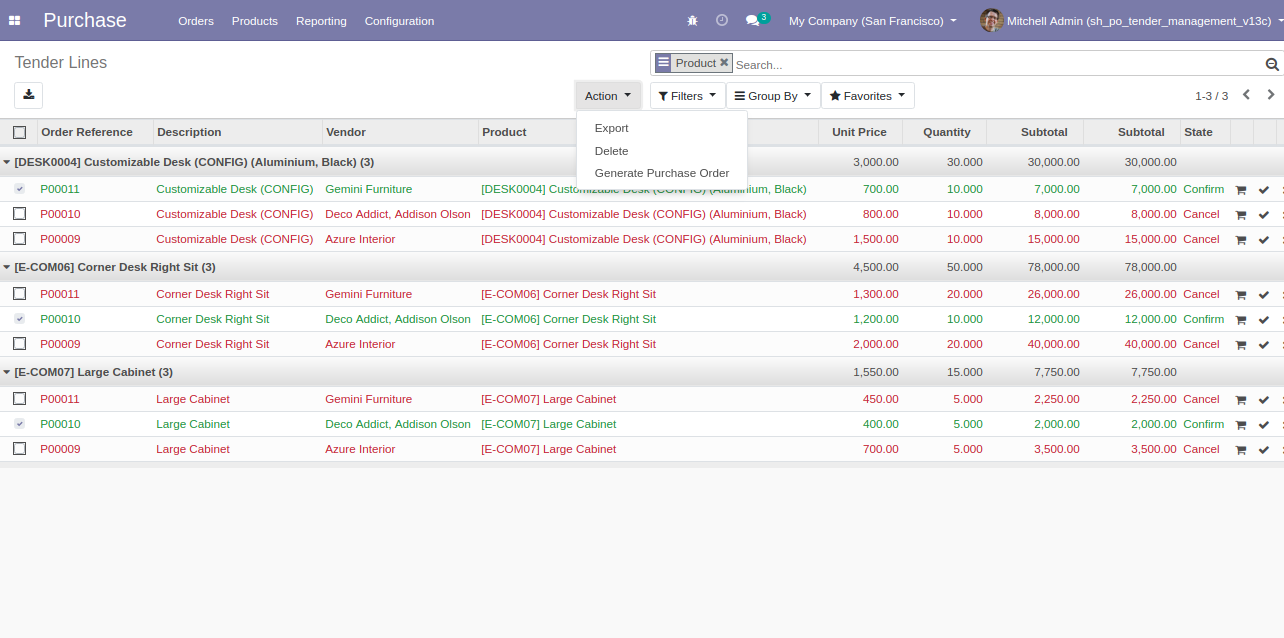
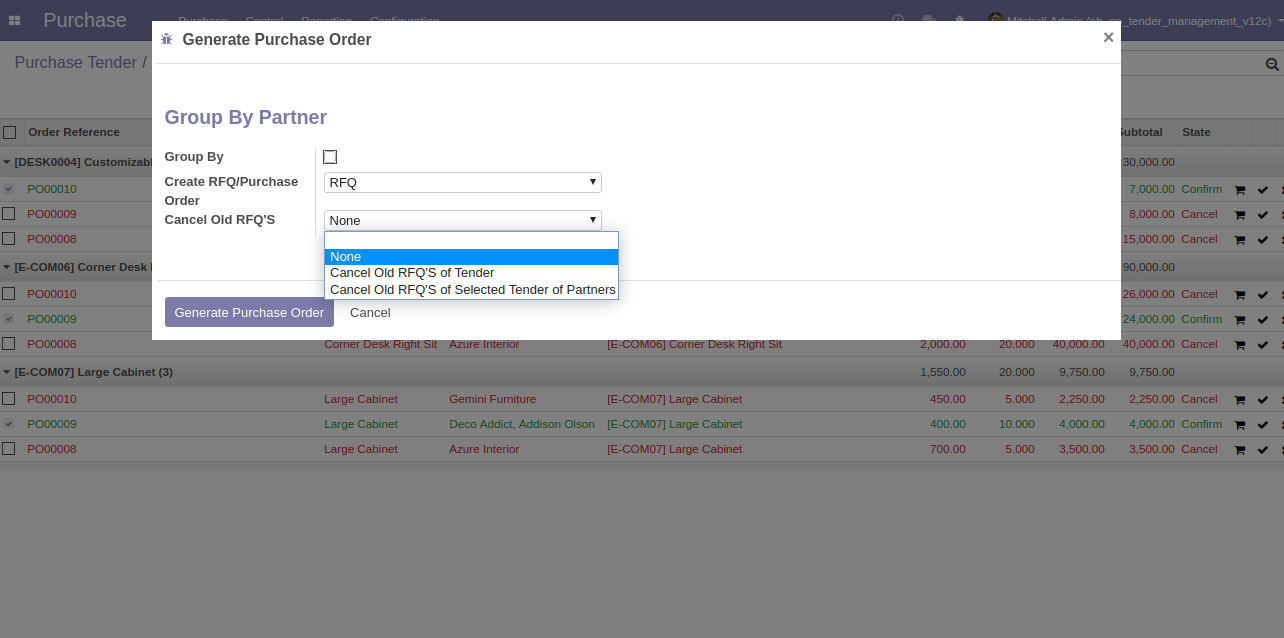
Select confirm RFQ and click 'Generate Purchase Order' to generate a purchase order.
After click on 'Generate Purchase Order' from the action, this wizard will popup where you can group by partner, select RFQ/ purchase order & cancel old RFQ's.
After clicking the 'Generate Purchase Order' purchase order will create with the group by the customer.
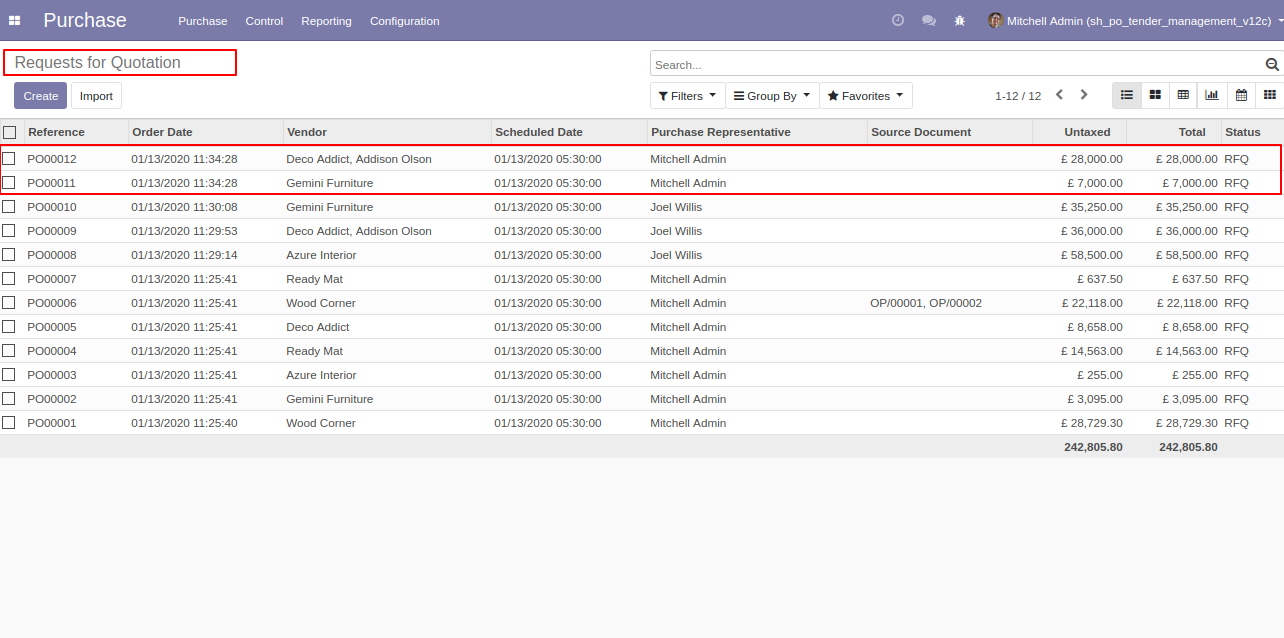
The same vendor's RFQ automatically merge.
Unique vendor's RFQ will create a separate purchase order.
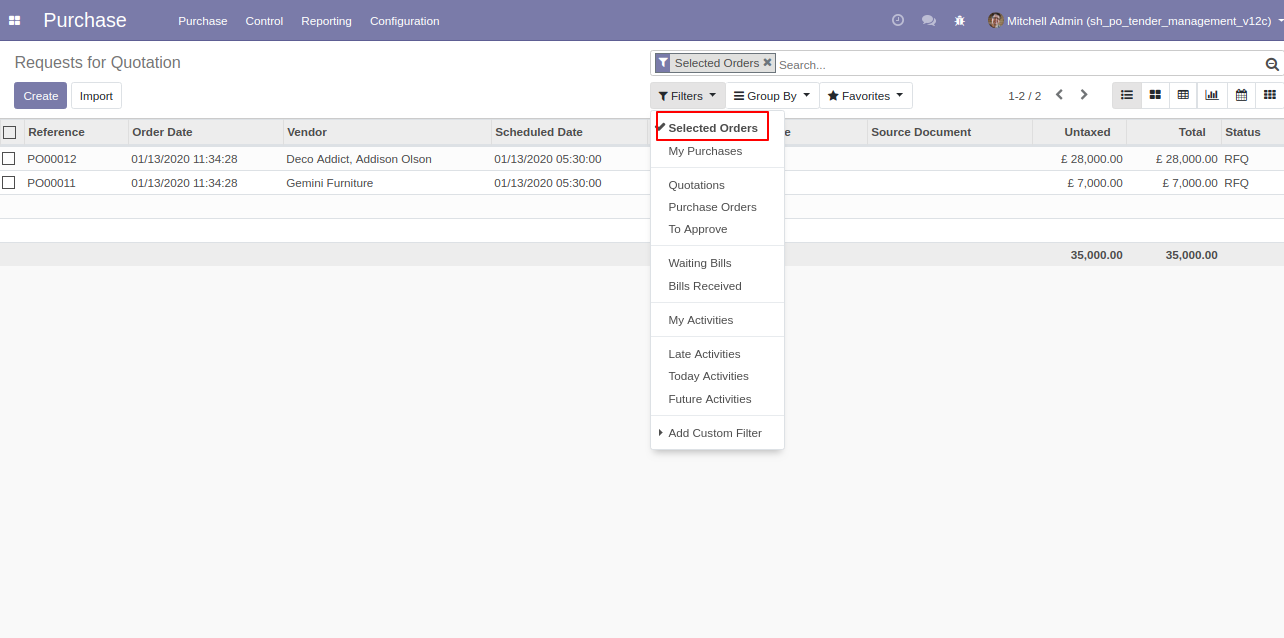
Filter RFQ by using 'Selected Orders' (that order which is selected in tender lines and make that purchase order).
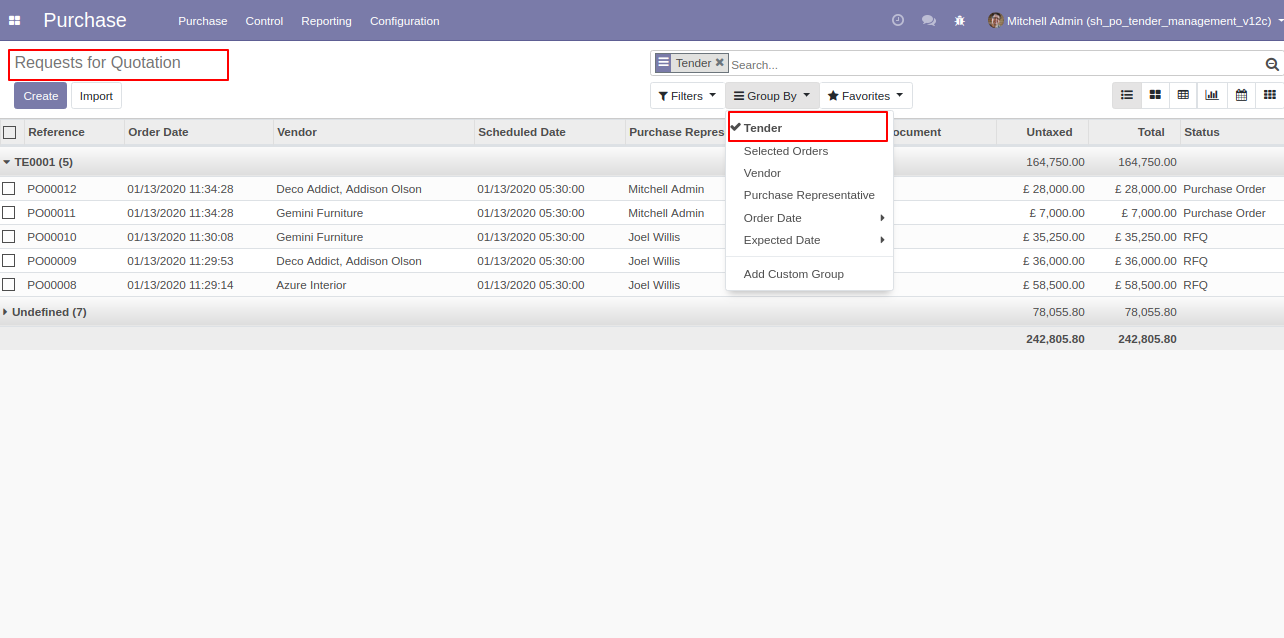
Group RFQ by using 'Tender'.
Group RFQ by using 'Selected Orders' (that order which is selected in tender lines and make that purchase order).

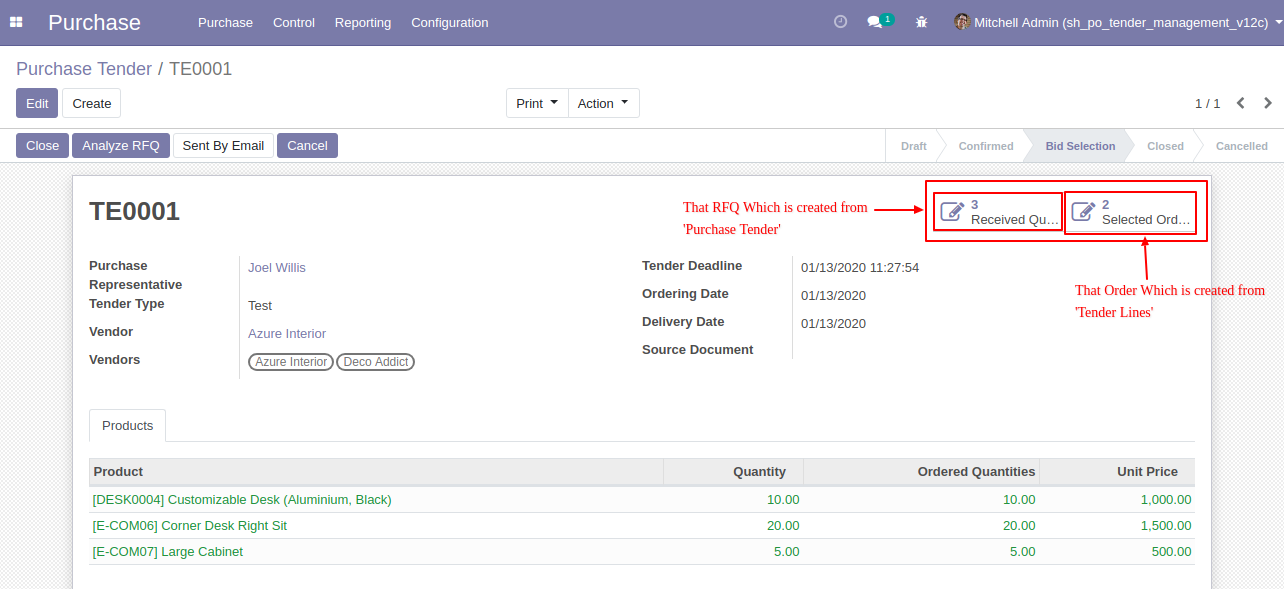
Two smart buttons in purchase tender 1) REceived Quotation 2) Selected Order.
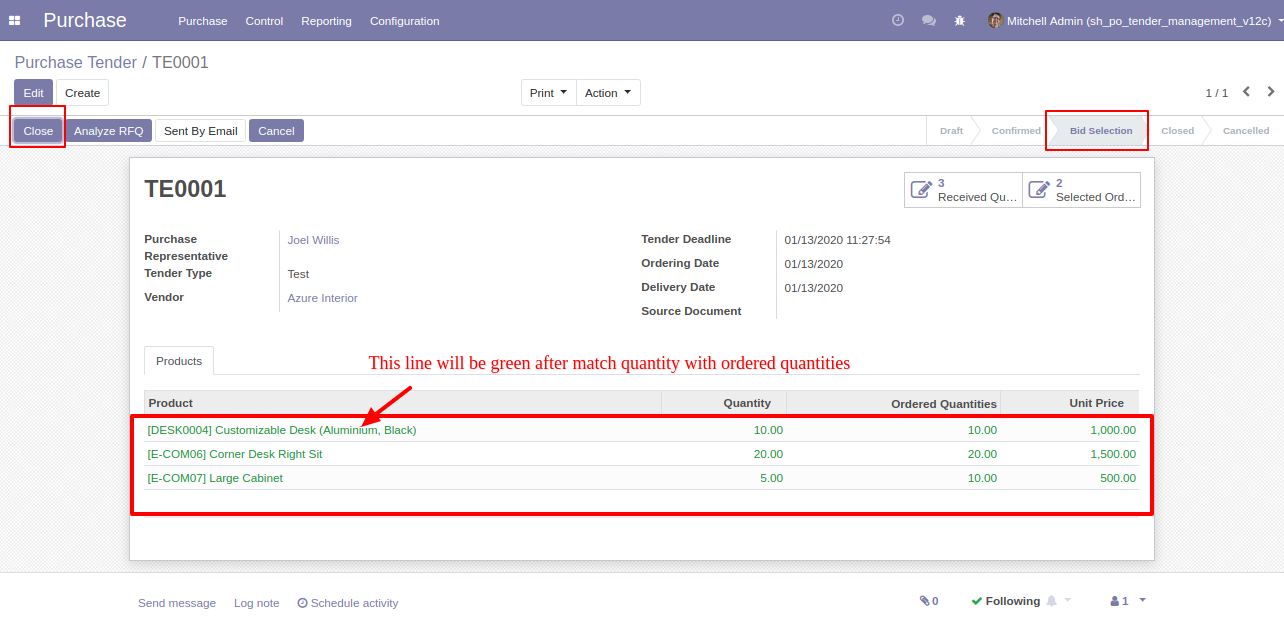
After 'Analyze RFQ' and make a final purchase order as you can see the product line will come green. If you want to close that purchase tender so click 'Close'.
You want to Cancel that purchase tender so click 'Cancel'.

After clicking the 'cancel' button that purchases tender will set in 'Cancelled' state, if you want to set back to 'Draft' so click 'Set to Draft'.

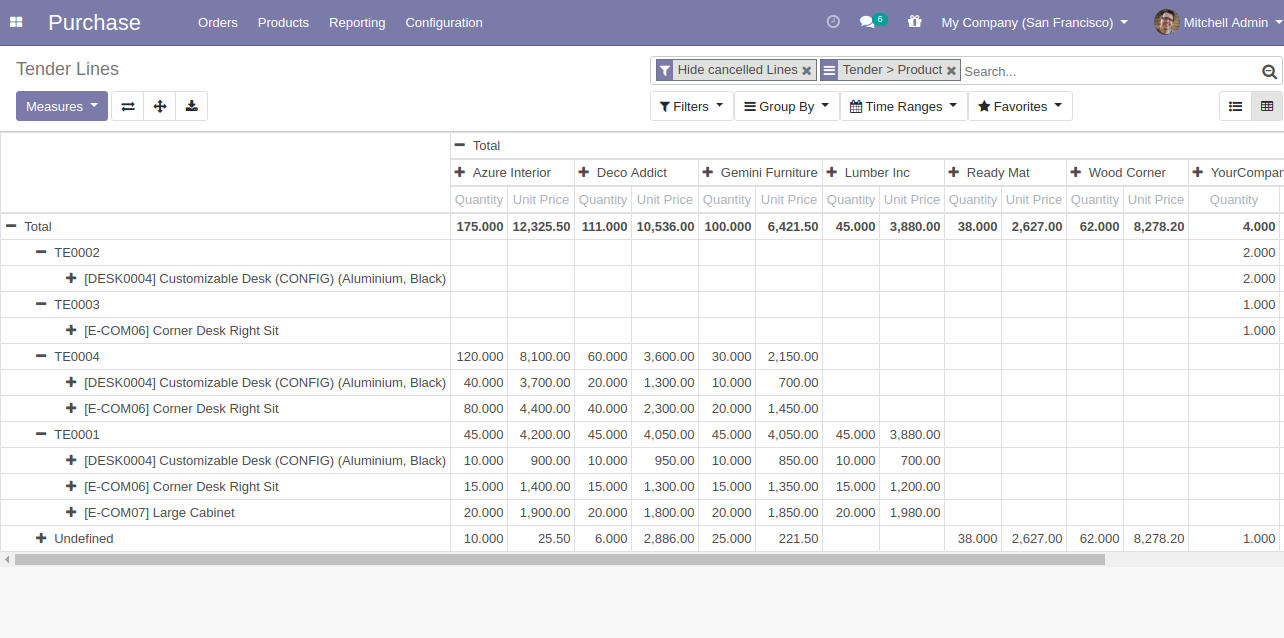
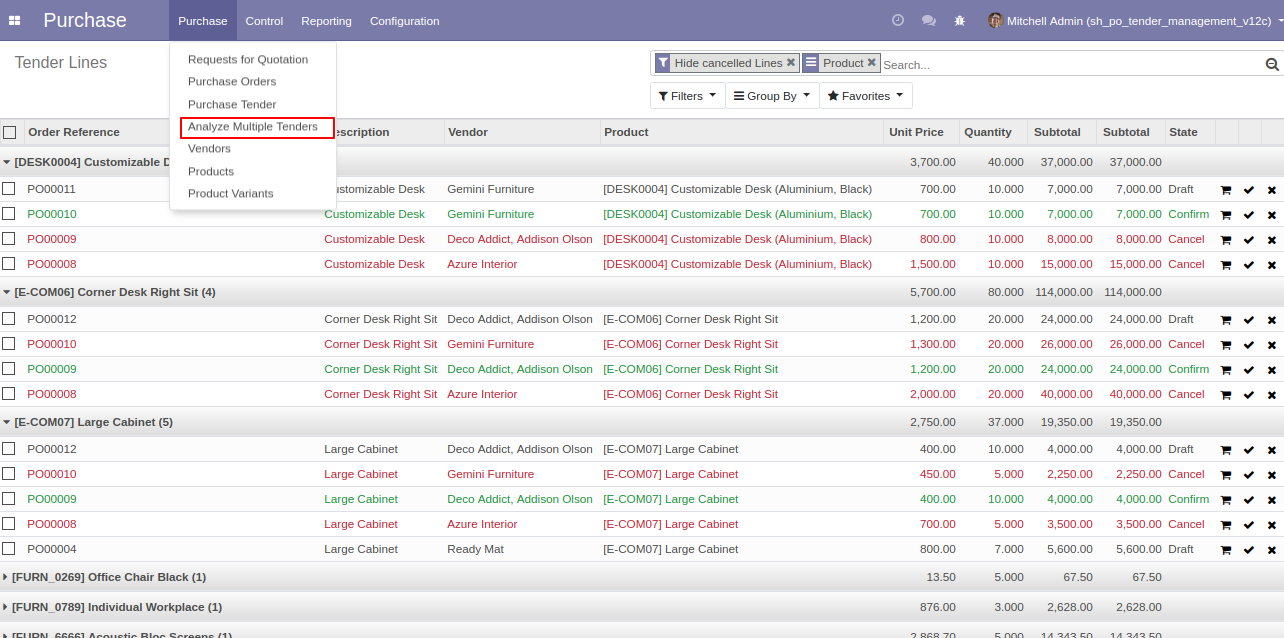
You can analyze purchase tenders from the 'Analyze Multiple Tender' menus.
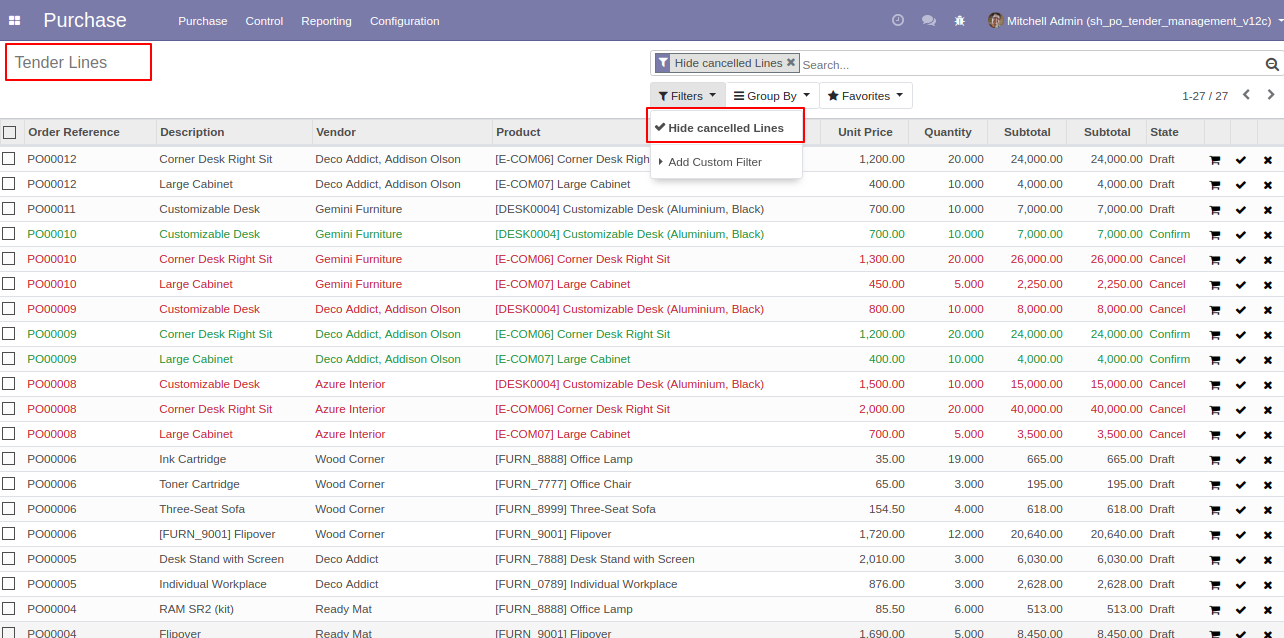
Filter Tender Lines by using 'Hide Cancel Line' to hide cancel lines from the list.
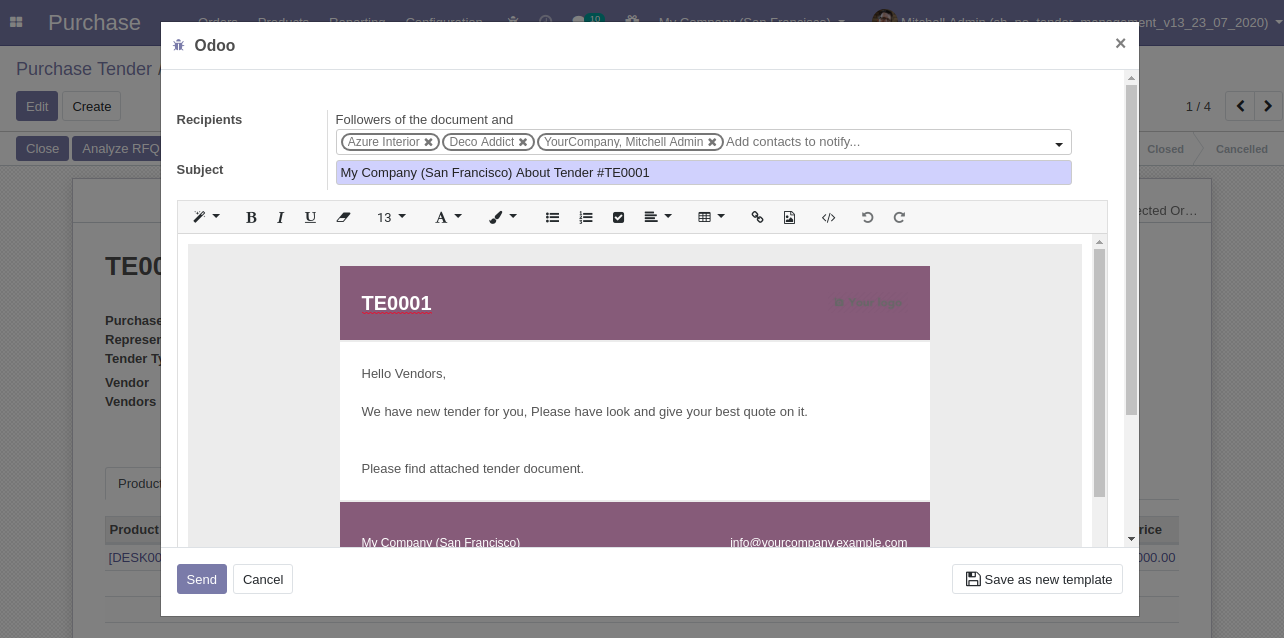
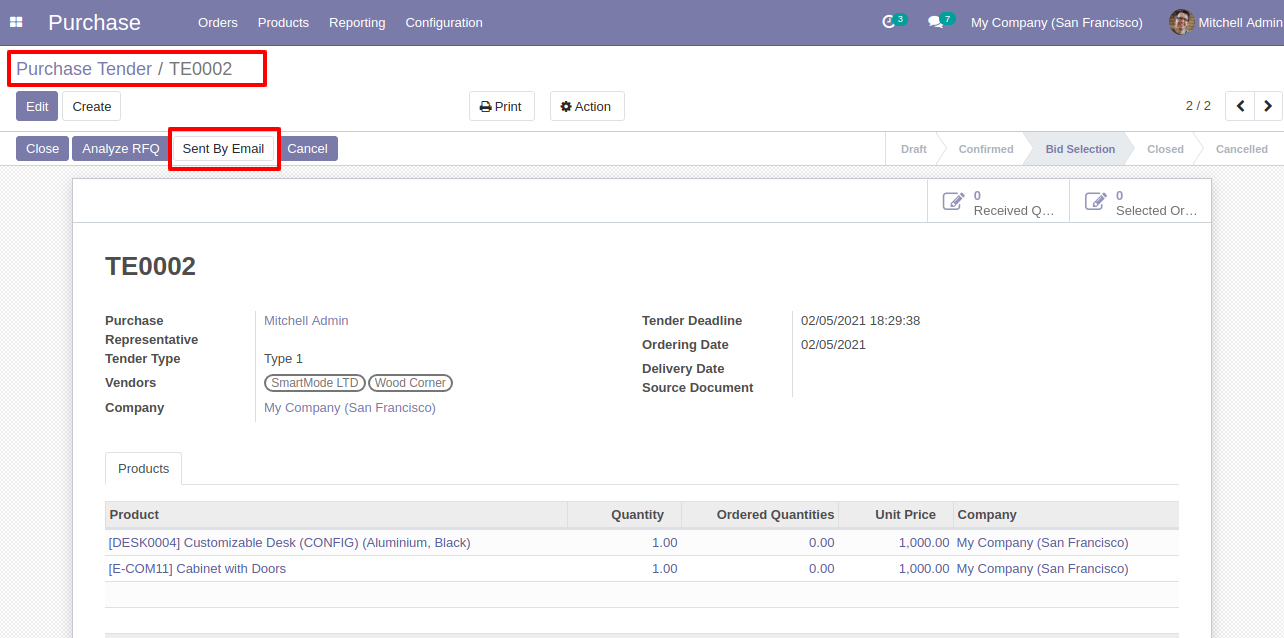
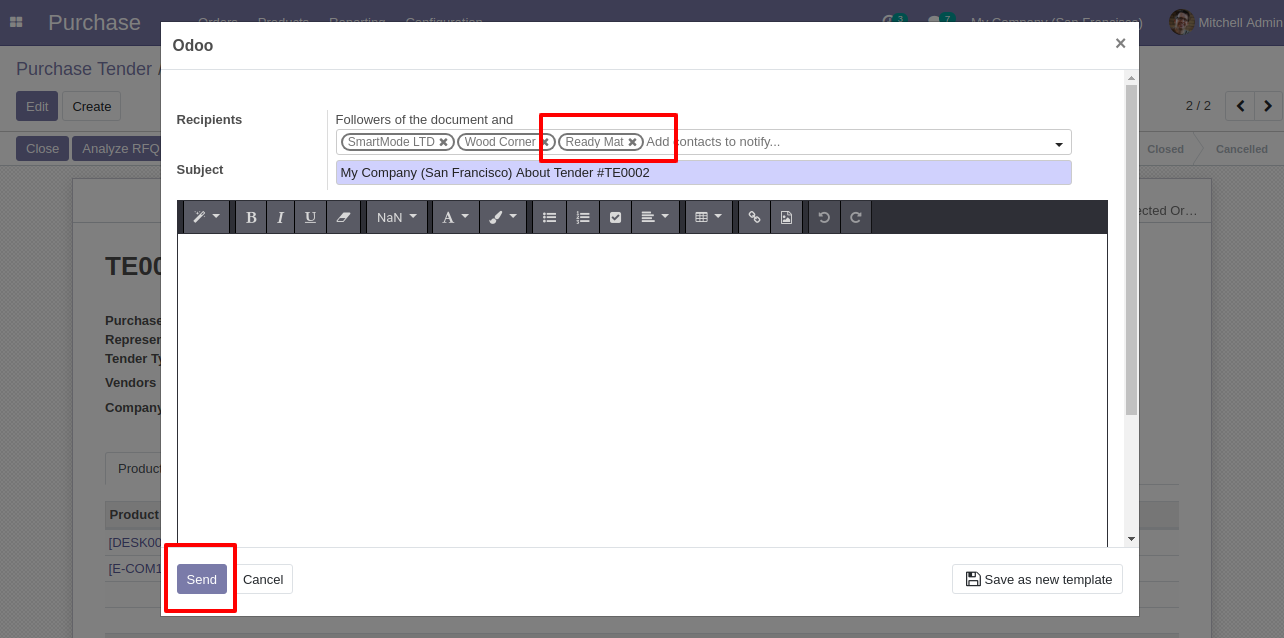
'Send By Email' to send purchase tender to your partner's email directly. After click 'Sent By Email' this wizard will popup.
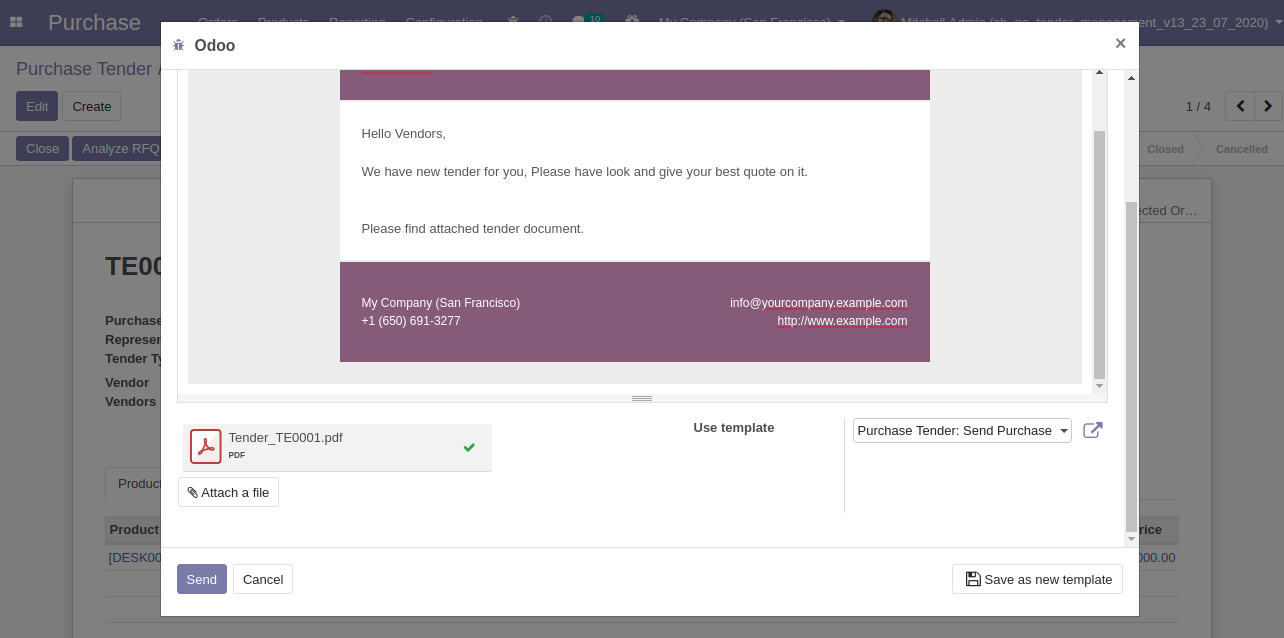
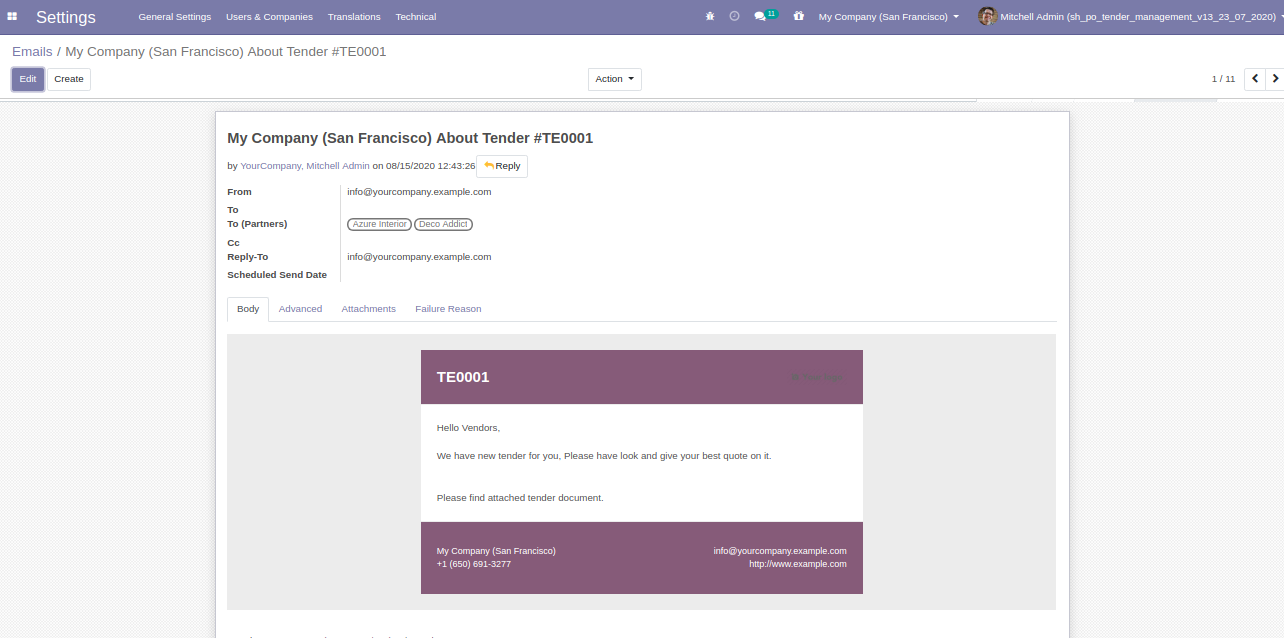
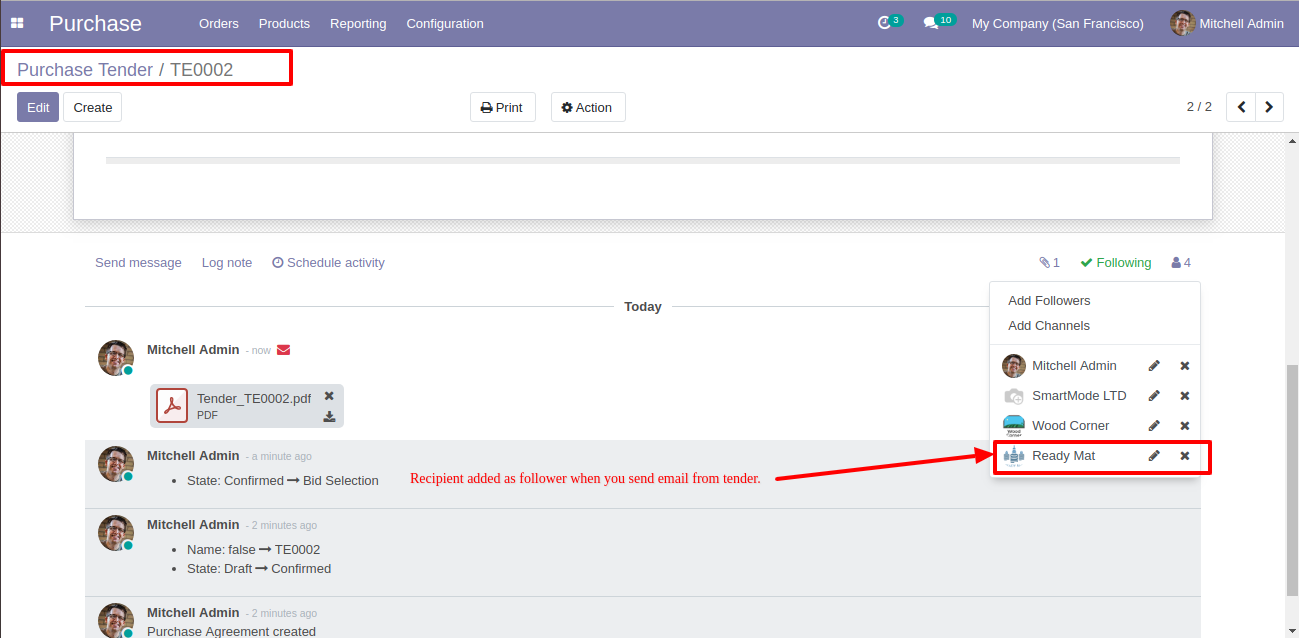
Tender pdf automatically attached to the email.
Email send to partners.
For print Purchase tender PDF report.
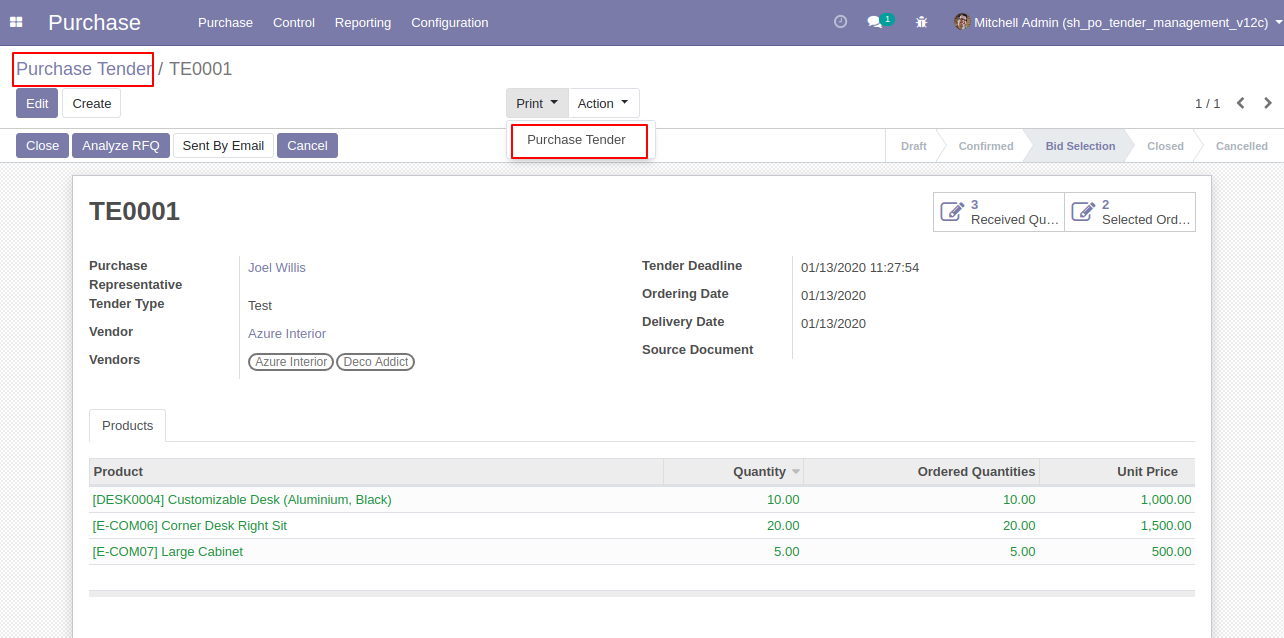
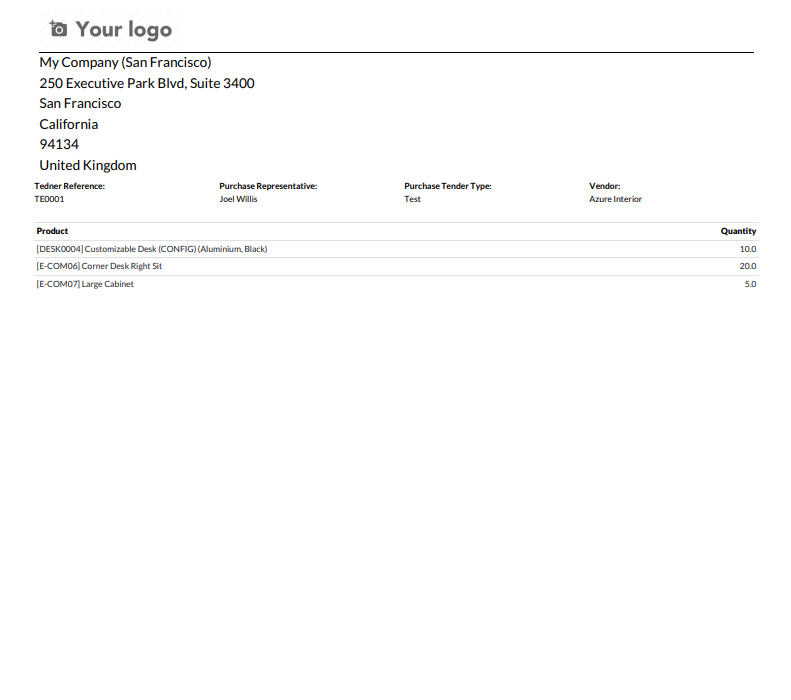
Purchase Tender PDF Report.
For print "Analyze Quotations" PDF report.
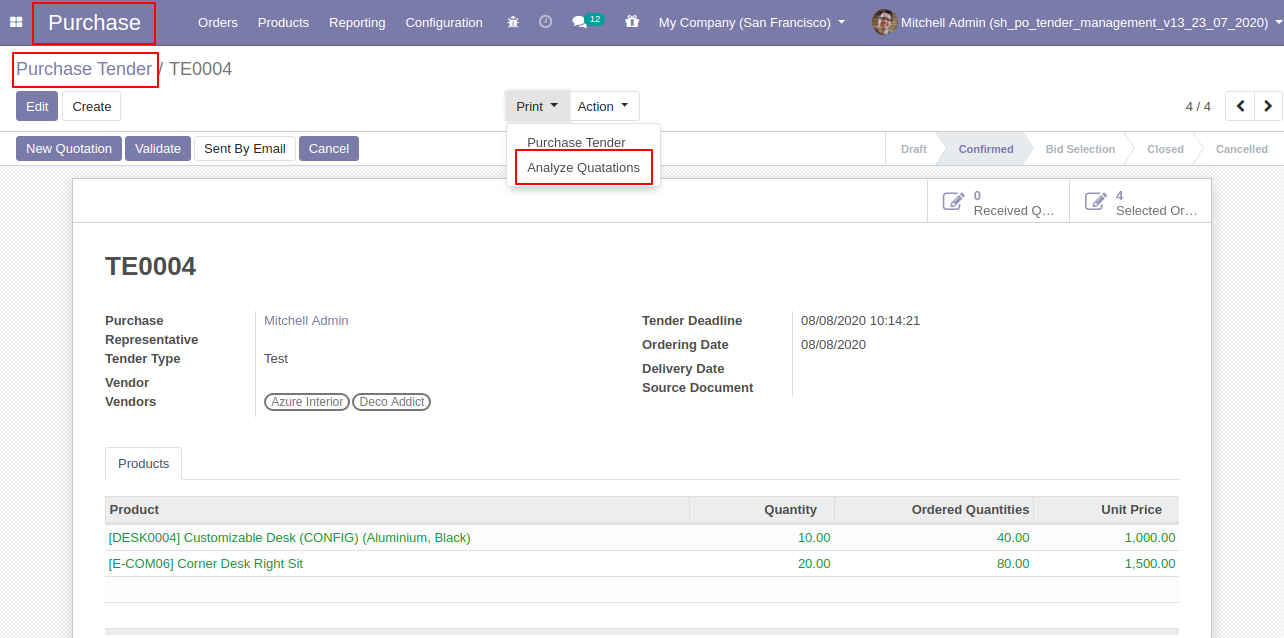
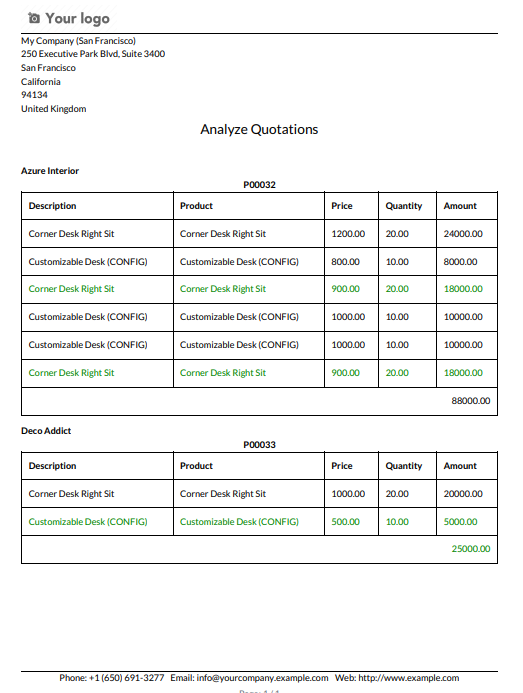
"Analyze Quotations" PDF Report.
v 13.0.4
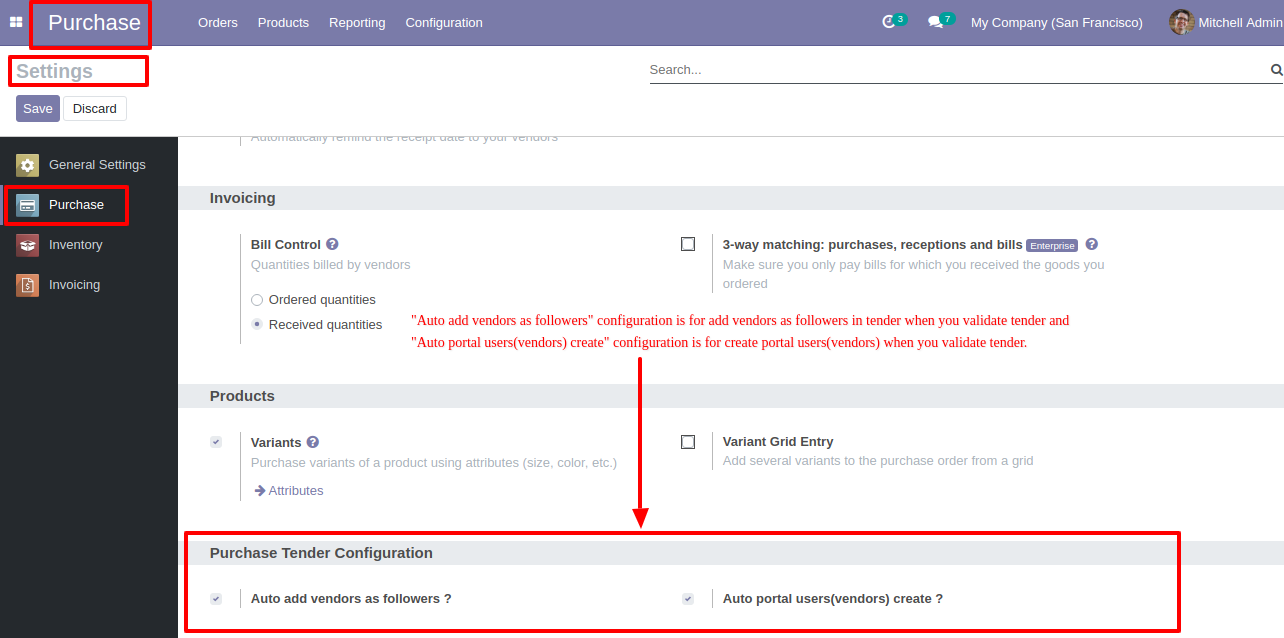
Configuration to add vendors as followers and create portal users(vendors).
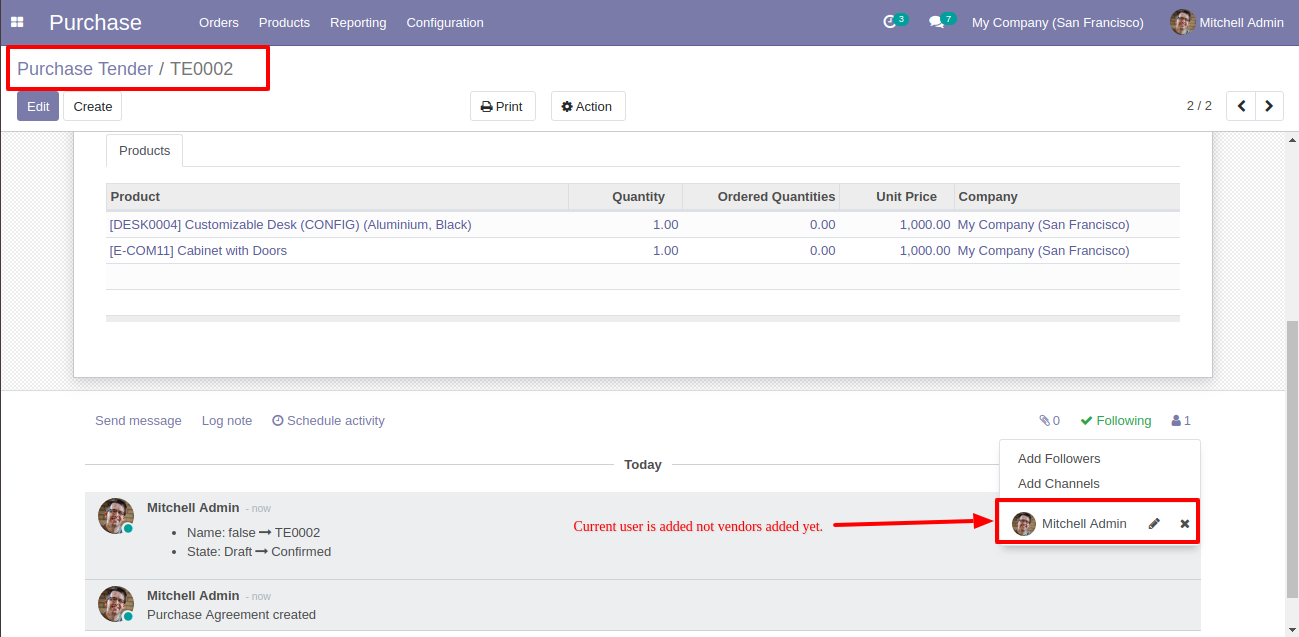
Currently, users(vendors) are not added as followers.
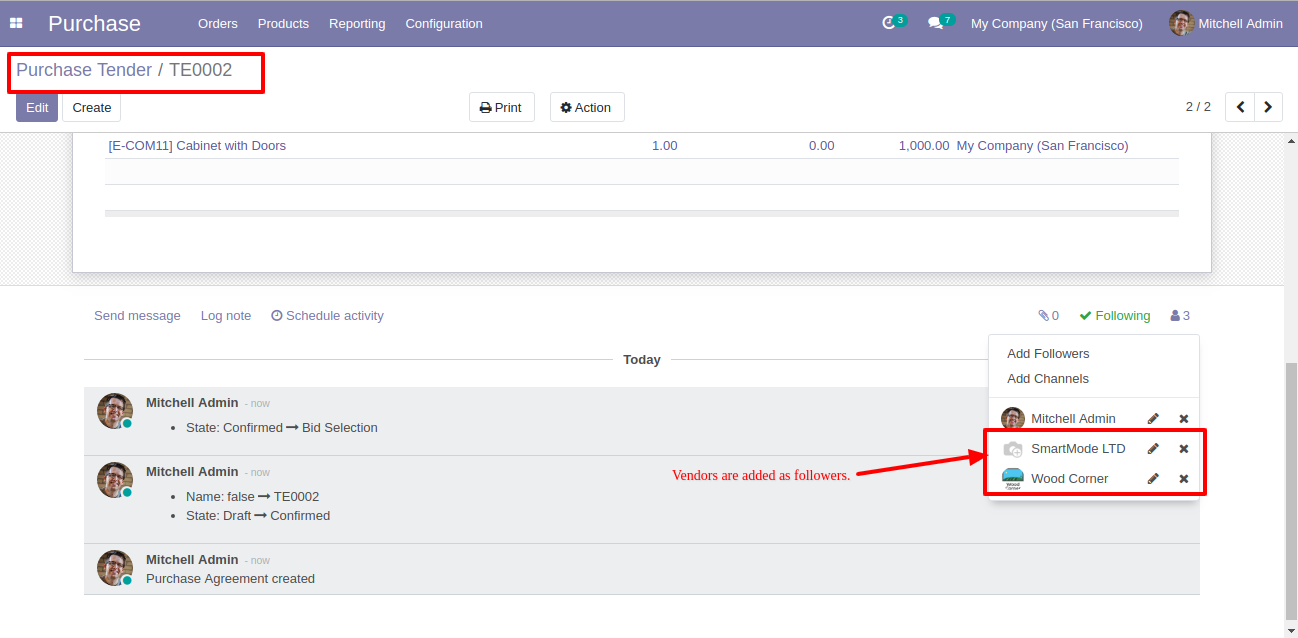
Now validate the tender.
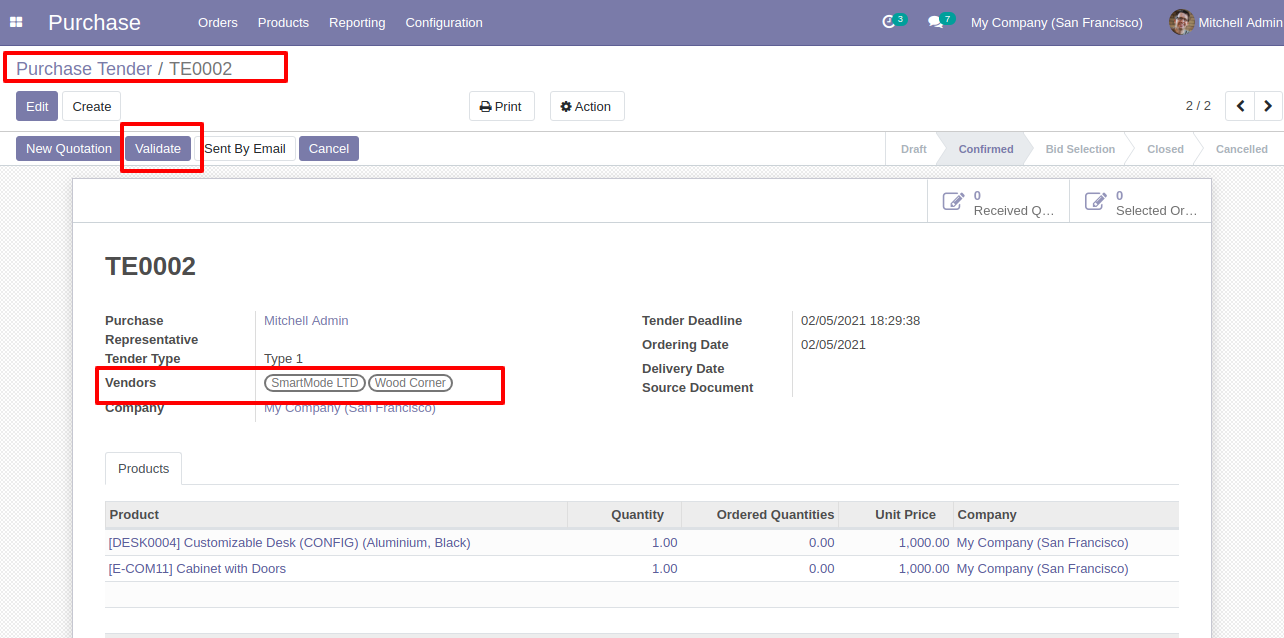
After validating the tender, vendors are added as followers.
Now we send the tender by email so press the "send by email" button.
You can see recipients/vendors names.
After sending the tender by email, vendors are added as followers.
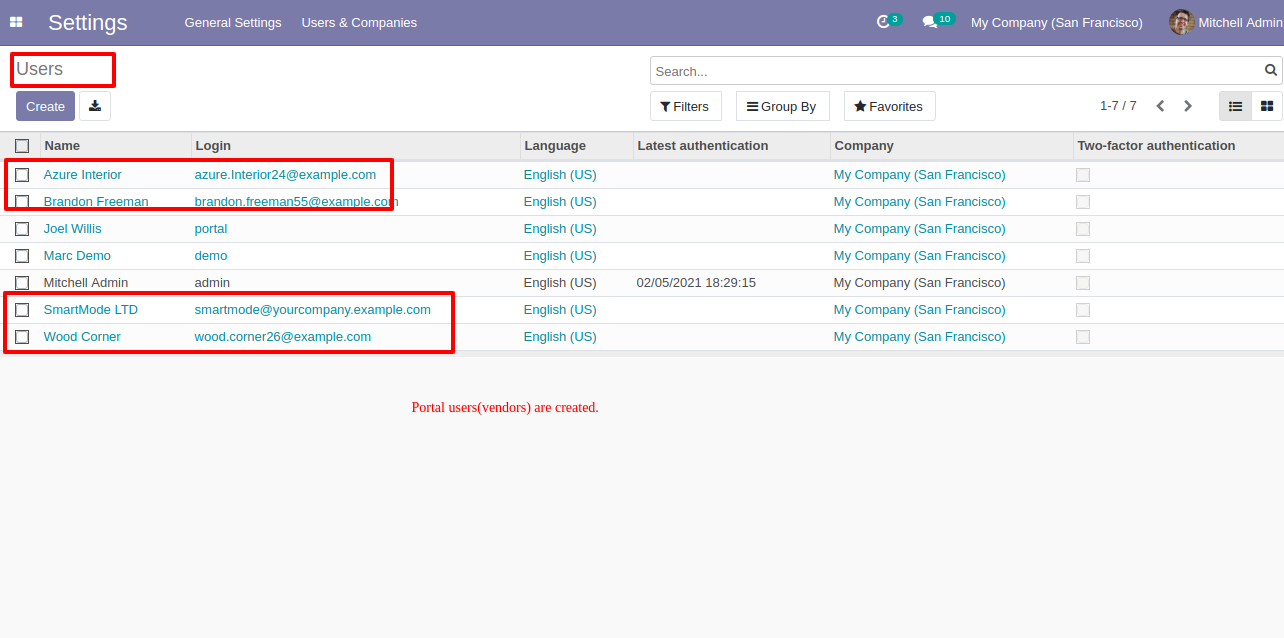
The portal users(vendors) created based on the configuration when validate the tender.
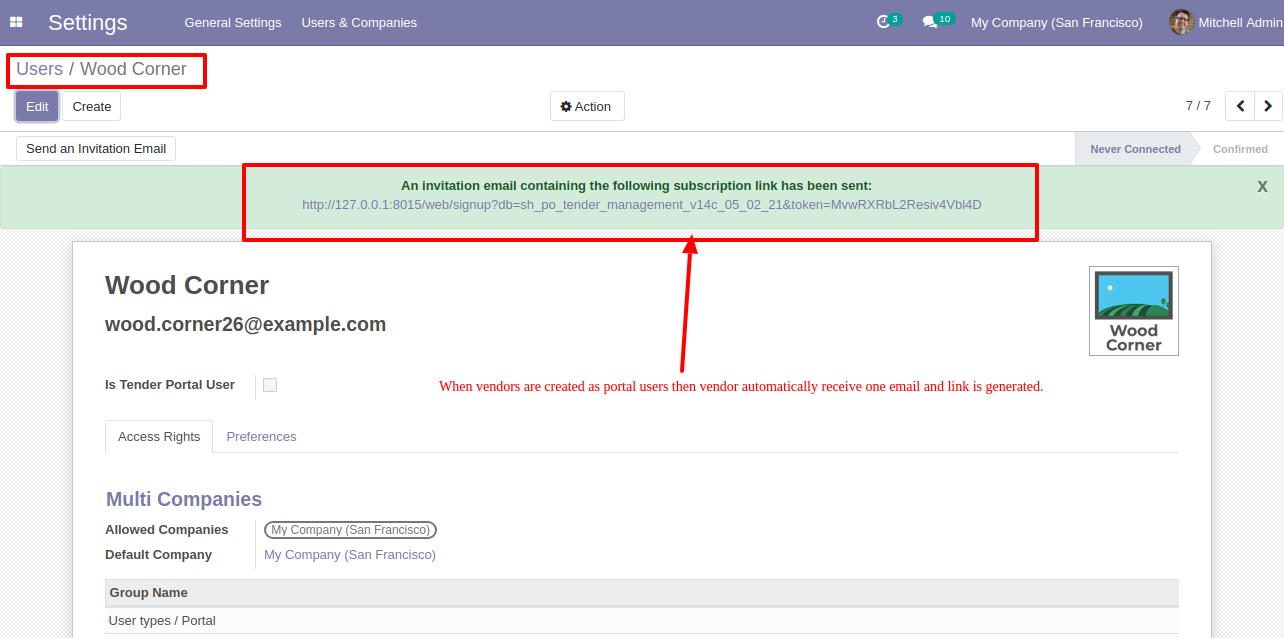
The vendors receive one email and link when creating vendors as a portal (users).
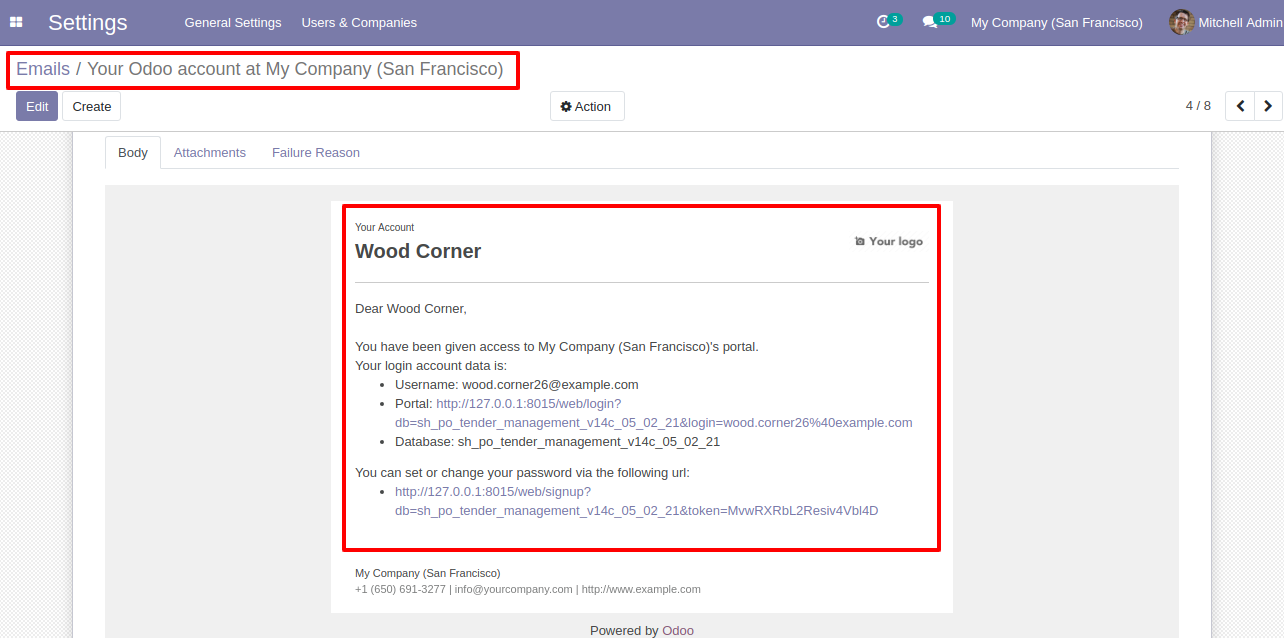
The vendors email with link for portal access.
You May Also Like