












Point Of Sale Customer Screen

The customer screen shows you information about customers, like their taxes and discounts, and lets you show ads with pictures and messages. You can add new customers or give feedback. You can also write notes about customers, and you can put your logo on the screen. And there's a virtual keyboard to make typing easier. You also can show customer details, and customer notes on the screen.

Related Modules
Hot Features
Features
- Easy to add advertisement multiple images with Image title.
- Easy to add advertisement sentence on the screen.
- You can set a time to change images on the screen.
- You can see discounts and taxes on the customer screen.
- You can easily create a new customer from the screen.
- Customers provide feedback directly through the Customer screen.
- You can see the customer notes on the Customer screen.
- You can use a virtual keyboard in any input field.
- Easy to set customised logo.
- You can easily check the Customer Details from the Screen.
- You can see order details on the Customer Screen.
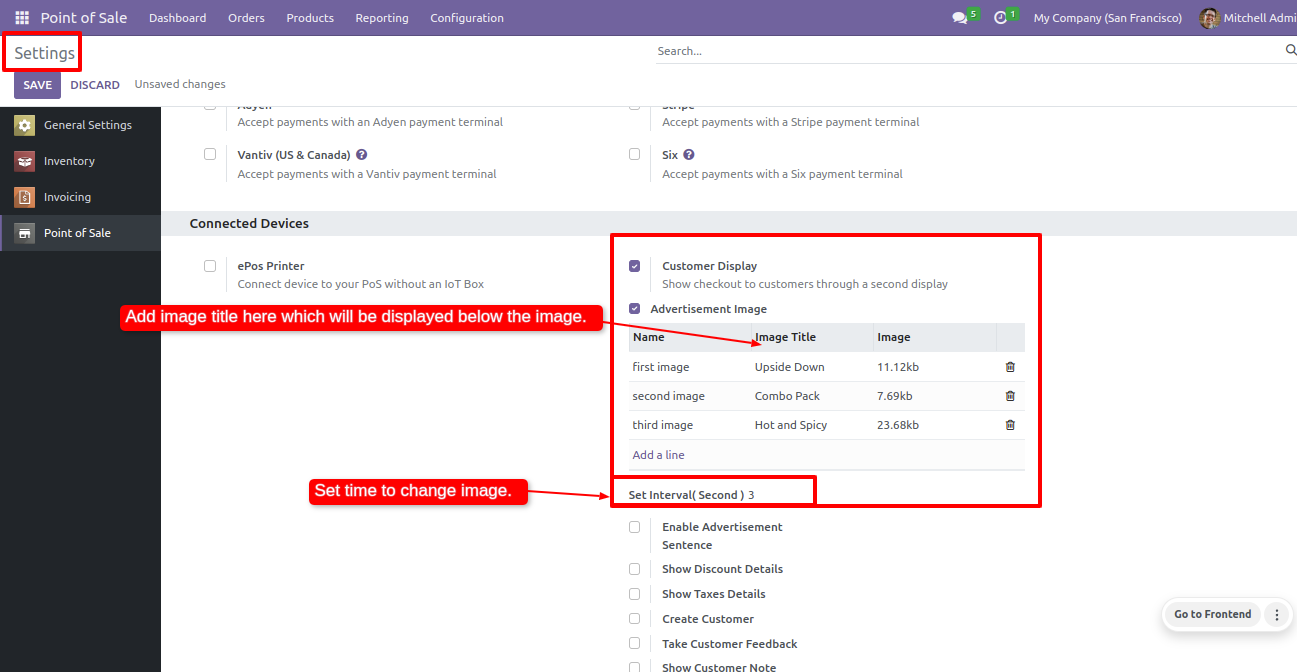
Go to the POS Settings ==>Allow Customer Display ==> Allow appropriate customer
settings.
Allow Advertisement Image setting and add image name, image title and upload image.
And set the interval time to change the image.
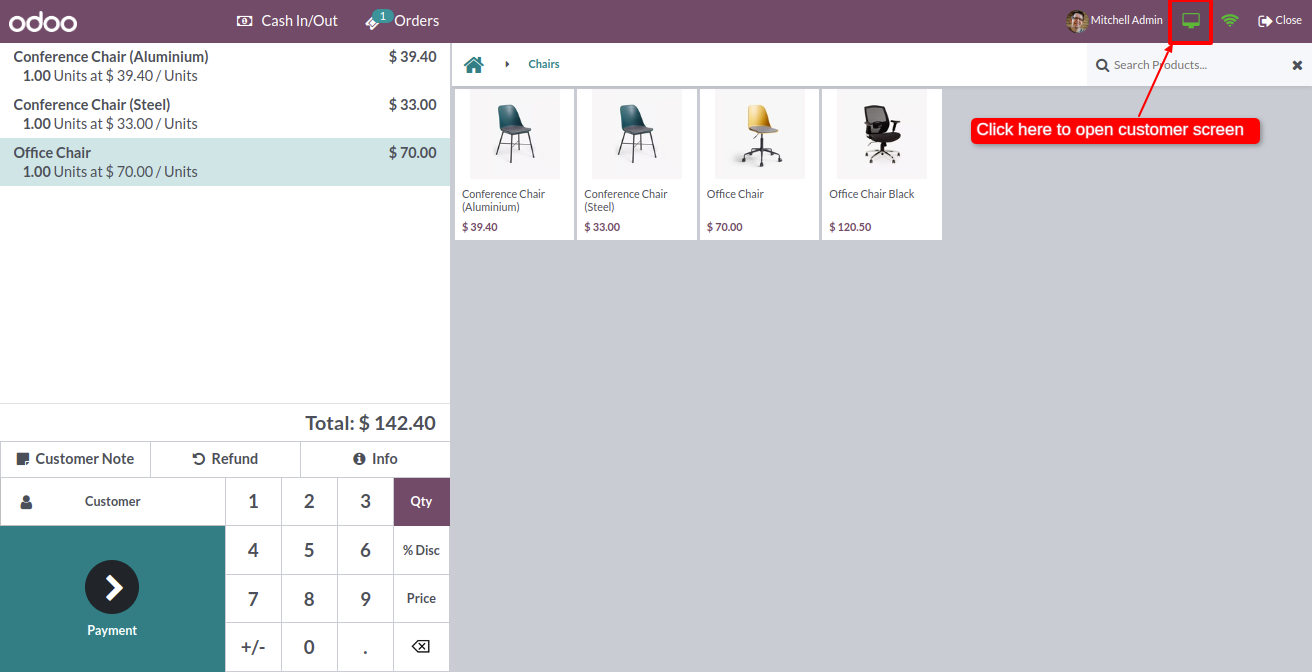
Click on the customer screen icon from the POS screen.
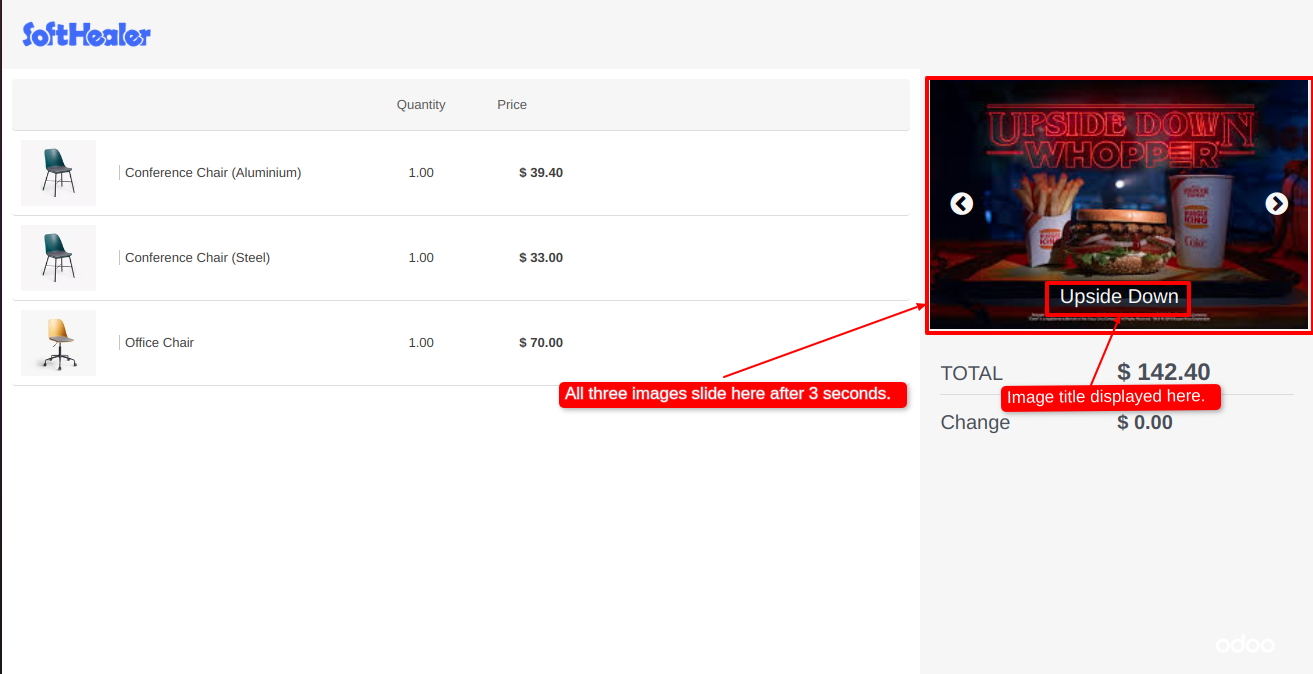
The customer screen looks like the one below.
You can see the image title and image slide on the screen.
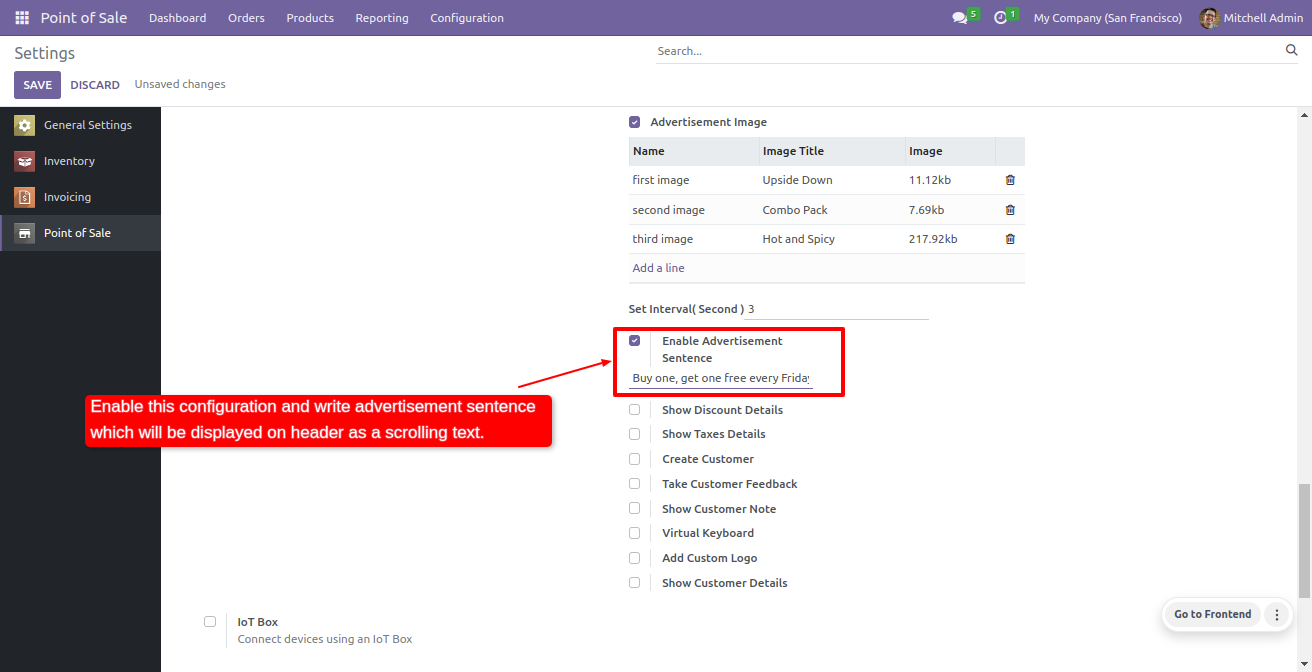
Go to the POS settings ==> tick Enable Advertisement Sentence ==> write a sentence for the advertisement.
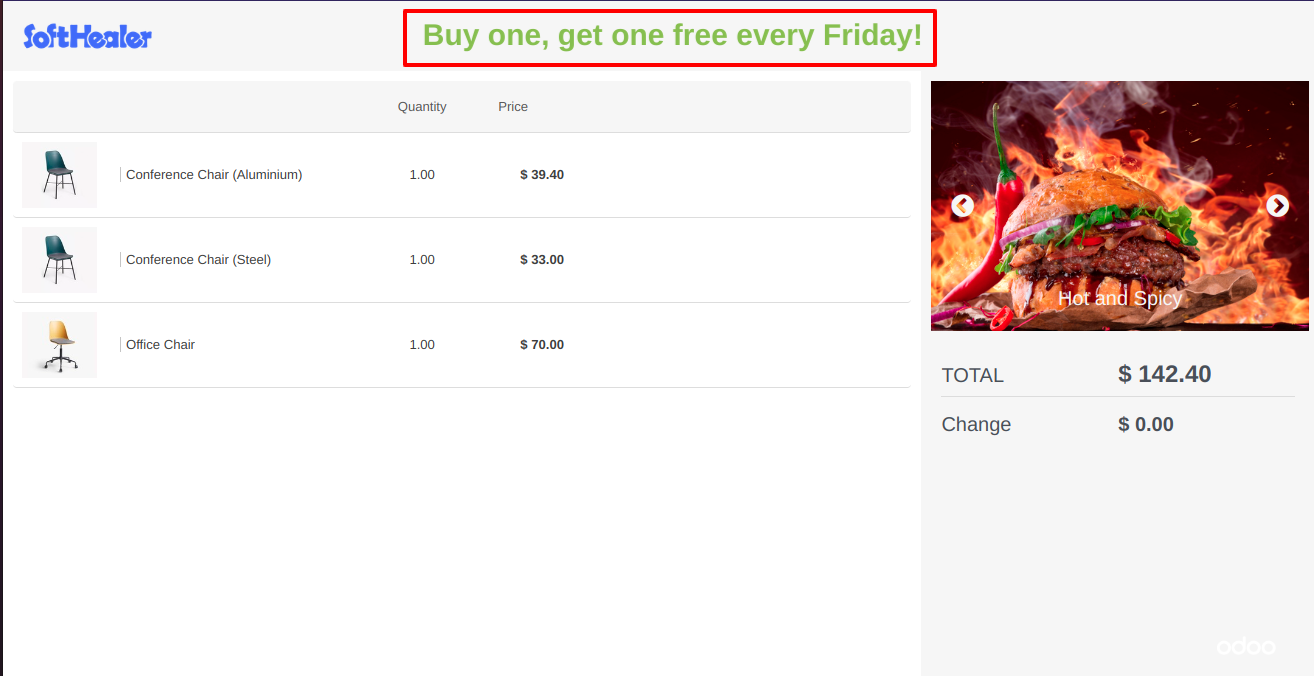
You can see the advertisement sentence on the customer screen.
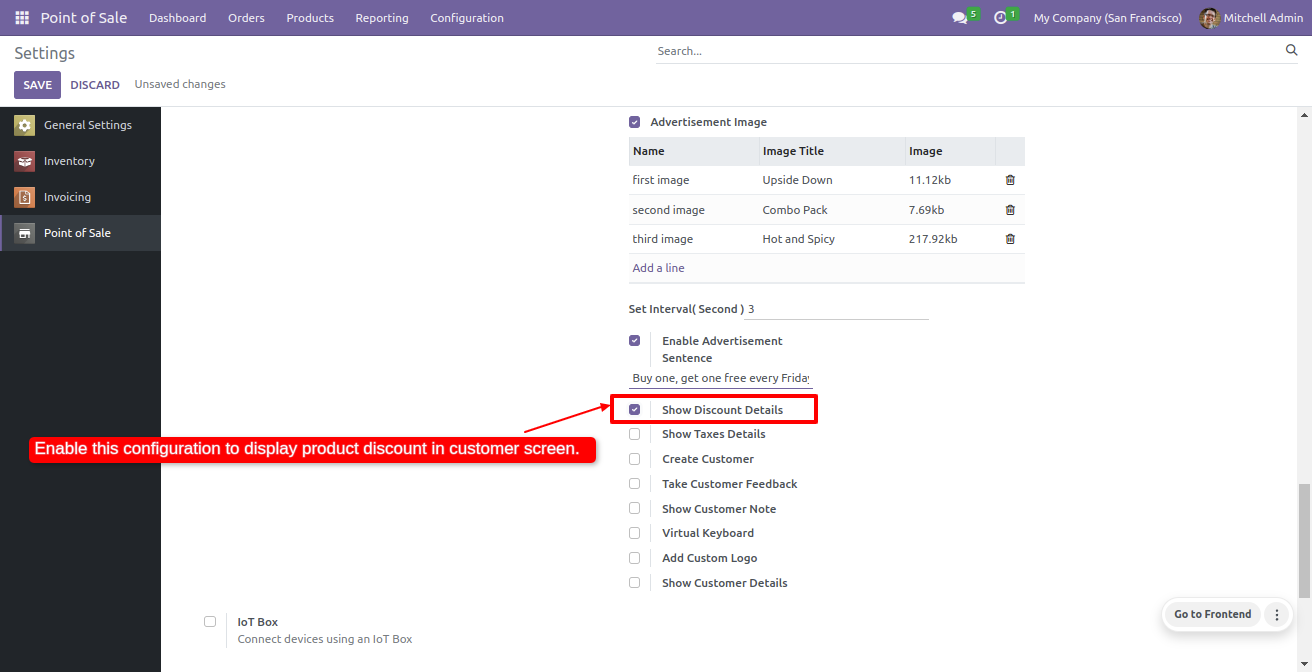
Go to the POS settings ==> Tick Show Discount Details.
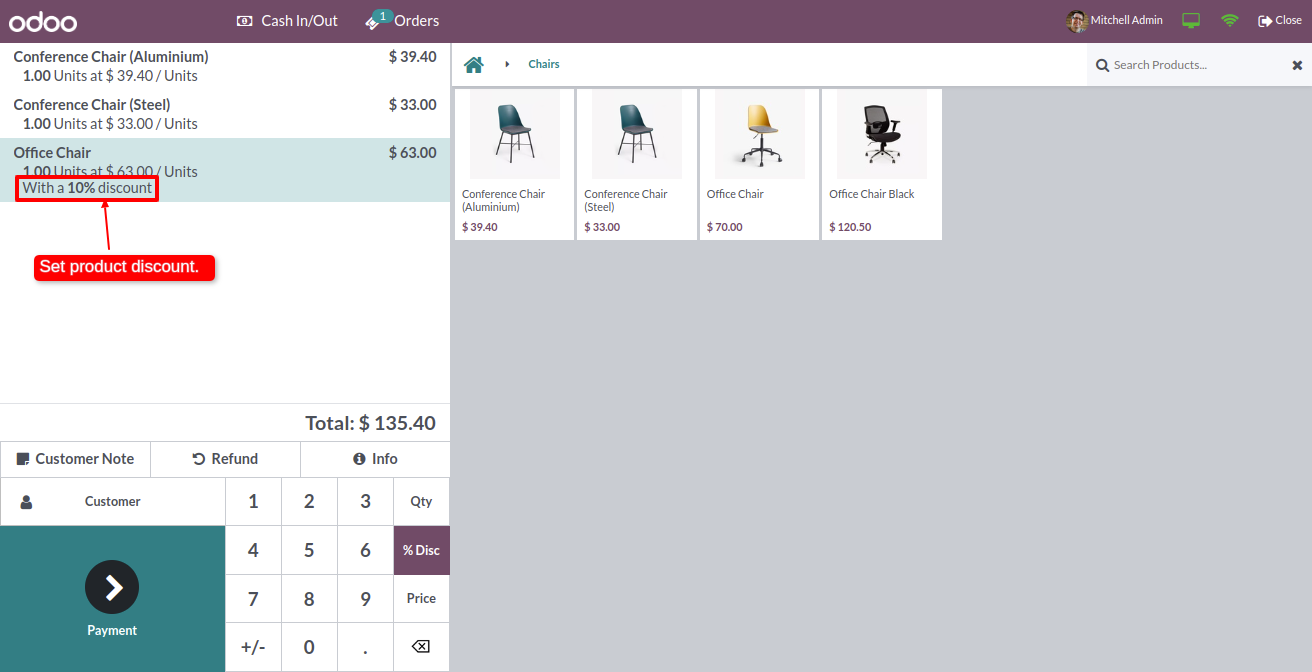
You can see the discount details in the POS screen.
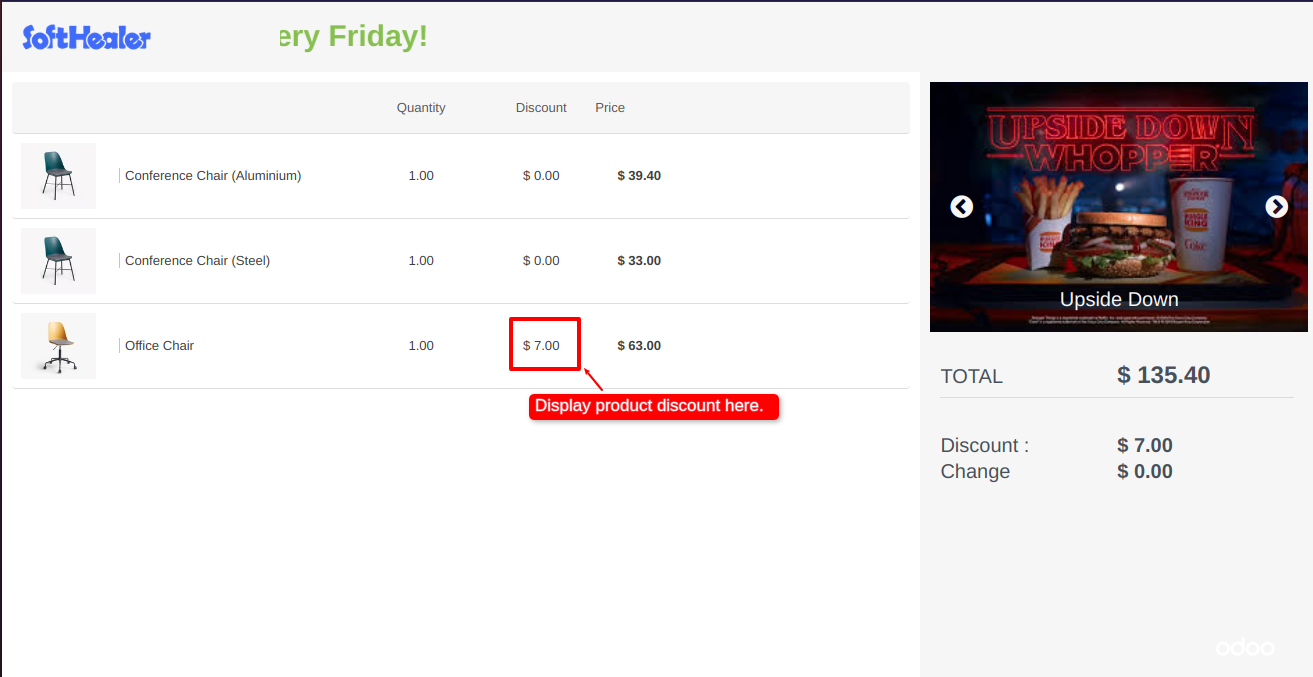
The product discount details are also visible on the customer screen.
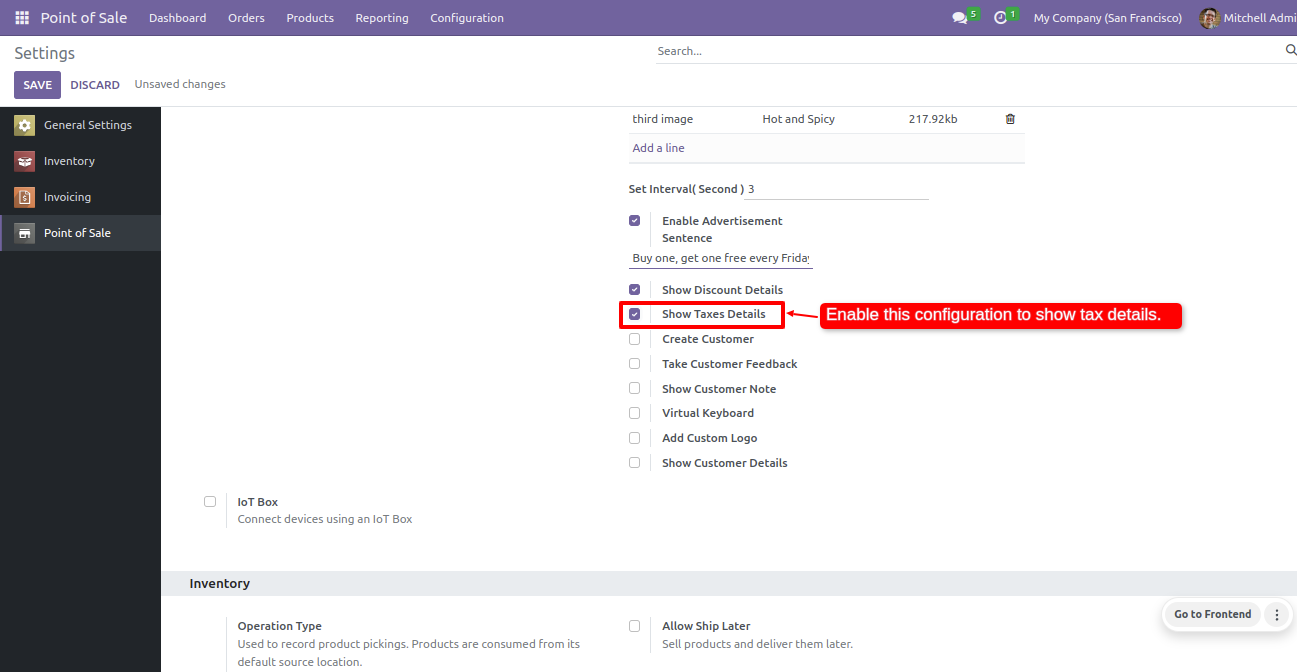
Go to the POS settings ==> tick Show Taxes Details.
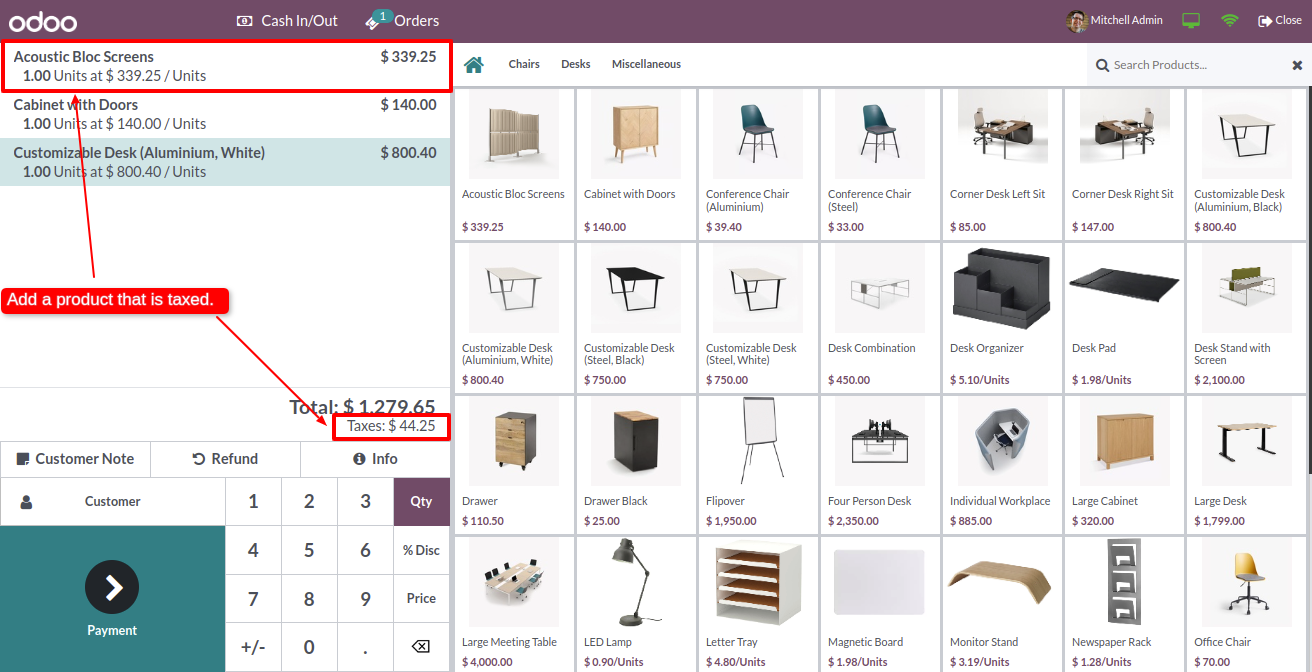
You can see the tax details in the POS screen.
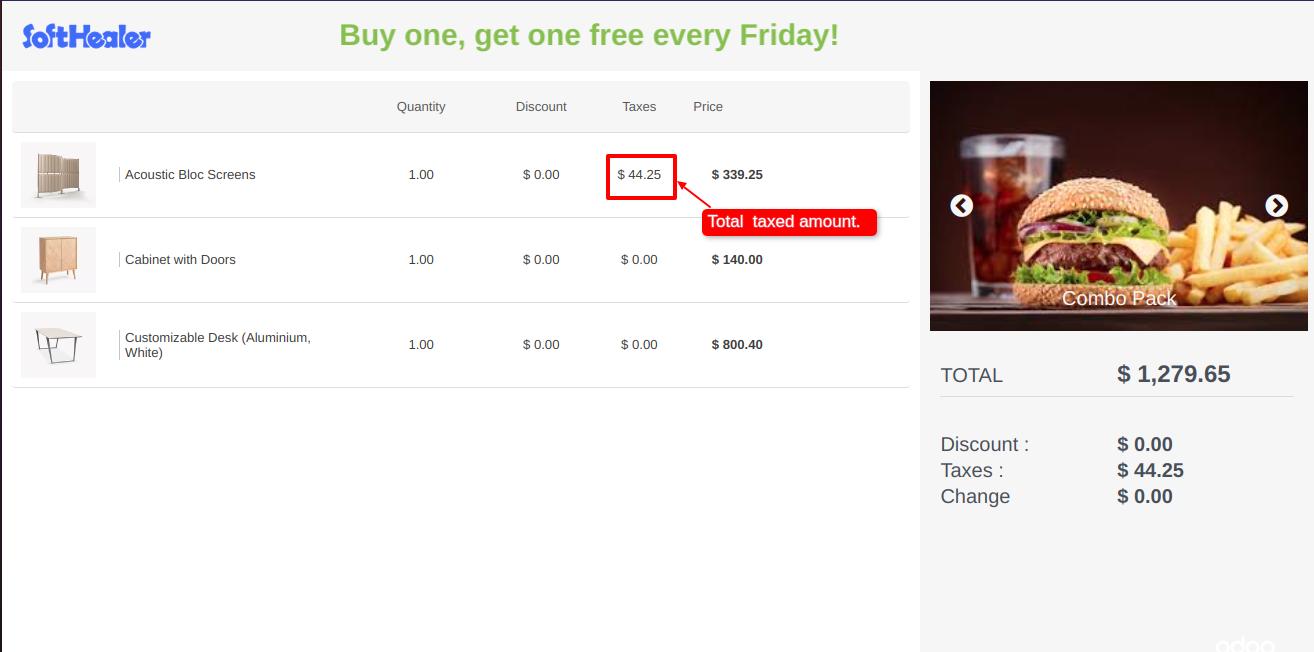
The product tax details are also visible on the customer screen.
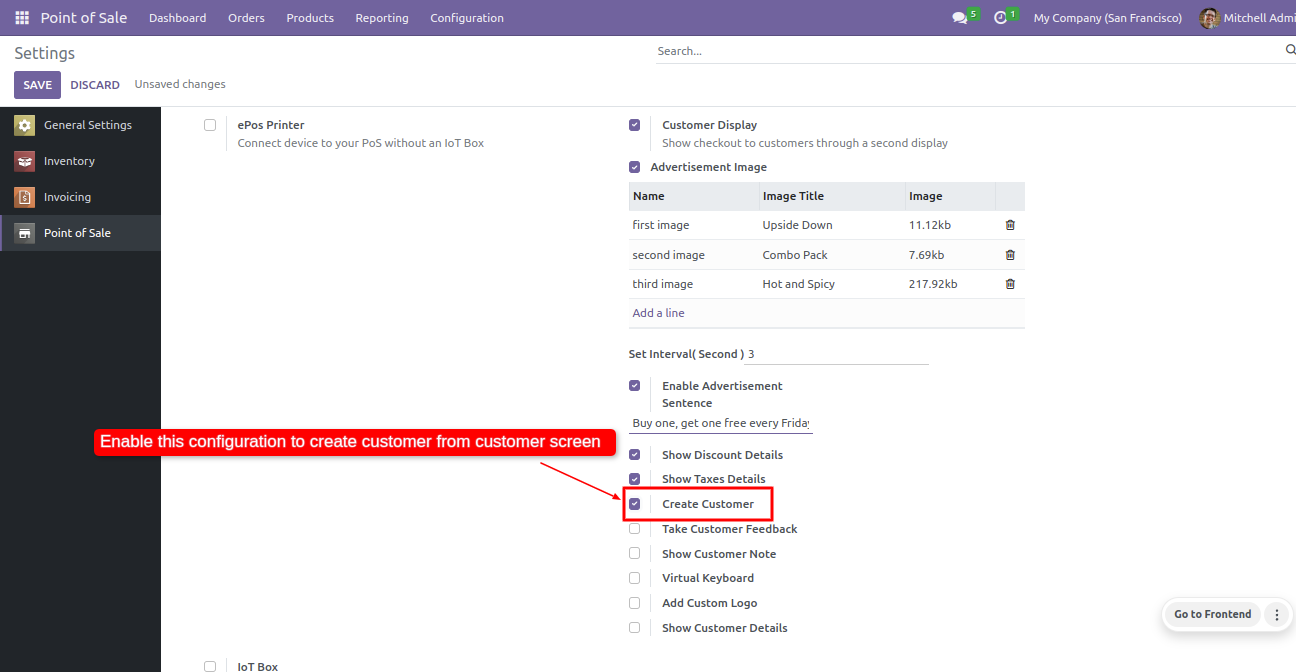
Go to the POS settings ==> tick Create Customer.
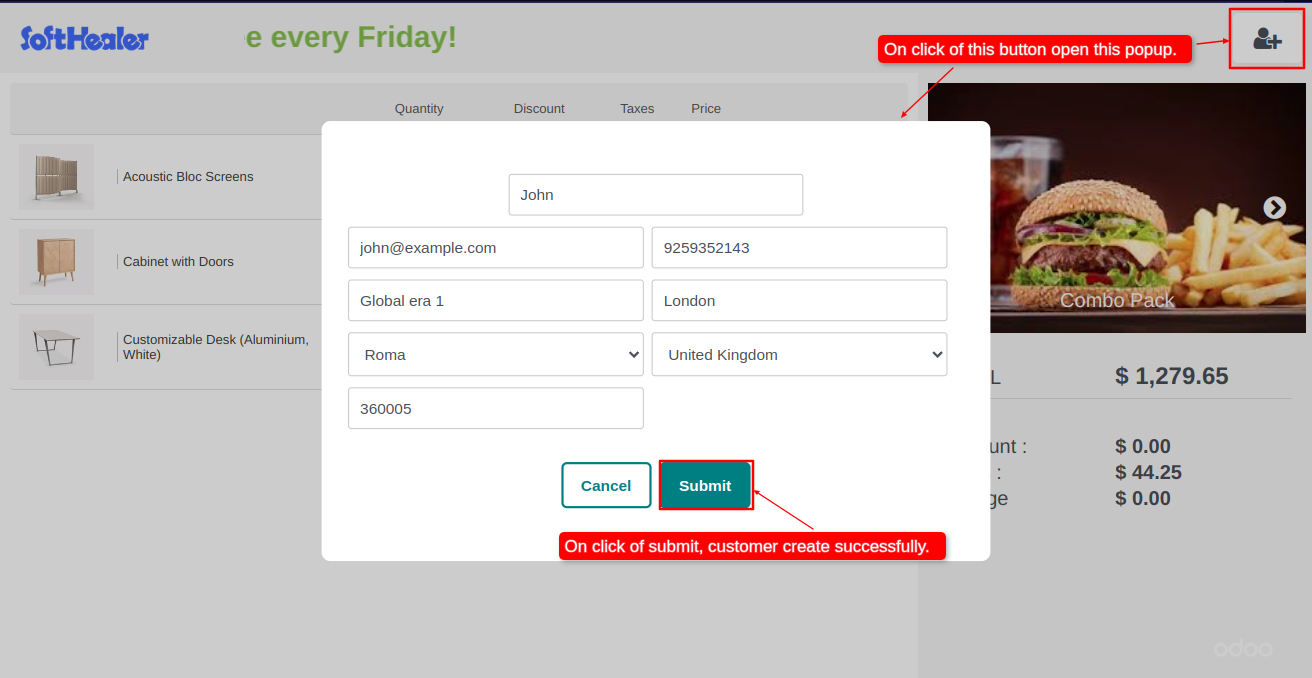
Click on the create button, fill up customer details and click on the submit button.
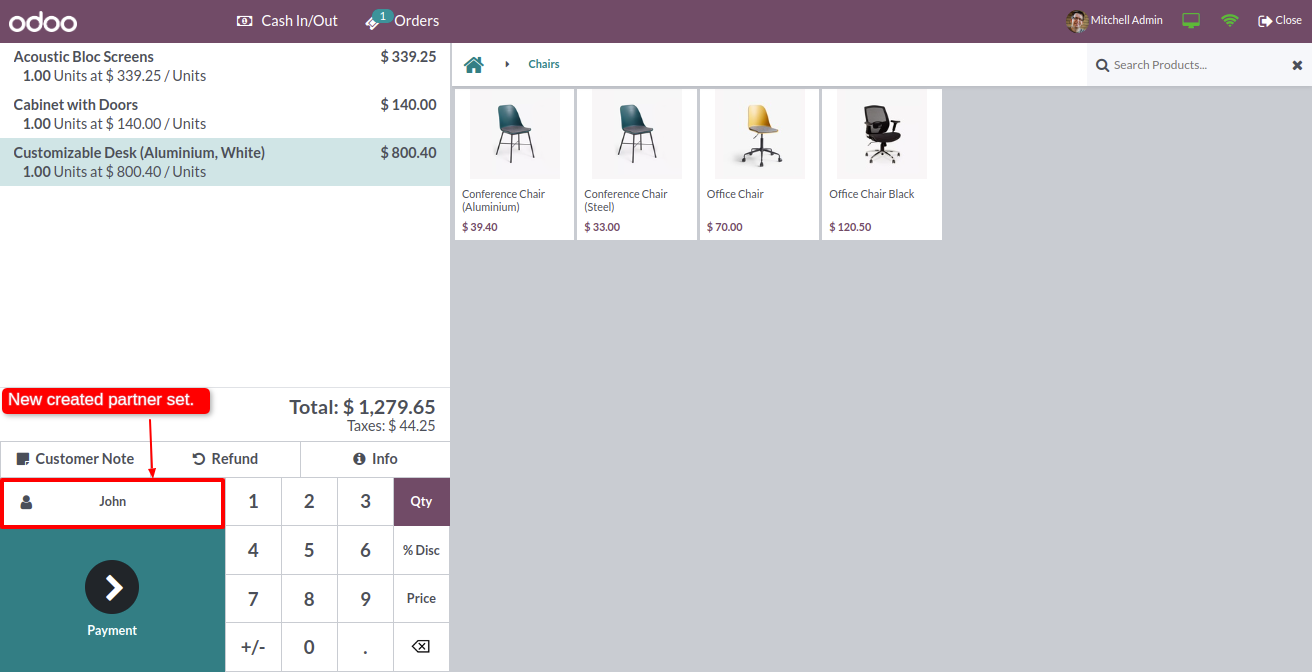
You can see the newly created customer in the POS screen.
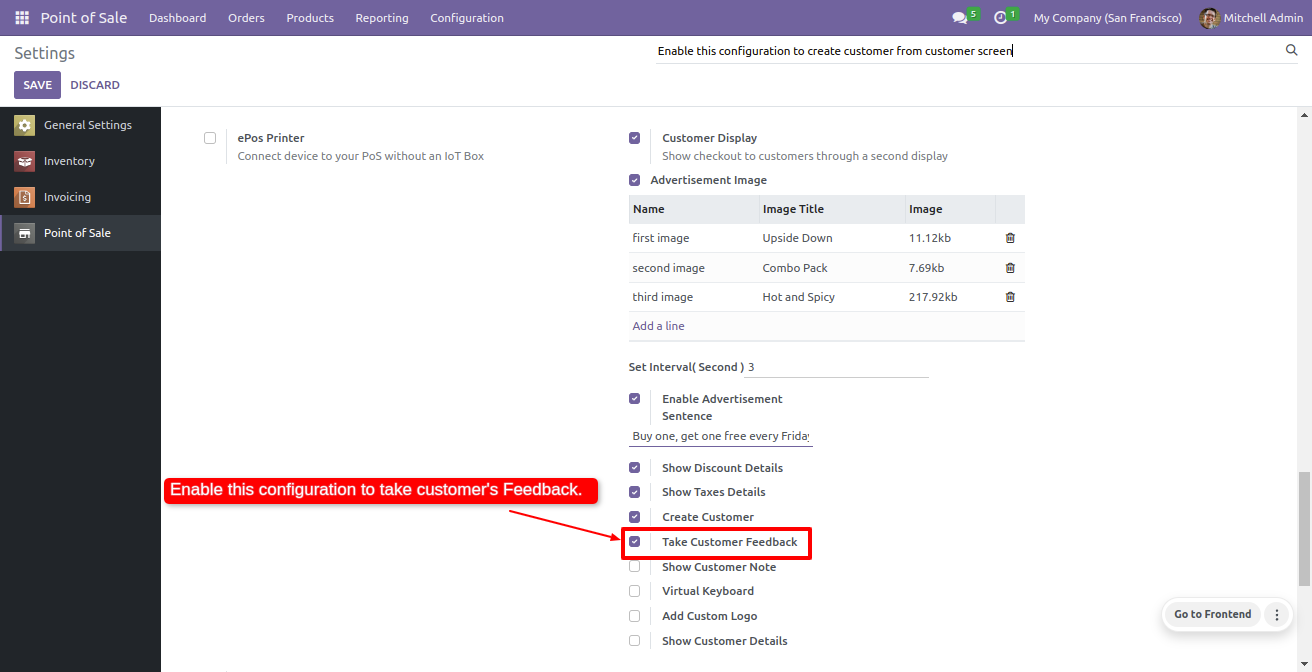
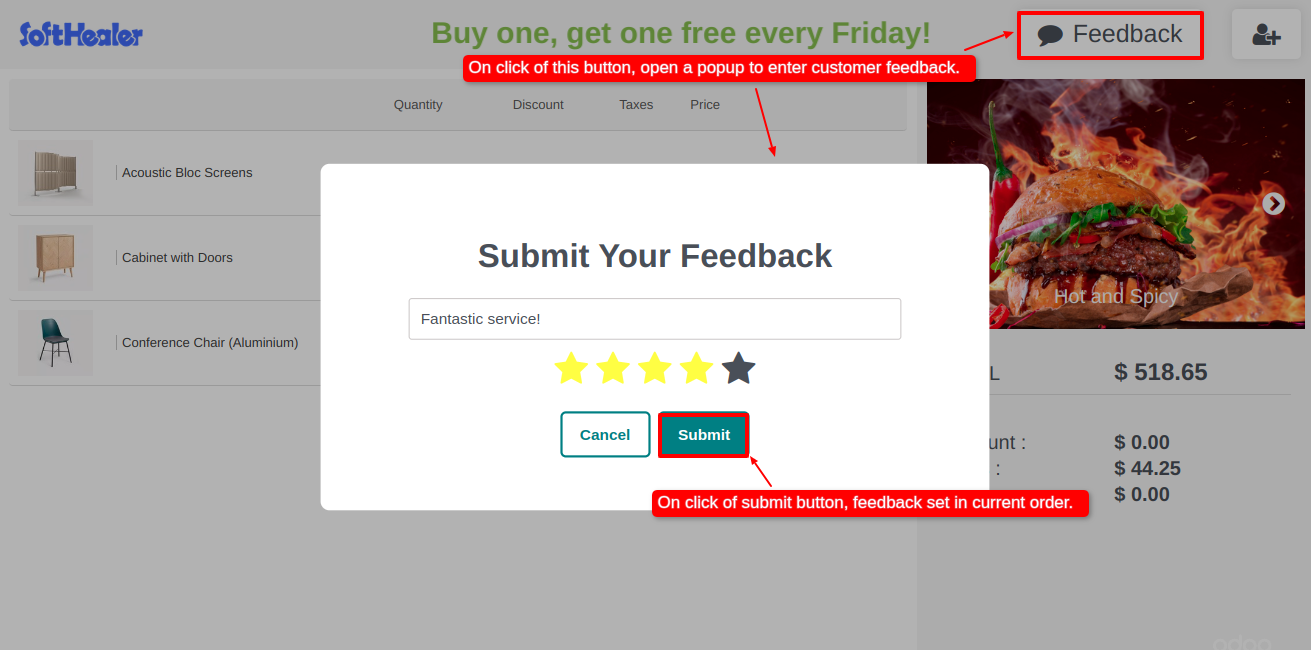
Go to the POS settings ==> tick Take Customer Feedback.
Click on the feedback button.
It will open a feedback popup.
Enter feedback and click on the Submit button.
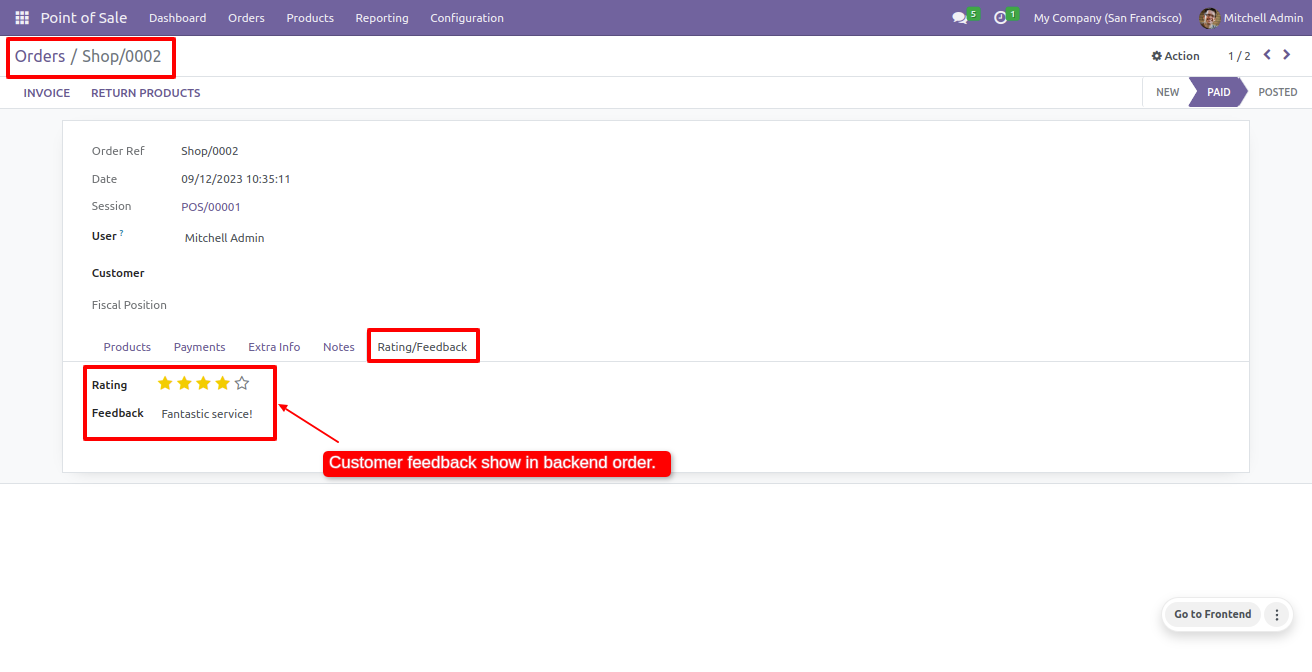
Feedback is automatically added in the backend.
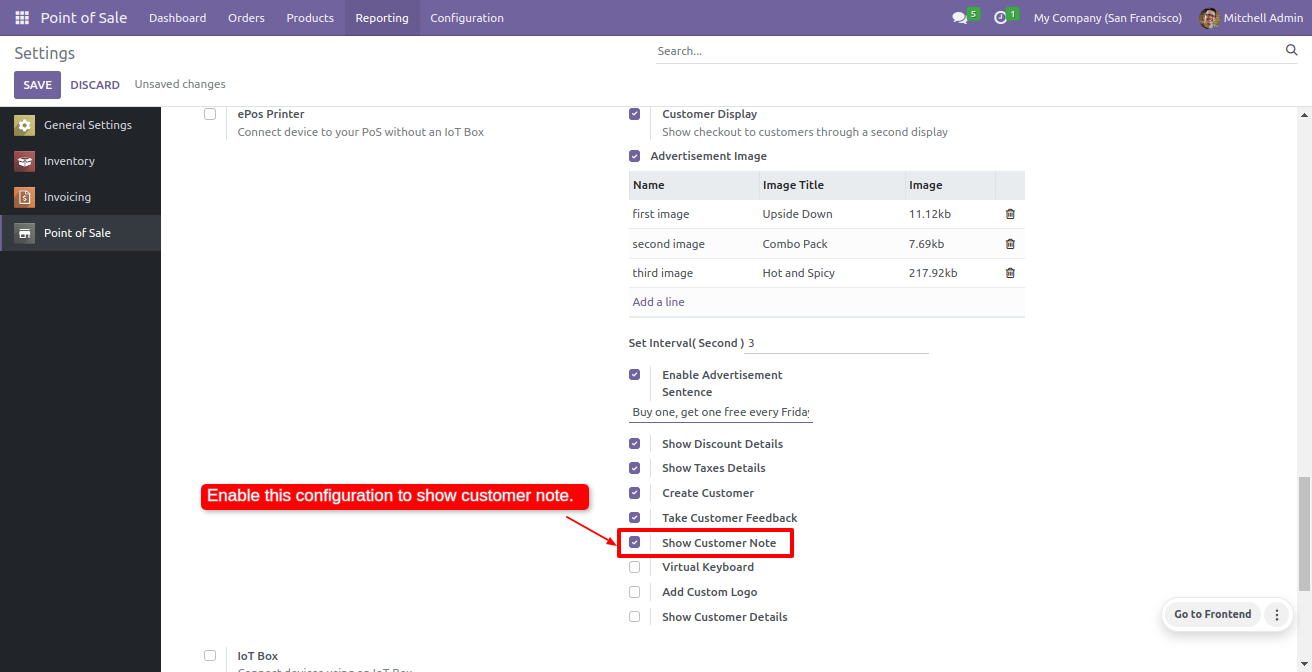
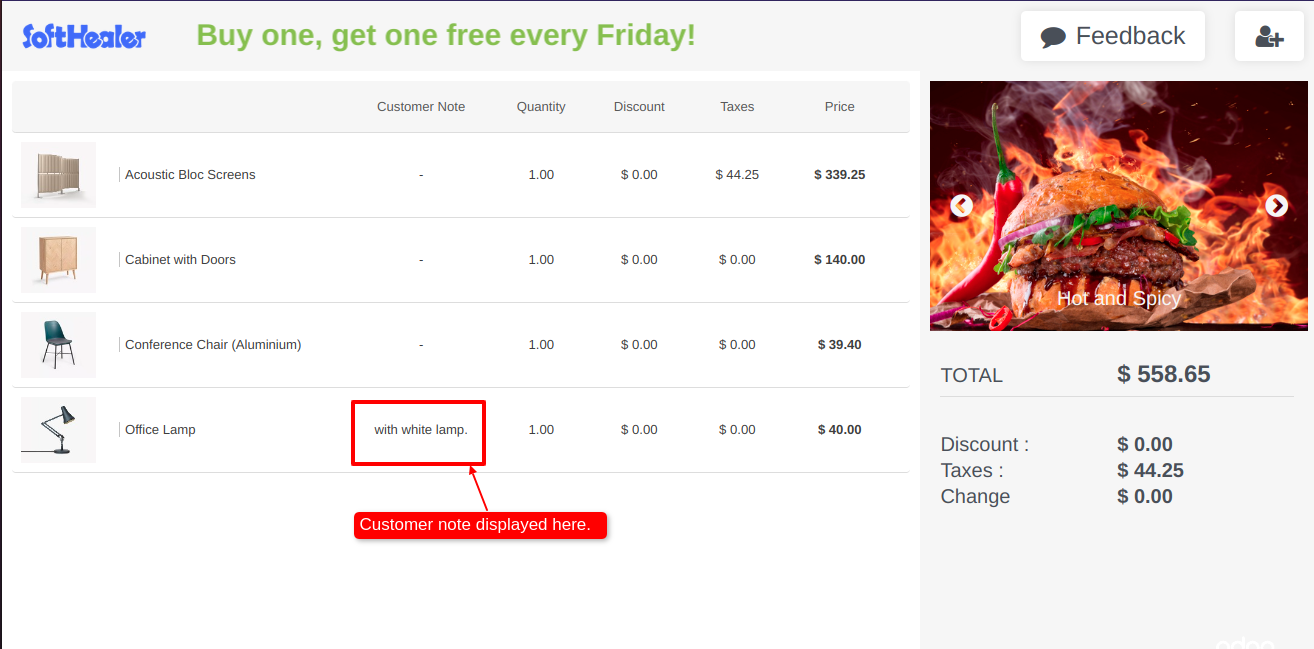
Go to the POS settings ==> tick Show Customer Note.
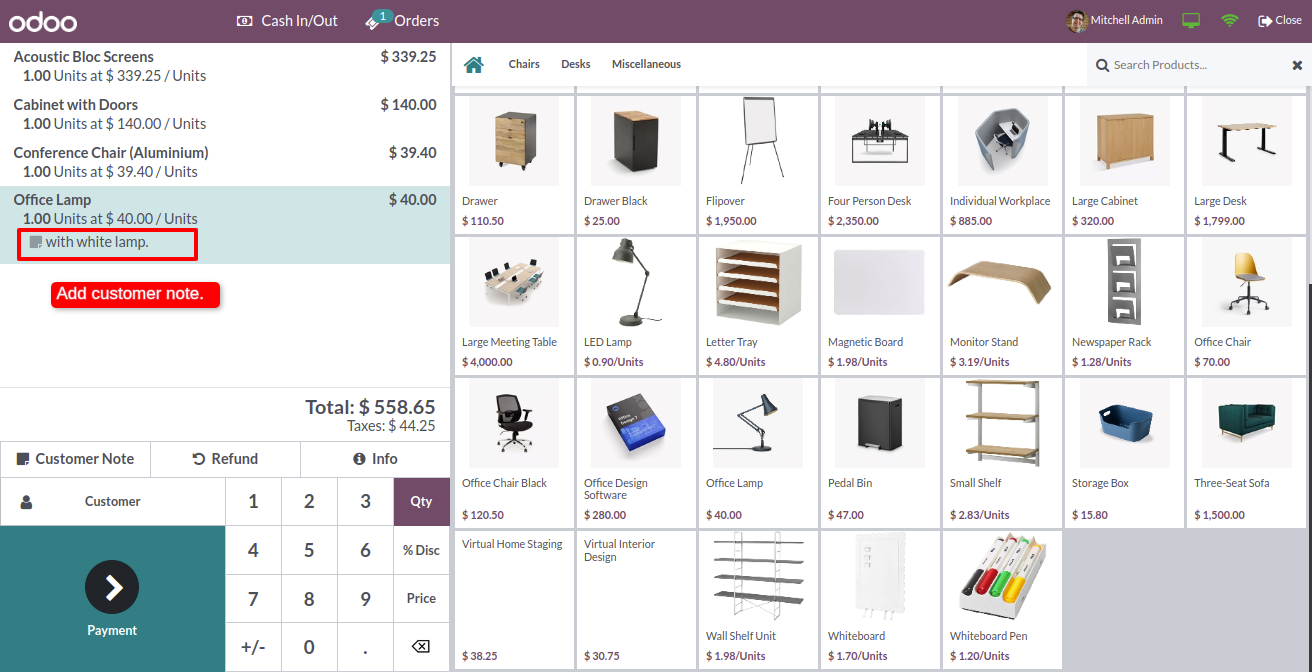
You can see the customer note on the POS screen.
The customer note is also visible on the customer screen.
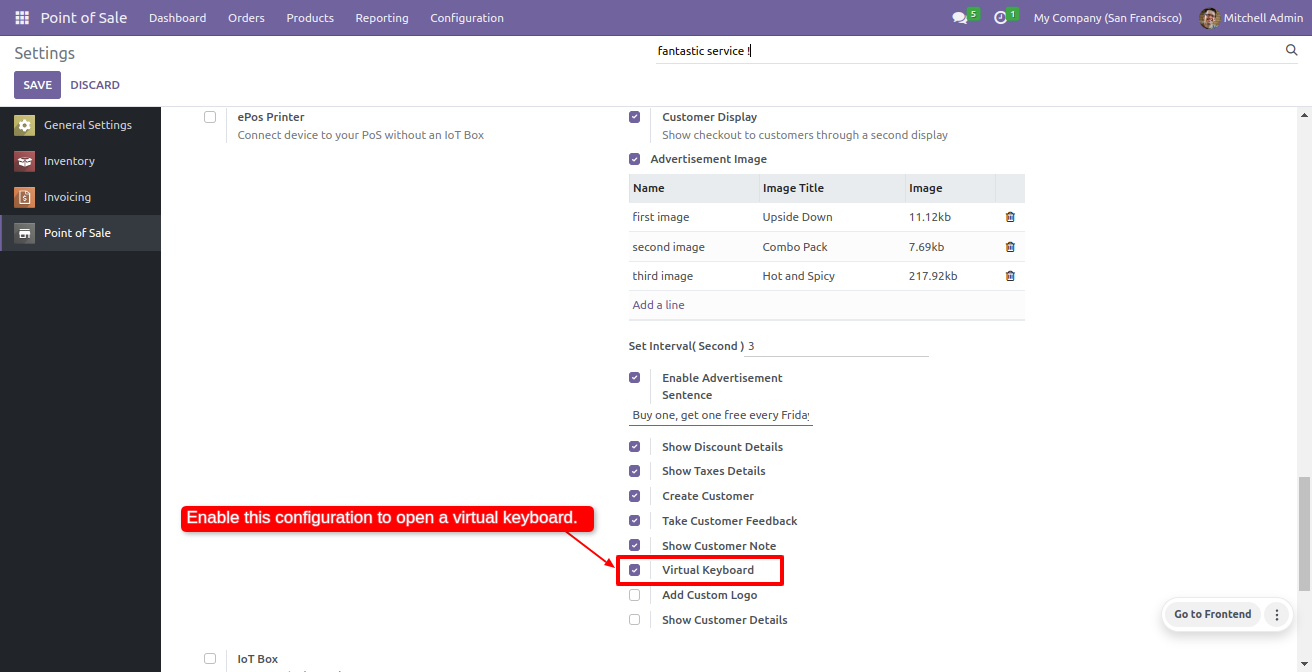
Go to the POS settings ==> tick Virtual Keyboard.
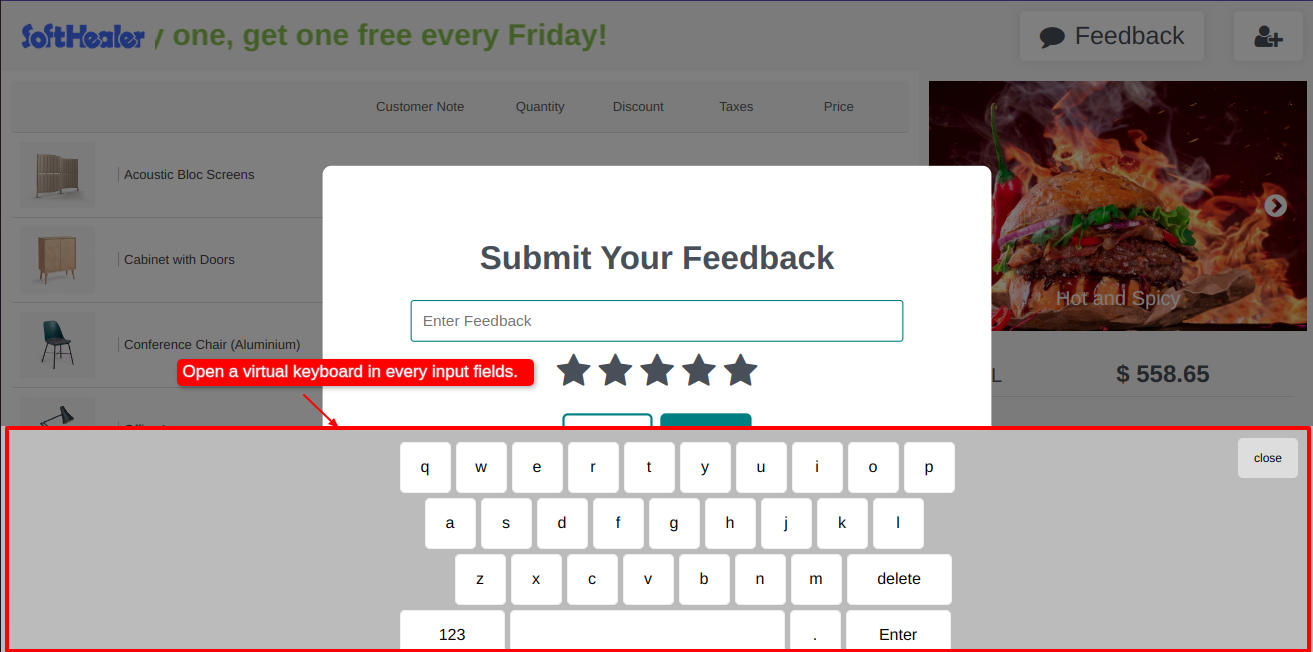
The virtual keyboard is visible in every input field.
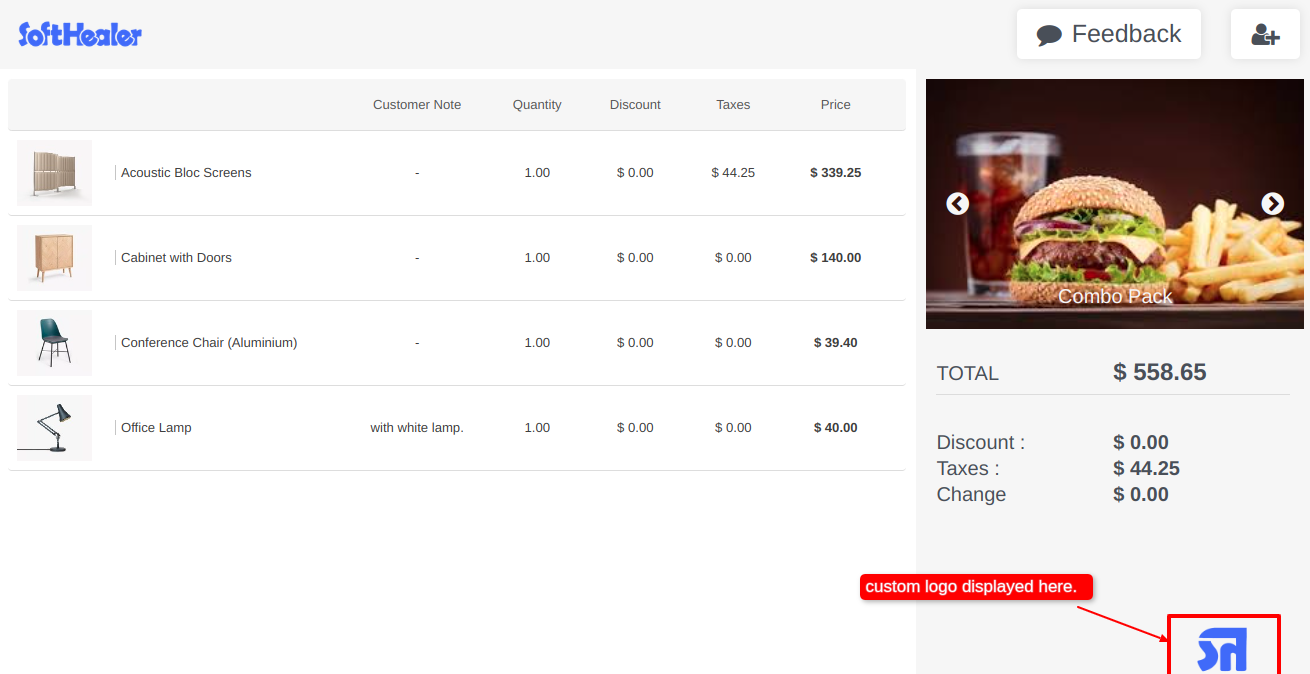
Go to the POS settings ==> tick Add Custom Logo.
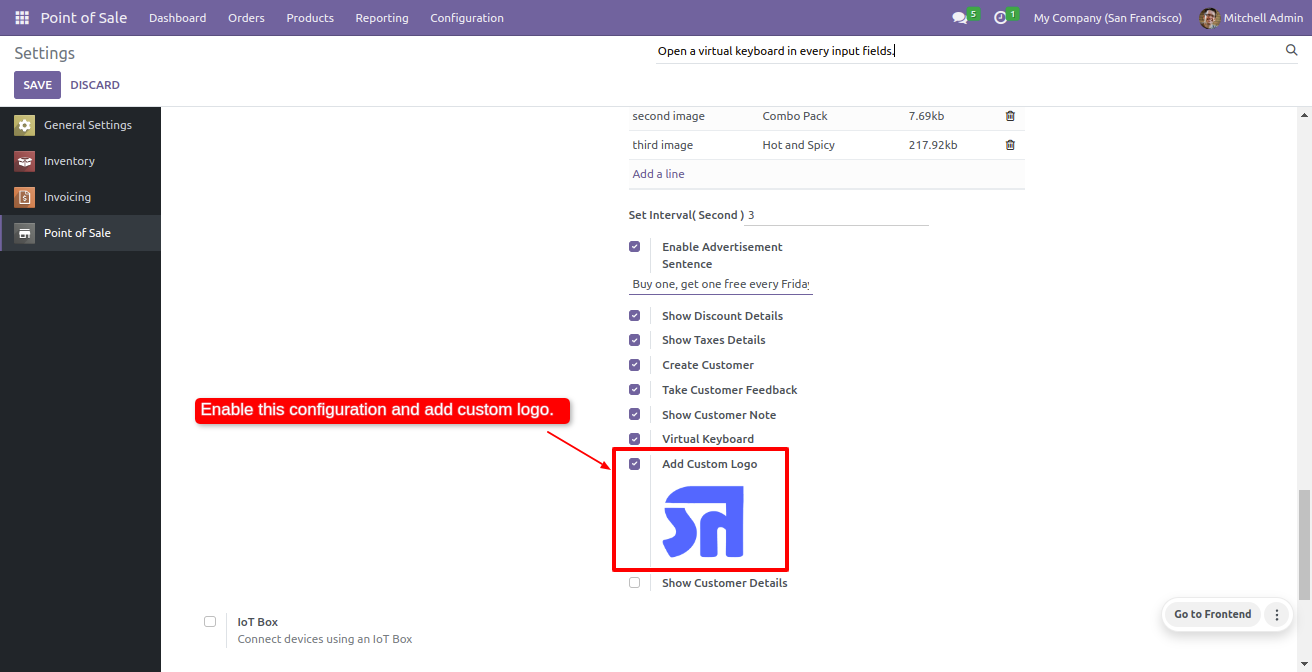
You can see the custom logo on the customer screen.
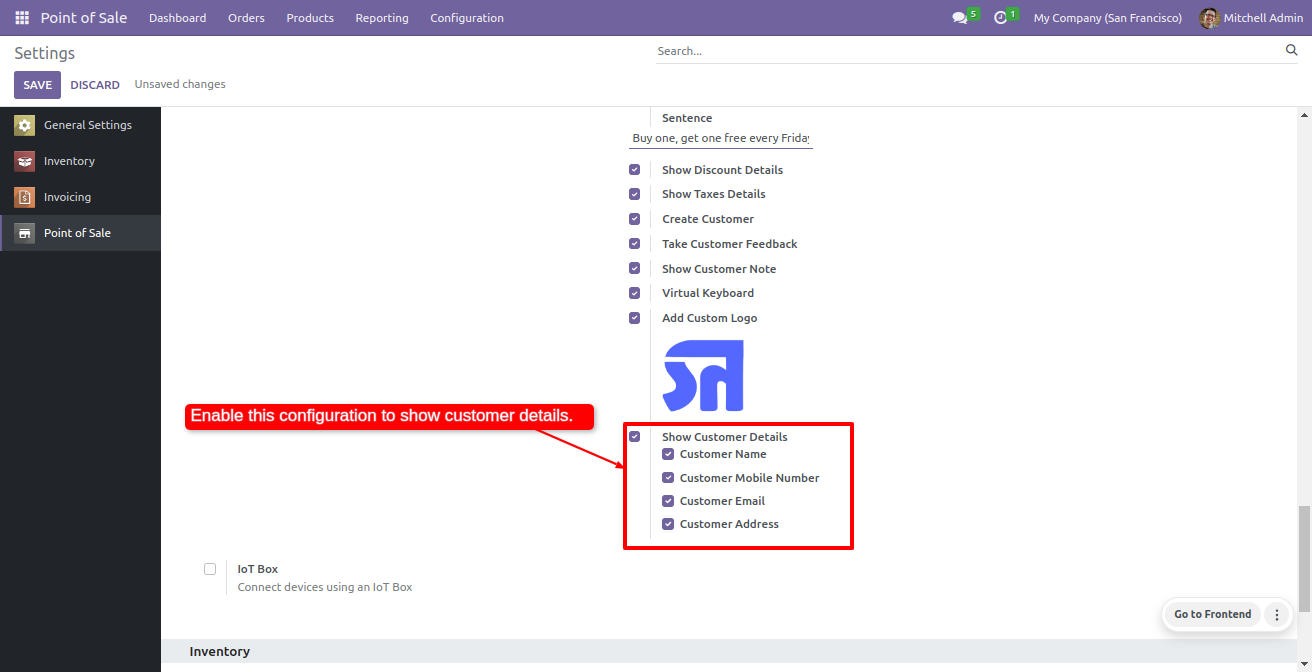
Go to the POS settings ⇒ tick Show Customer Details
Enable Customer name, customer mobile no, customer email and customer address to see the
customer details on the customer screen.
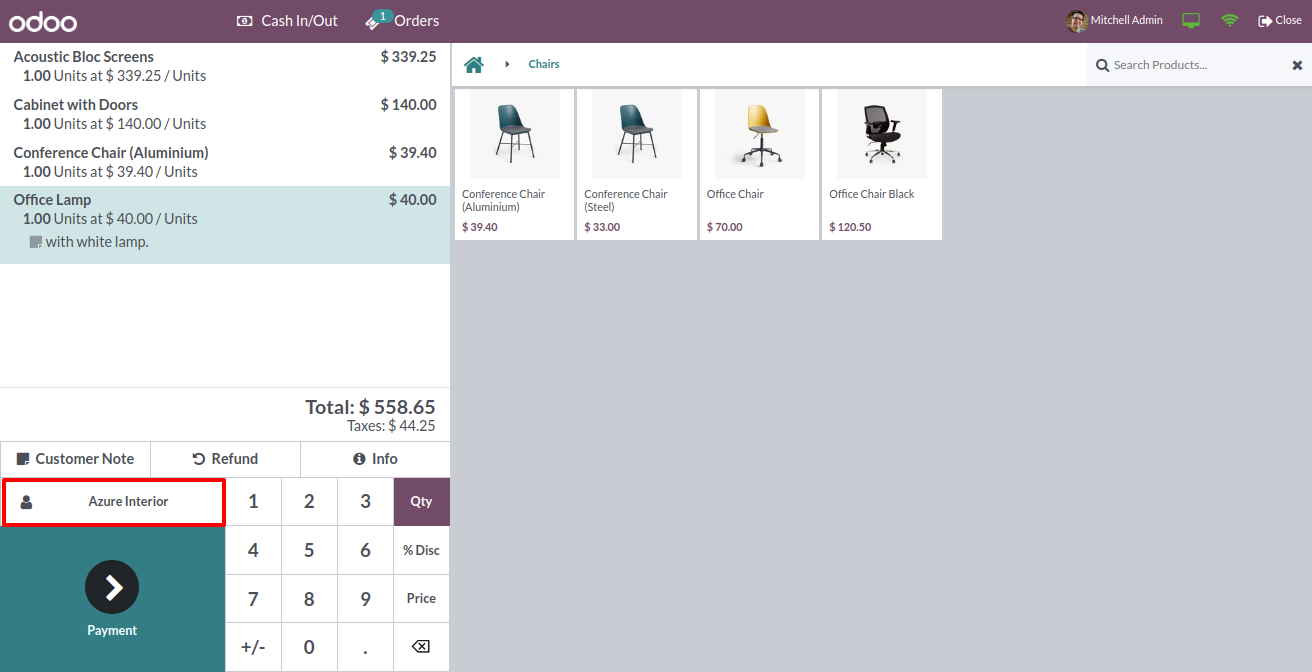
Now click on the Customer from the POS screen.
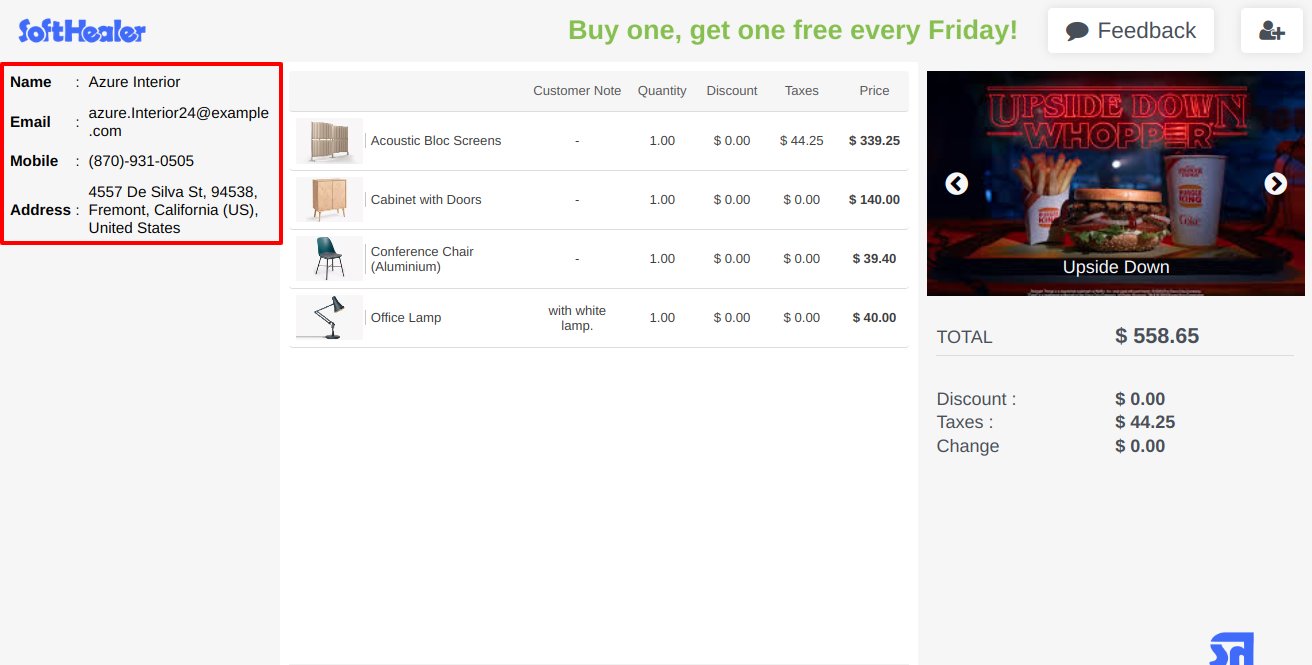
Here, you can see the customer details on the customer screen.
Version 19.0.1 | Released on : 29th September 2025
- Yes, this app works perfectly with Odoo Enterprise (Odoo.sh & Premise) as well as Community.
- No, this application is not compatible with odoo.com(odoo saas/Odoo Online)
- Yes, to test this module, please contact us at sales@softhealer.com.
- Please contact us at sales@softhealer.com to request customization.
- Yes, we provide free support for 365 days from the date of purchase.
- Yes, you will receive lifetime free updates for the version of the module you purchased.
- No, there is no need to install any additional libraries.
- Yes, for version 12 and above, you need to purchase the module separately for each version you intend to use.
- No, exchanges or refunds are not allowed. Please make sure to select the correct version before purchasing.
- You can contact us at support@softhealer.com for language translation support. We use Google Translator tools to provide translations in multiple languages, so the accuracy may vary. We welcome your suggestions to help improve translations.
Discover Our Latest Apps