
Music Academy Management

Are you tired of managing your music school with outdated techniques? We have an amazing module for you! Our module allows you to effortlessly manage classes, lessons, attendance, and invoicing. You can also handle student, teacher, instrument, and service details with ease. Additionally, generating PDF attendance reports is quick and simple!

Features
- Easy to create a class, equipments, students, lesson, teacher, and services.
- Easy to create and manage lessons.
- Easily organize and schedule classes with a user-friendly interface.
- Easy to manage invoices.
- Easy to manage attendance and generate PDF reports.
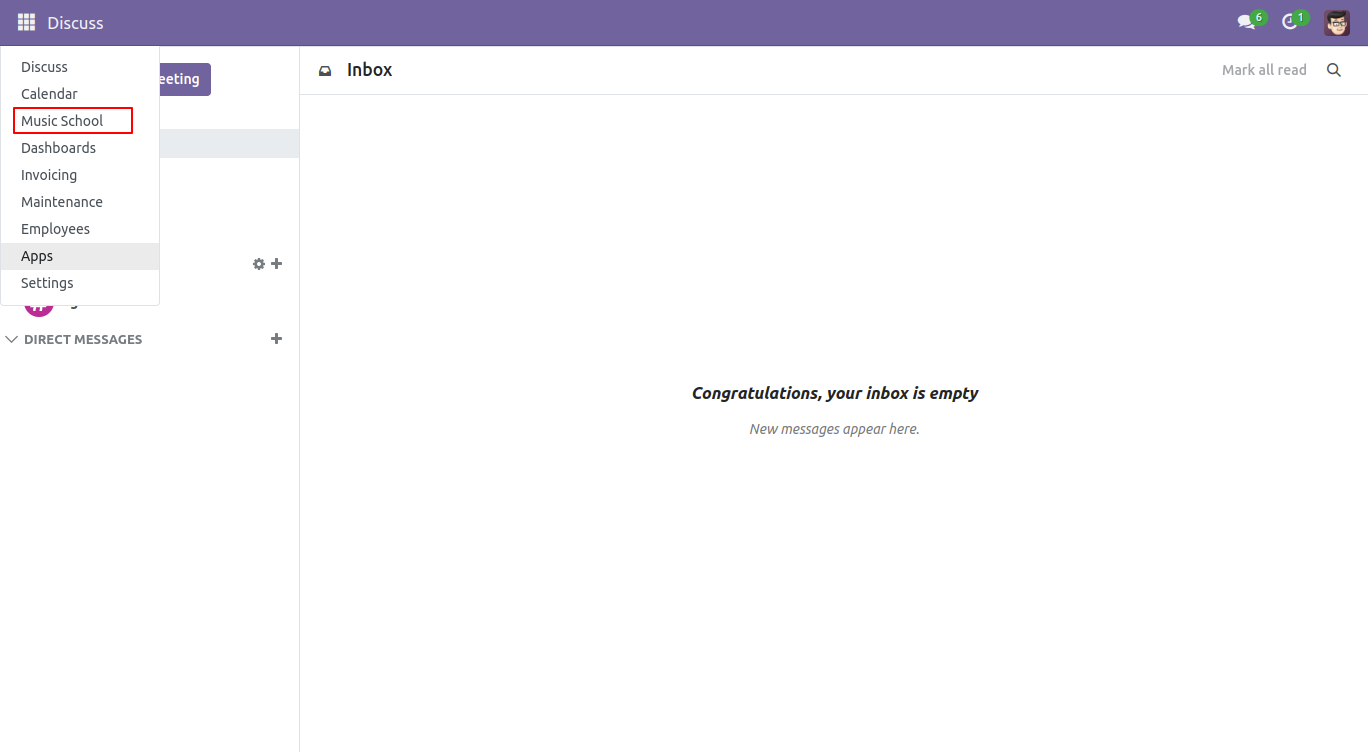
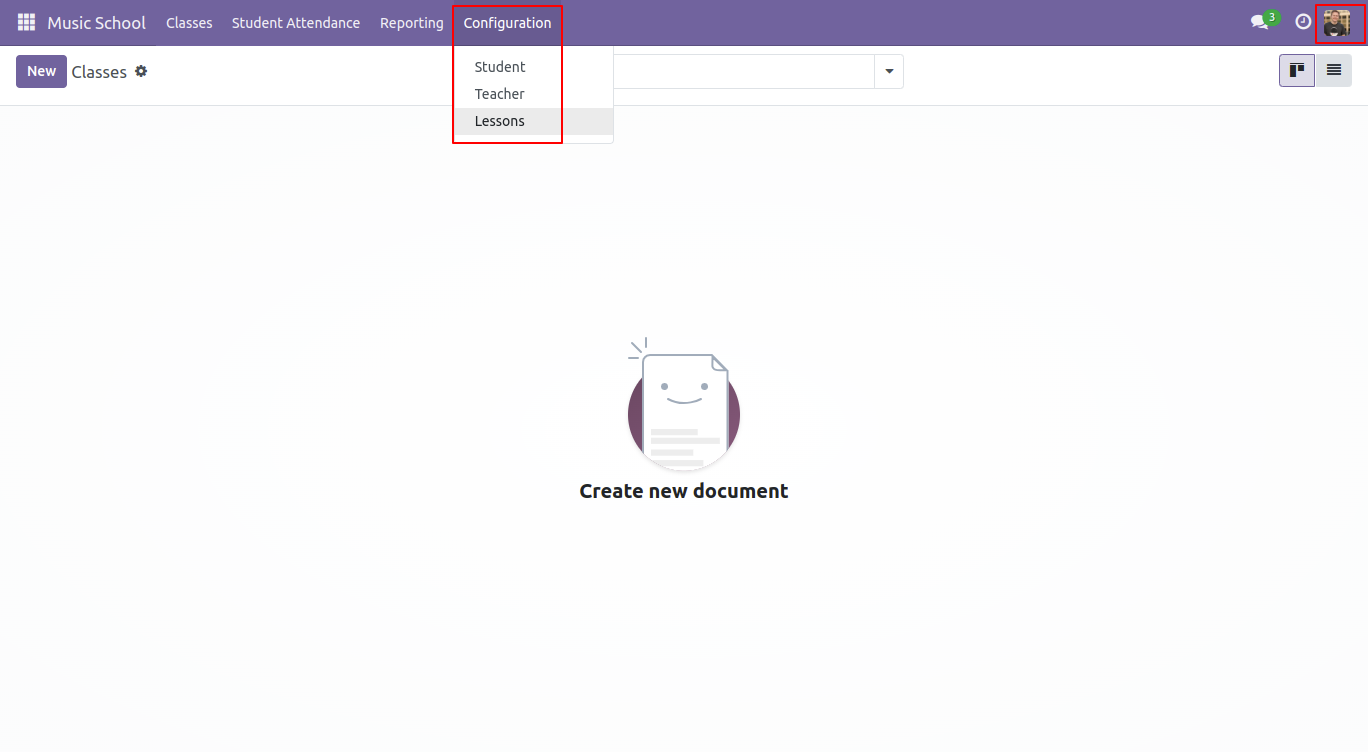
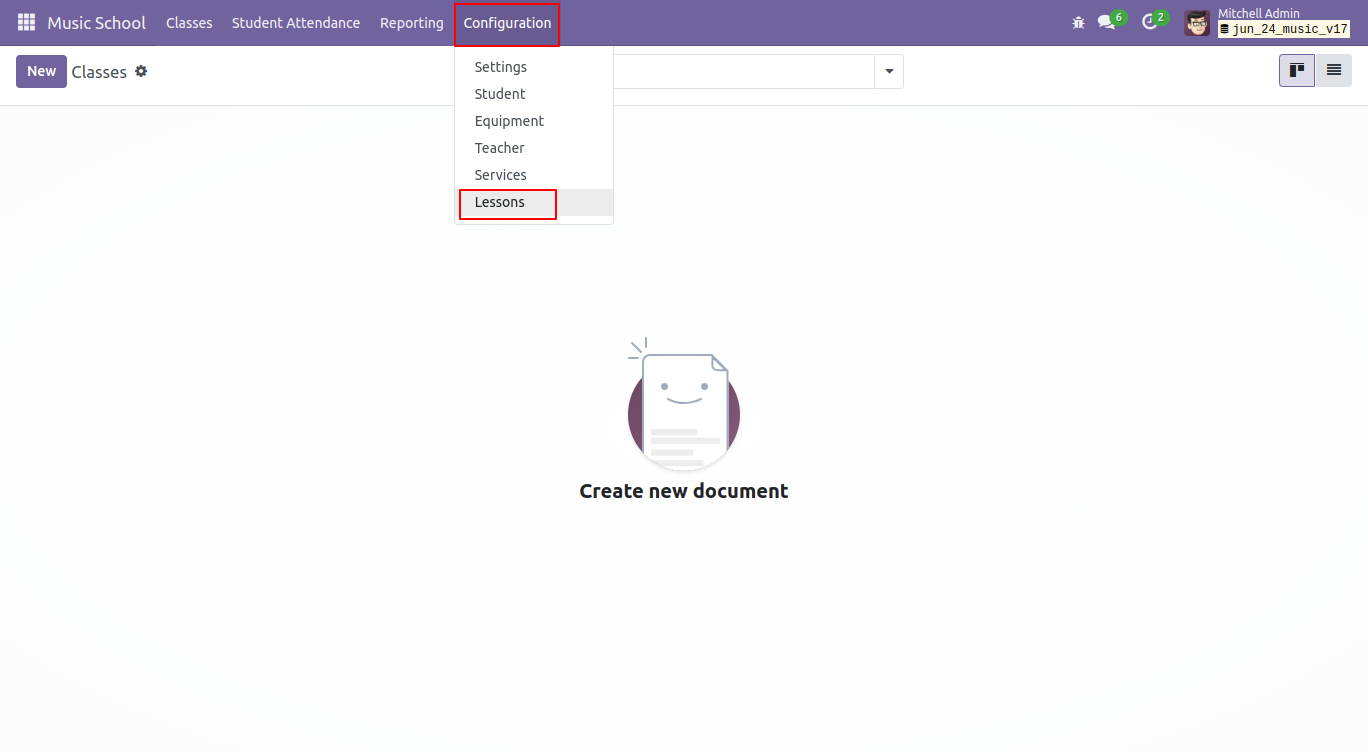
'Music School' menu.
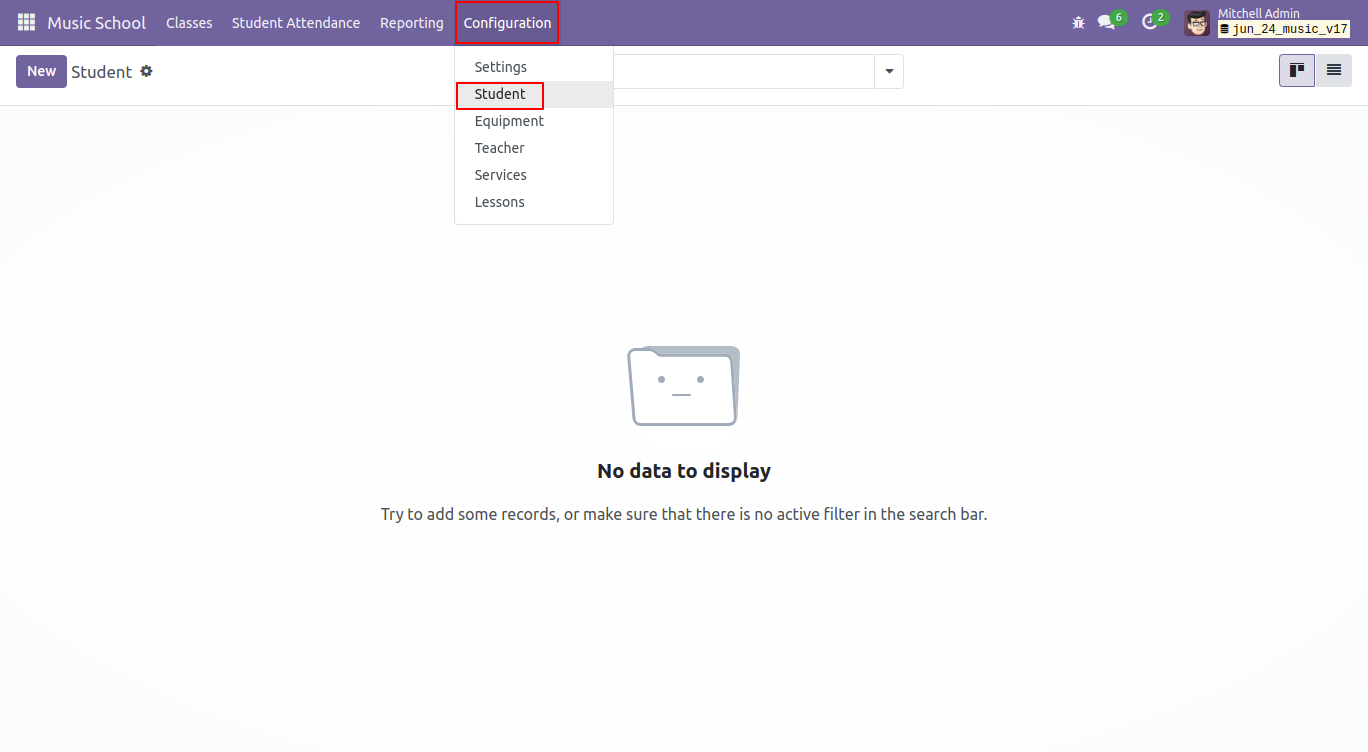
Go to the users and select 'Student' in music school.
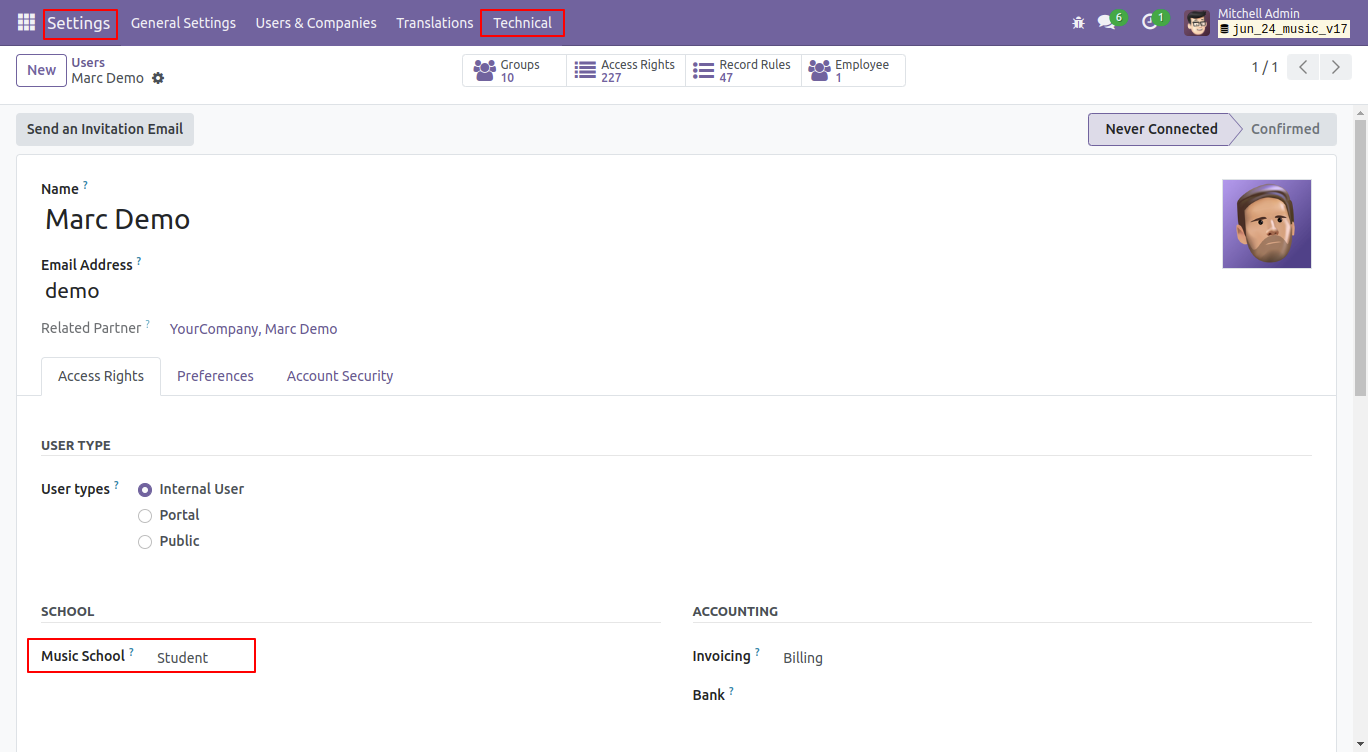
The students can access only the "Student" and "Lessons" menus.
Go to the users and select 'Teacher' in music school.
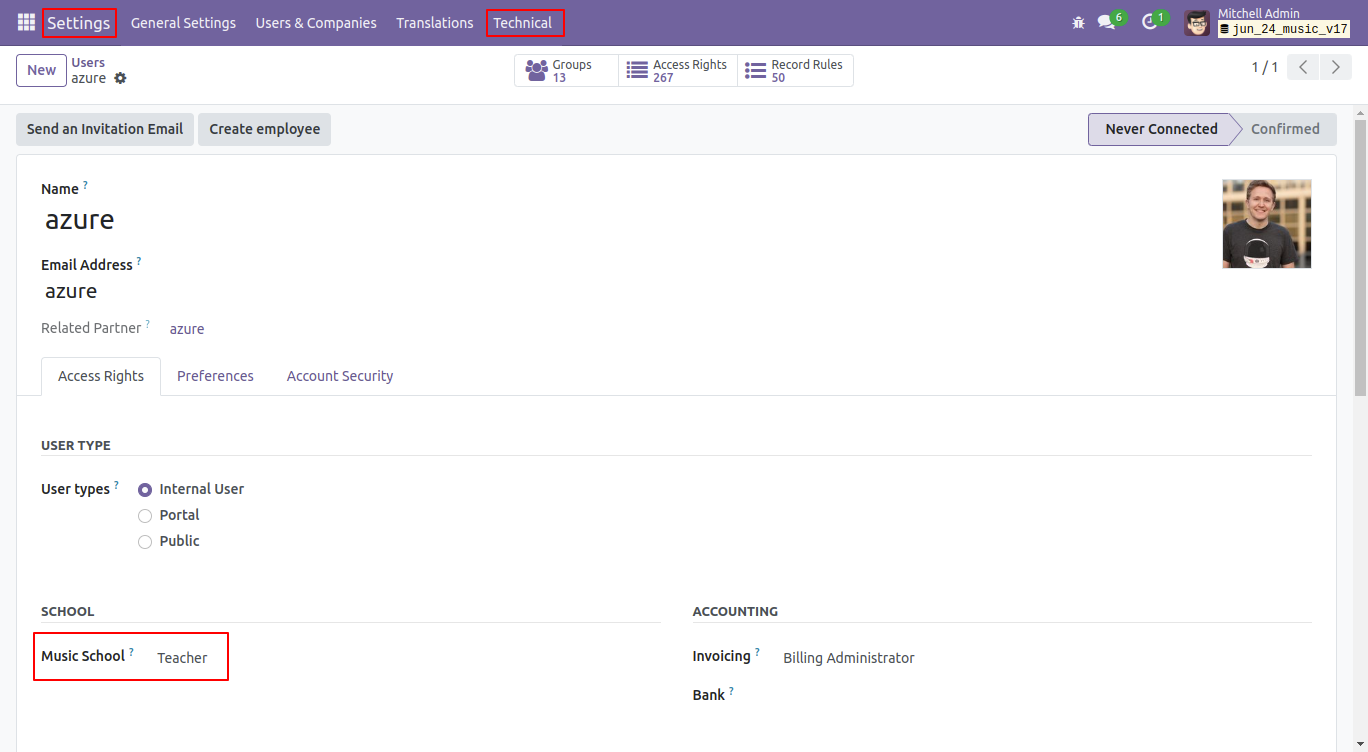
The teacher can access the "Student," "Lessons," and "Teacher" menus only.
Go to the users and select 'Administrator' in music school.
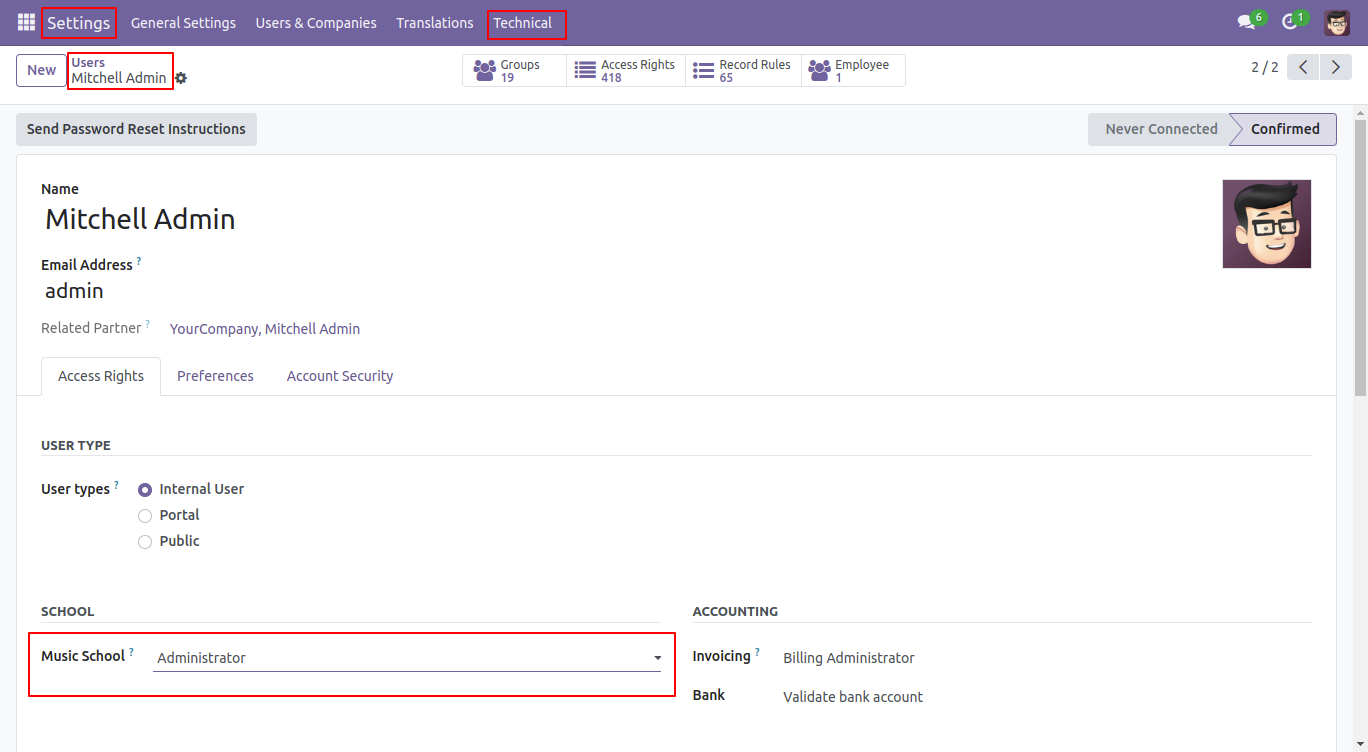
The administrator has access to all menus.
'Student' menu and kanban view.
click on the 'New' button to create a new student.
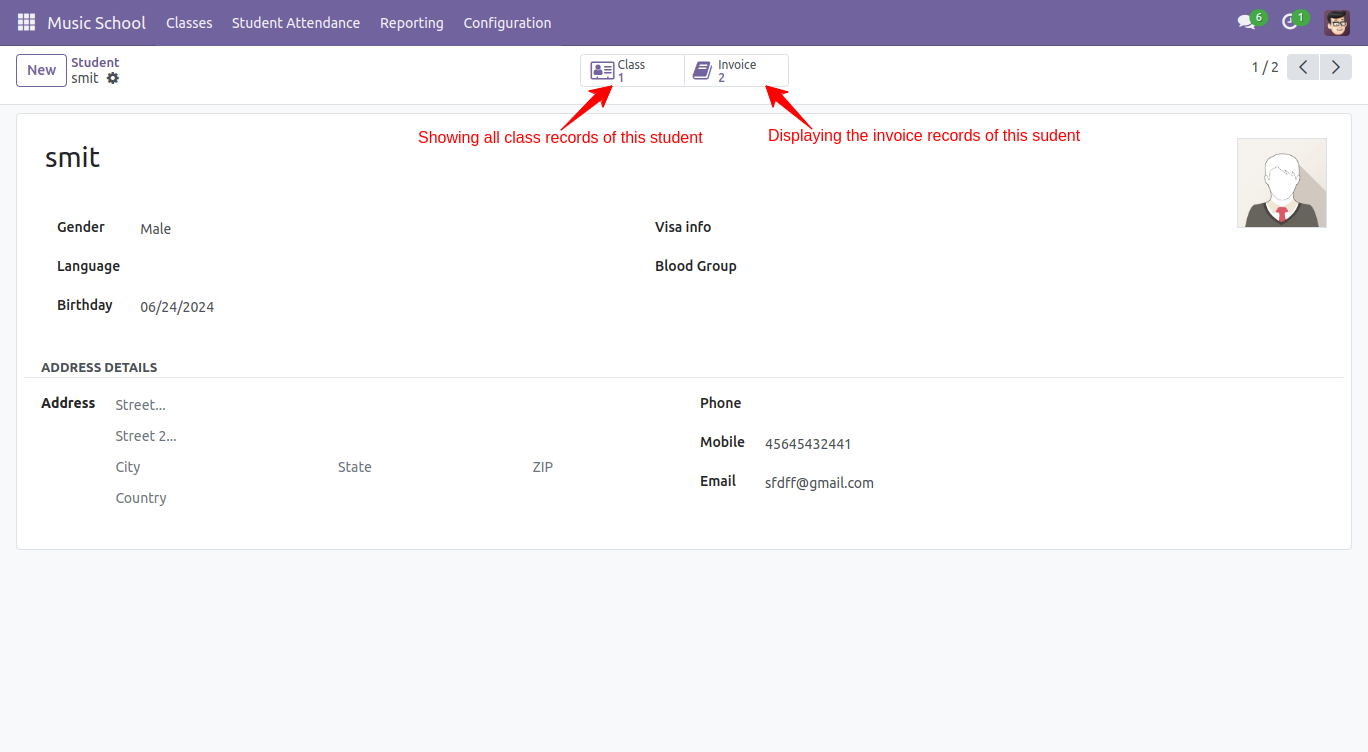
In the student form view, enter details such as name, birthdate, mobile number, etc...
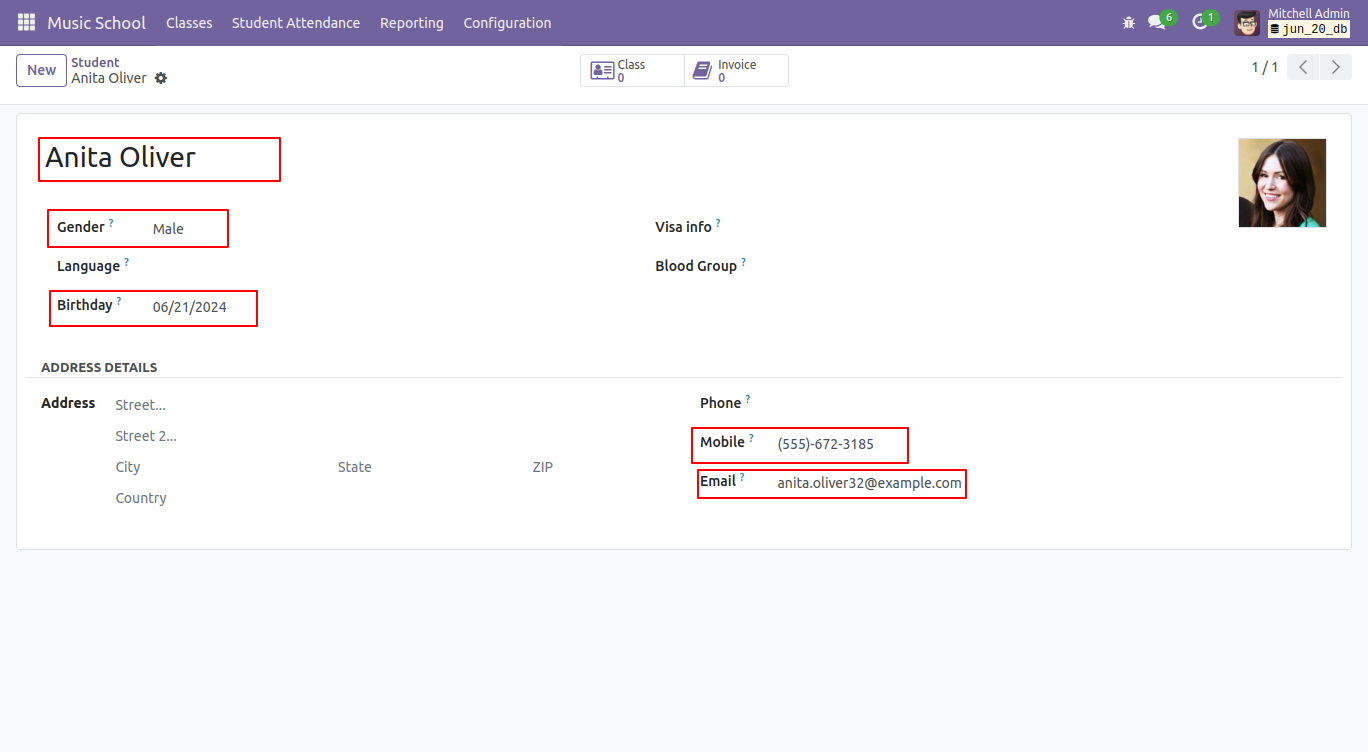
In the student form view, you can access class and invoice records through the smart button.
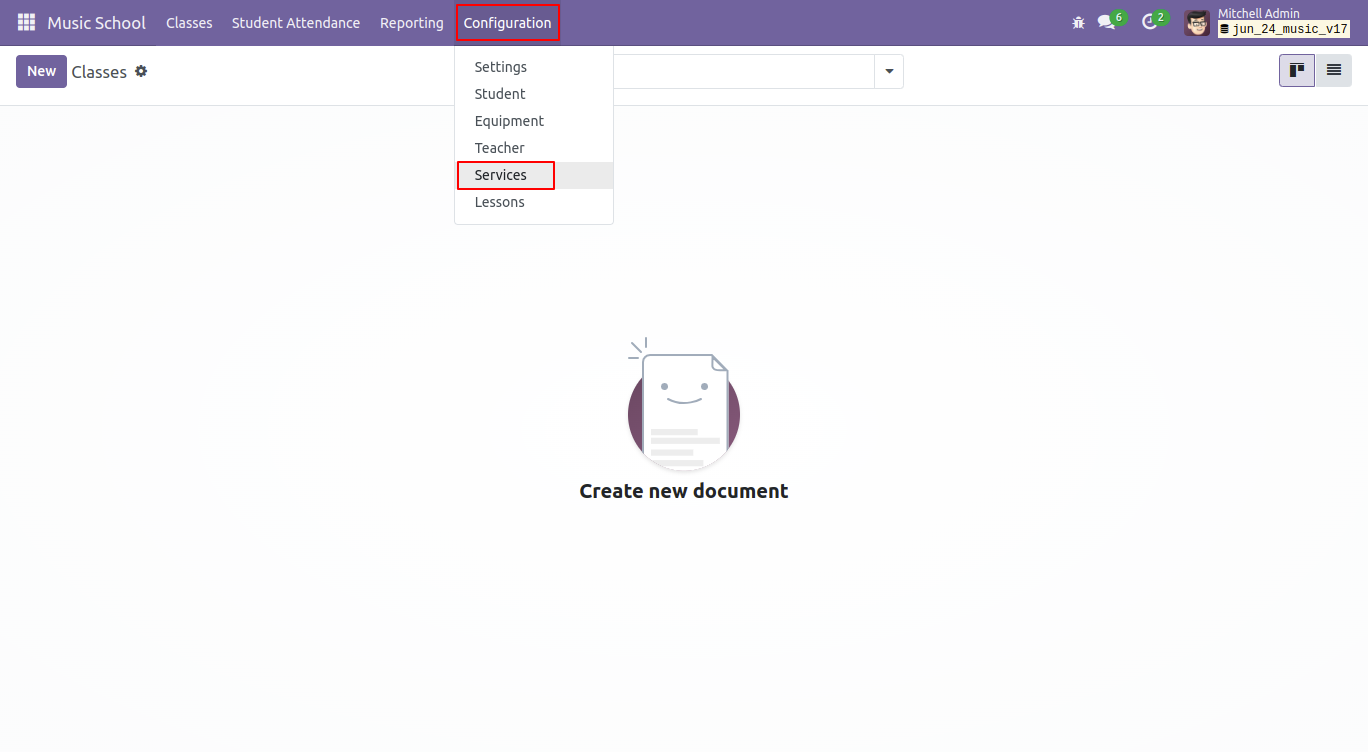
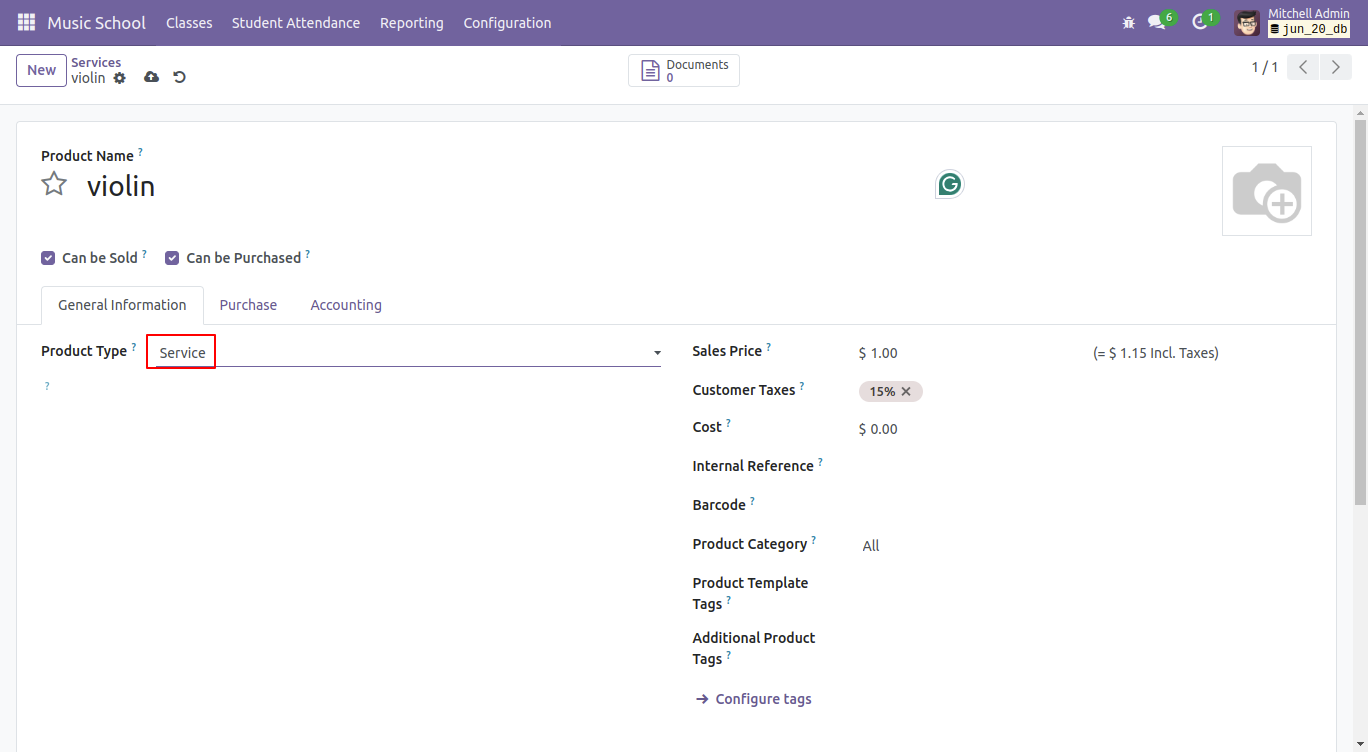
'Services' menu.
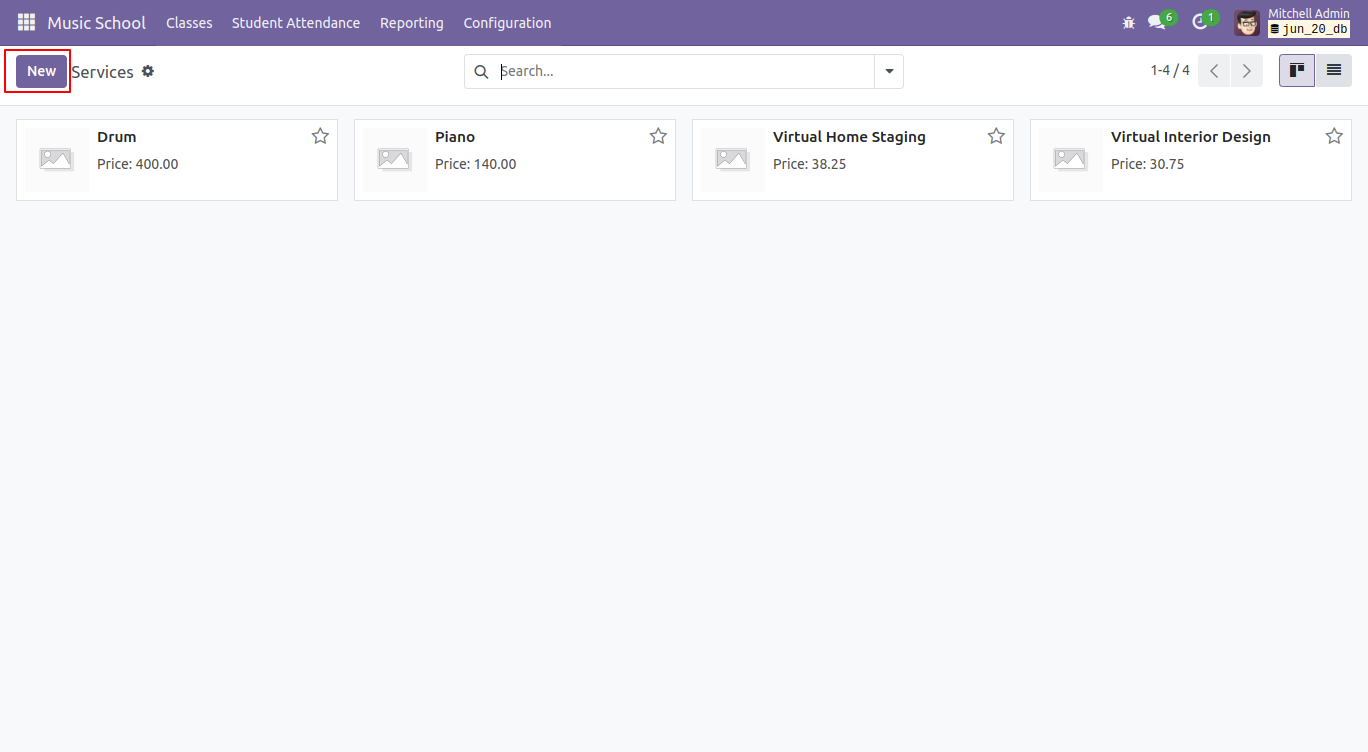
Kanban view of services. To create a new service, click the 'New' button.
In the service form view, select the service product type, add other details, and save them.
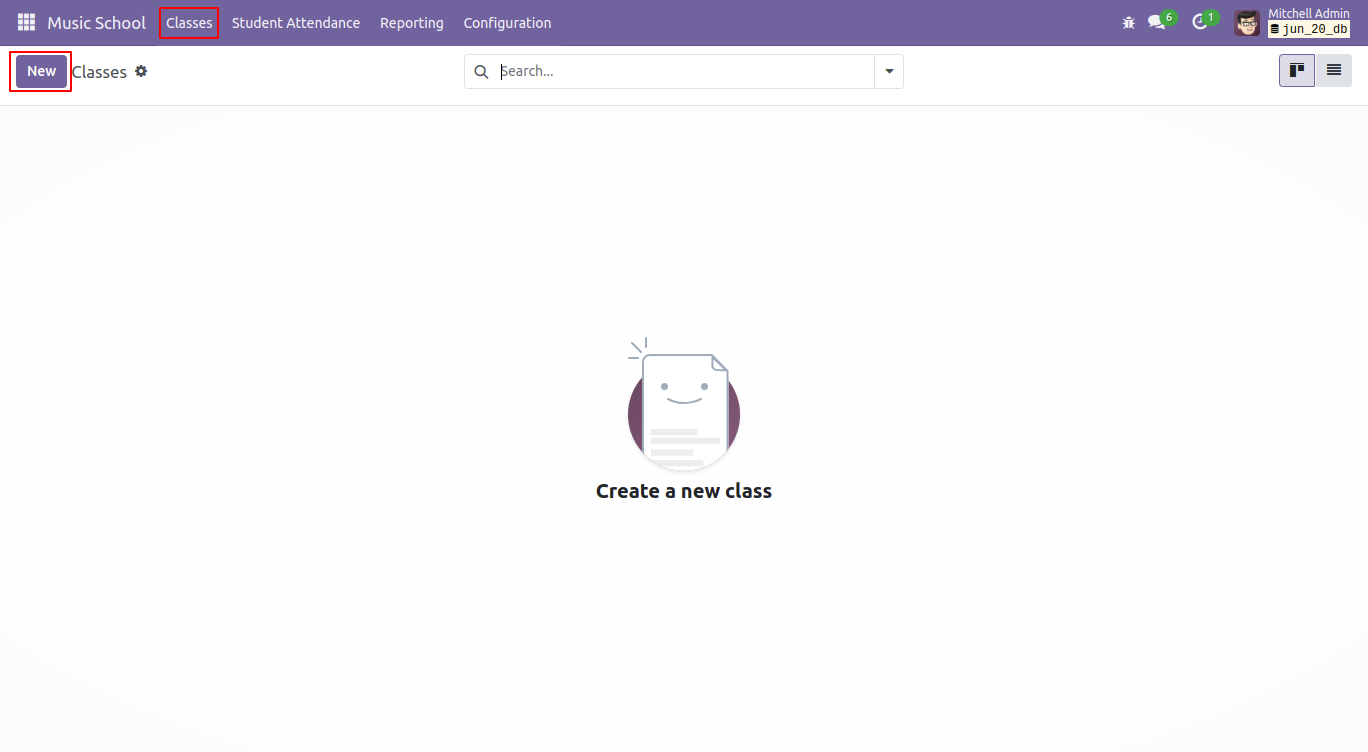
Kanban view of Classes. To create a new class, click the 'New' button.
Form view of classes, fill-up details.
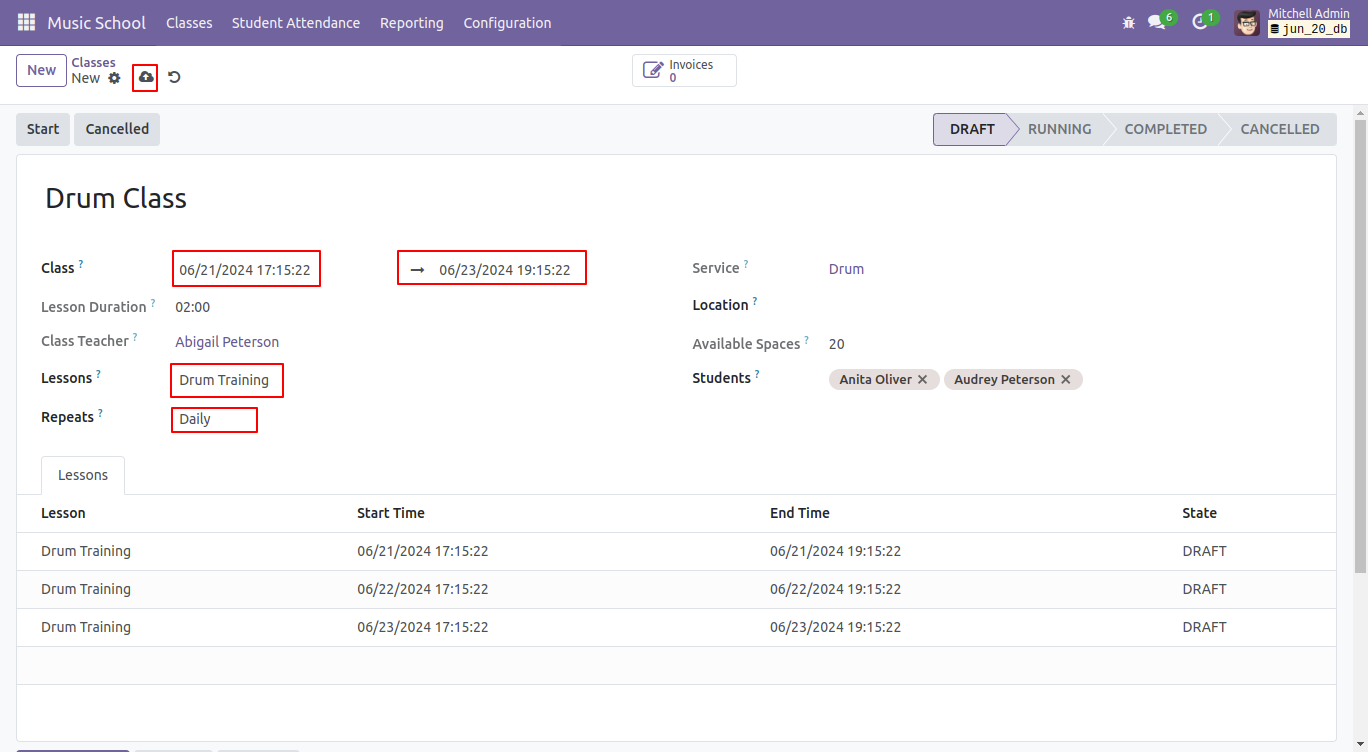
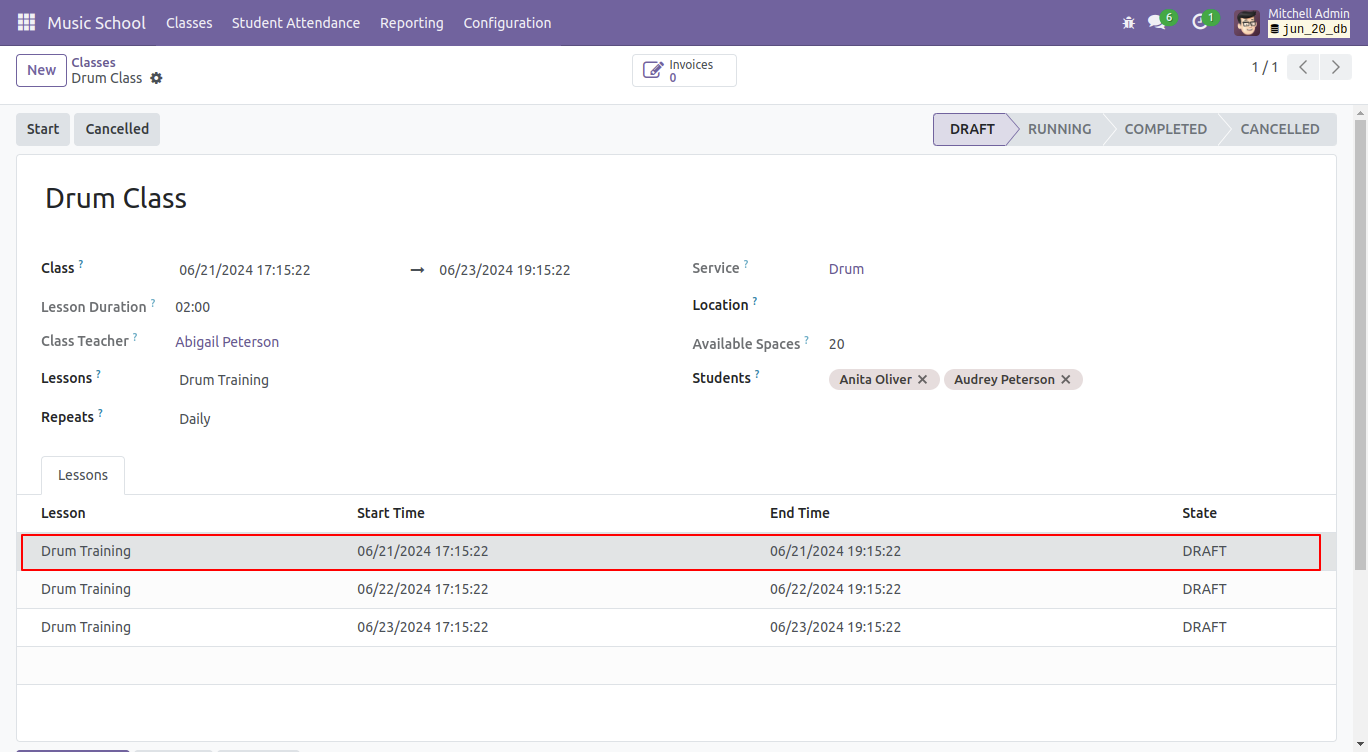
You can view the lesson details in the lessons tab. Click on any lesson to begin it.
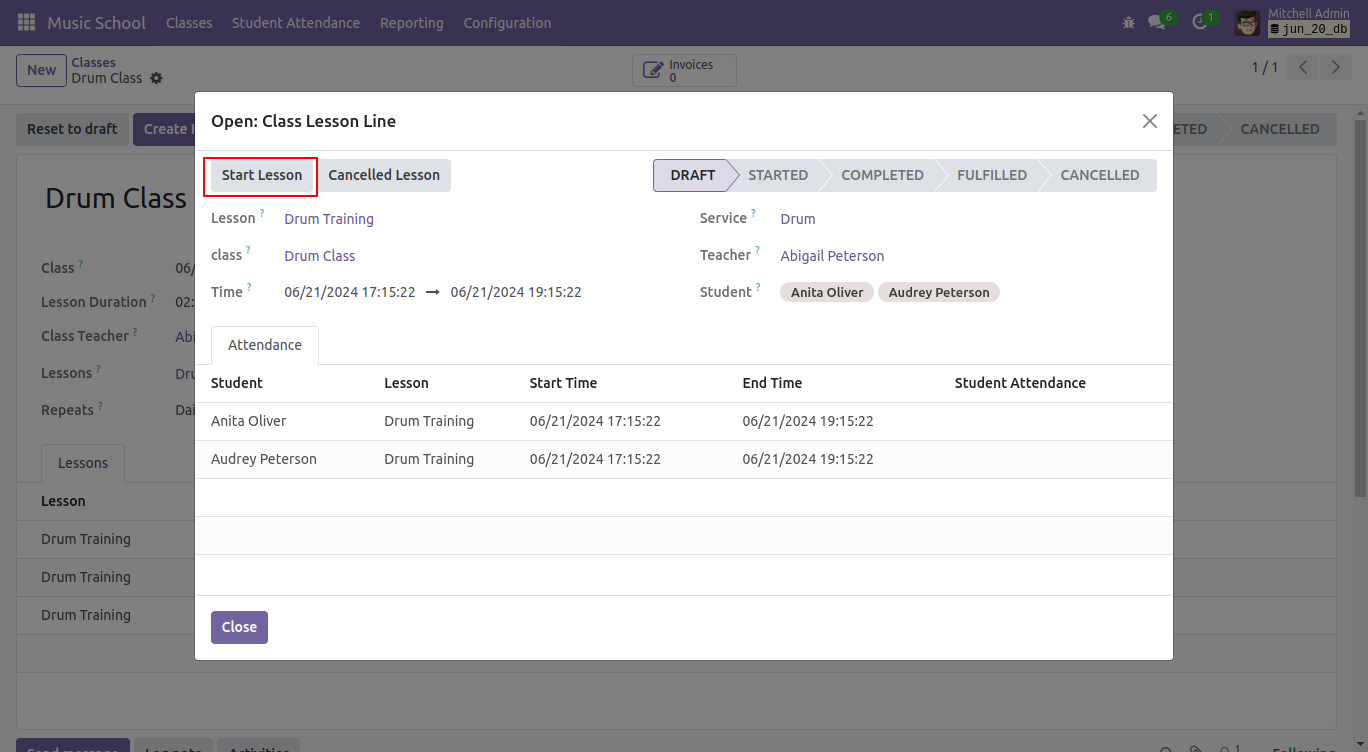
After that, the 'Class lesson line' wizard appears, where you can view the lesson details and
click the 'Start Lesson' button to start the lesson.
Note: If you attempt to start the lesson without starting the class at that time this below error will appear.
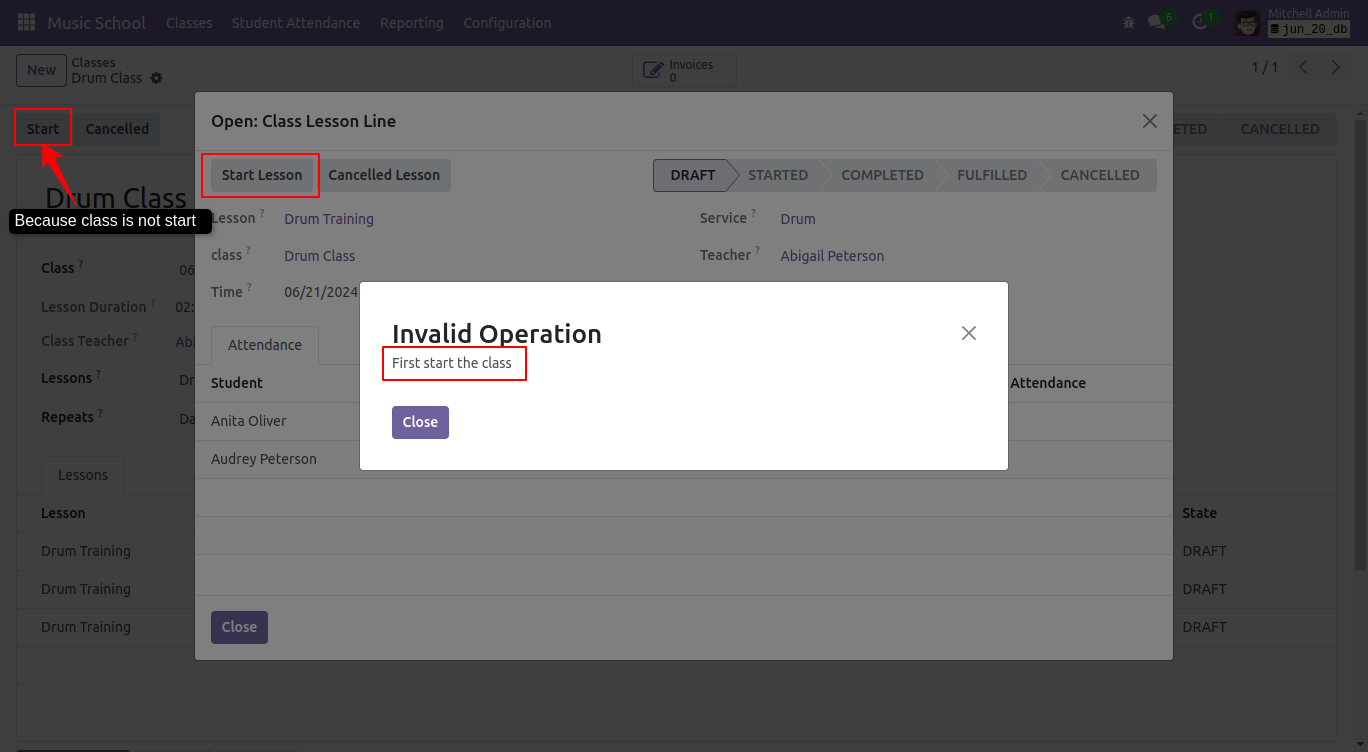
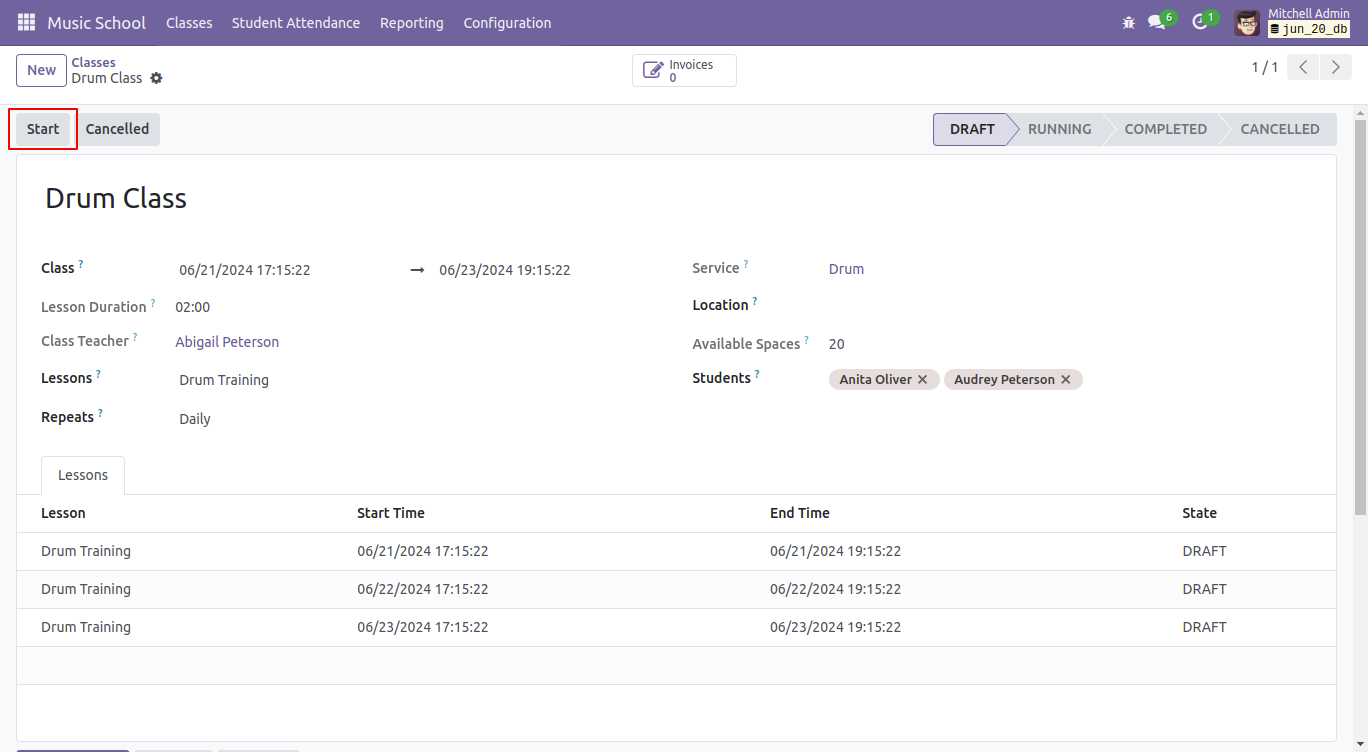
Start the class by clicking on the 'Start' button.
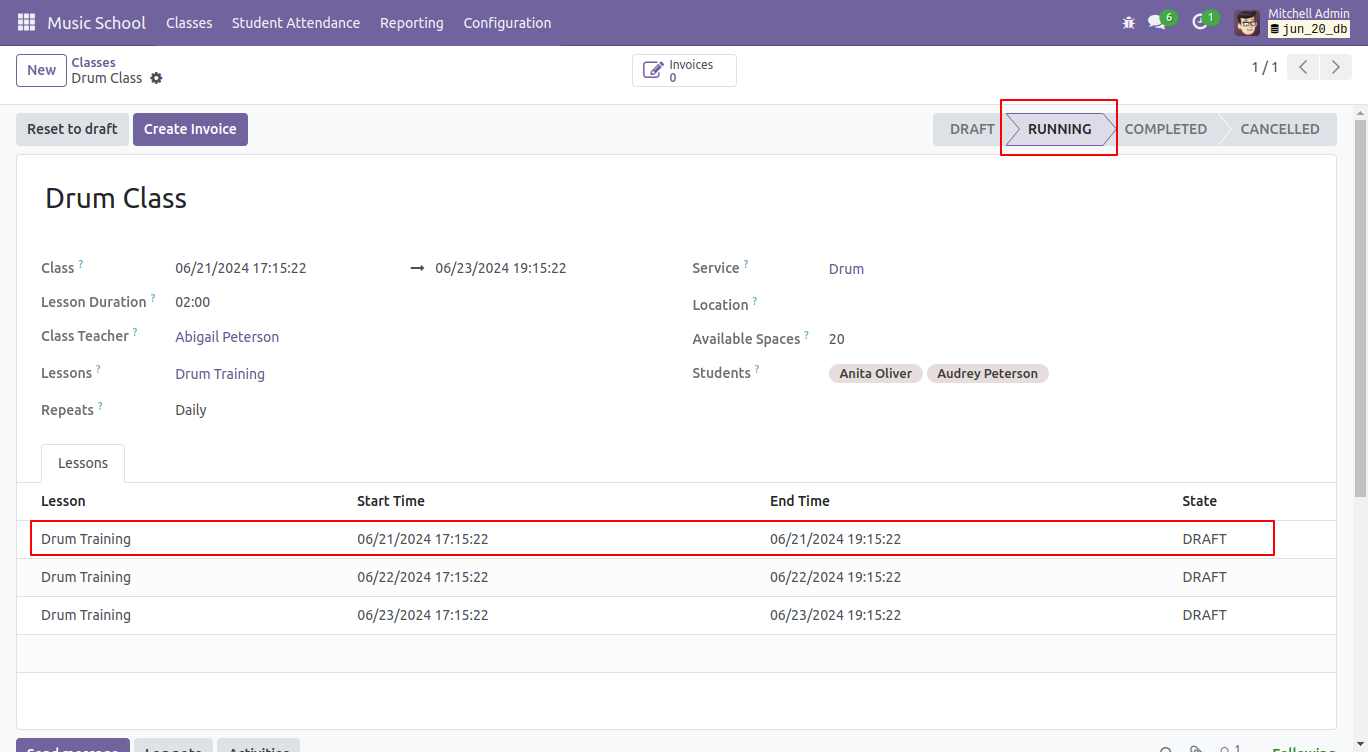
Now the class is in the 'Running' stage. Click on any lesson to begin it.
Click on the 'Start Lesson' button.
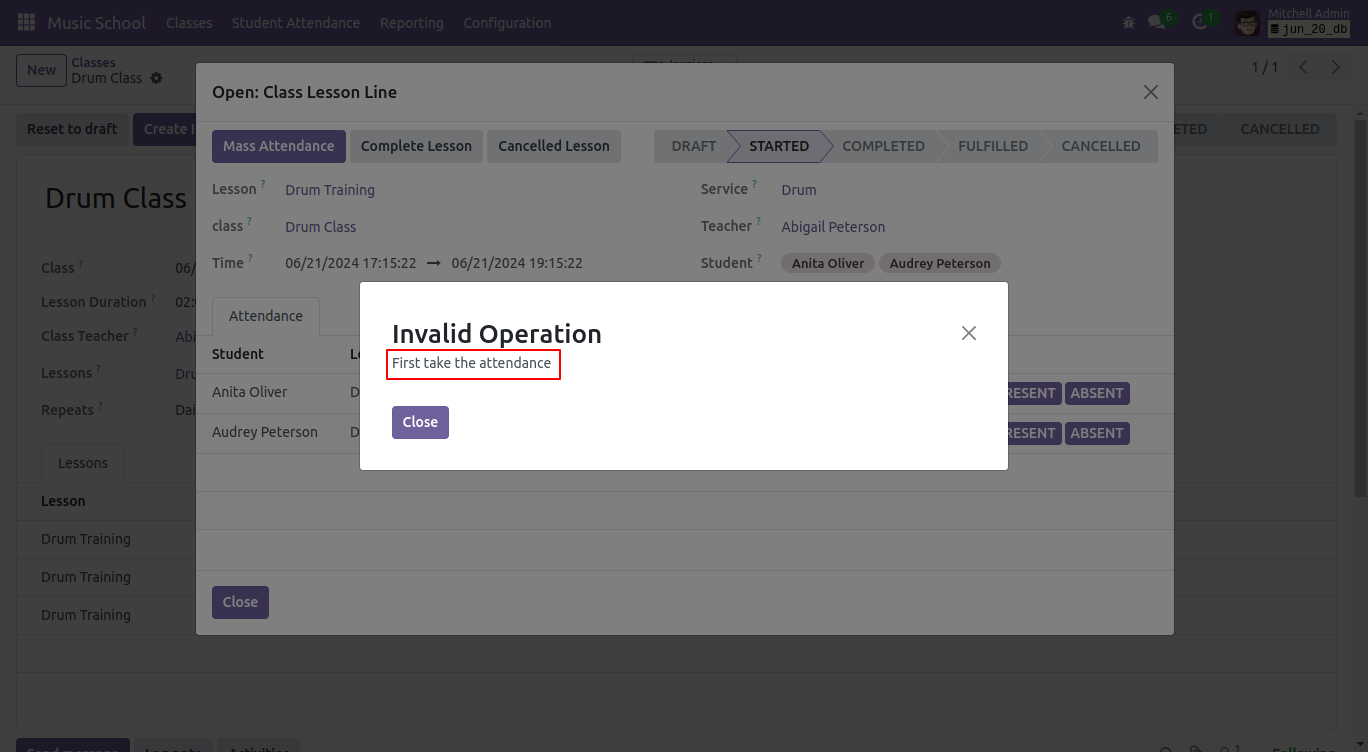
Click the 'Complete Lesson' button to complete the lesson.
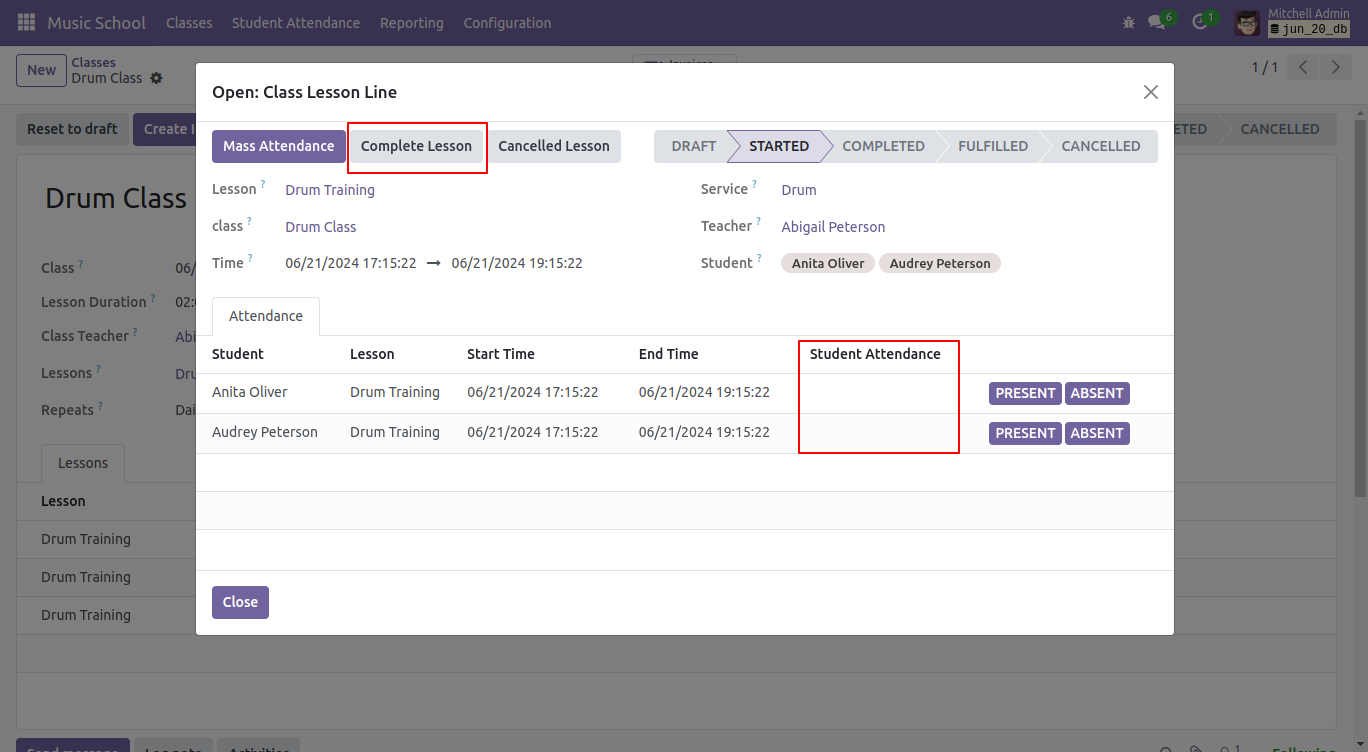
If you complete the lesson without the attendance, an invalid option error pop-up will appears.
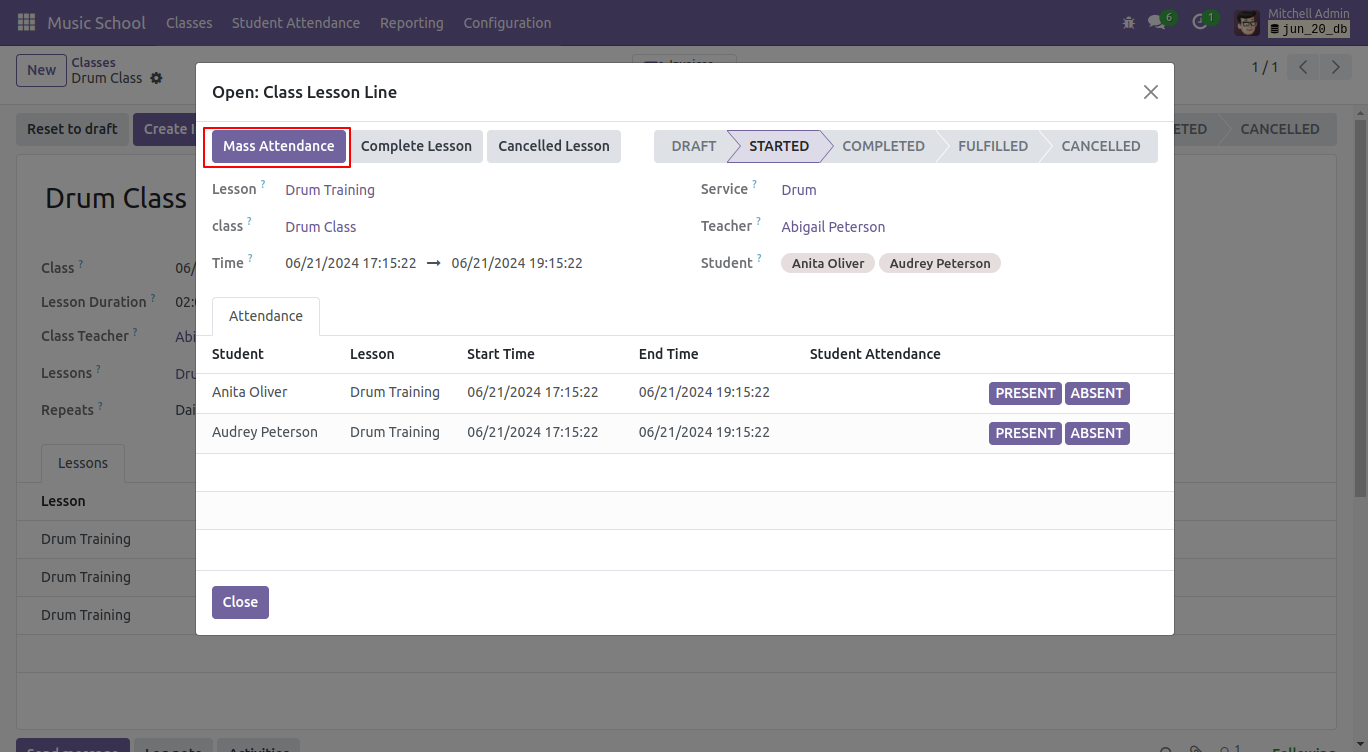
Click on the 'Mass Attendance' button.
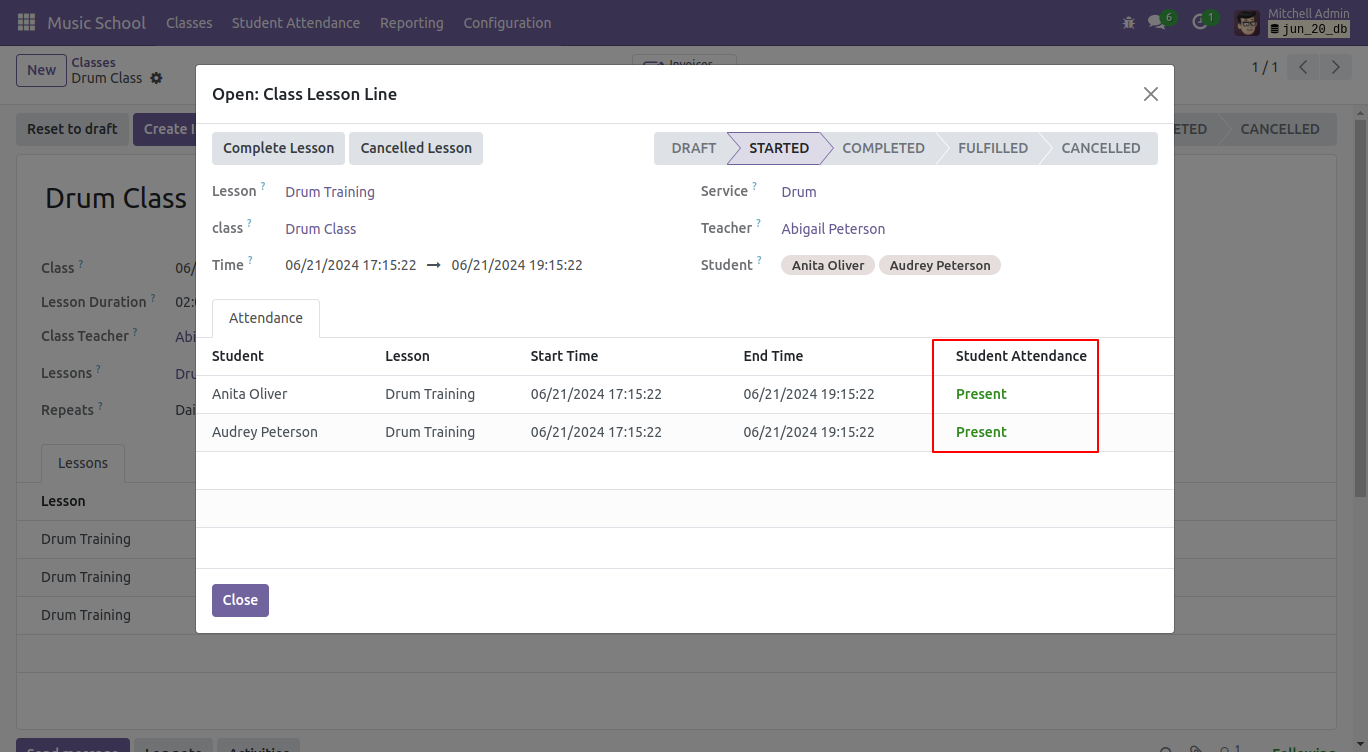
After that, you will see 'Present' written in the student attendance.
Click on the 'Fulfilled' button.
Note: The 'Fulfilled' button is visible only when the lesson is in a completed state.
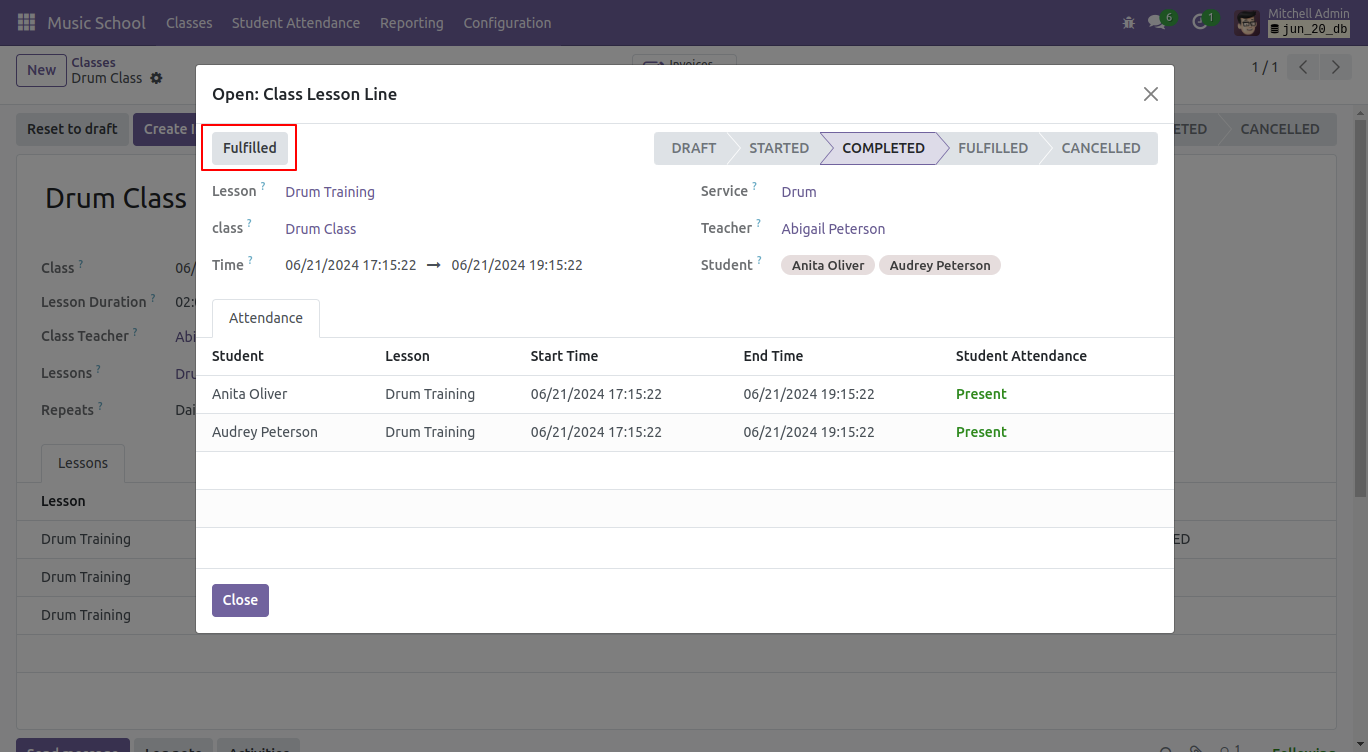
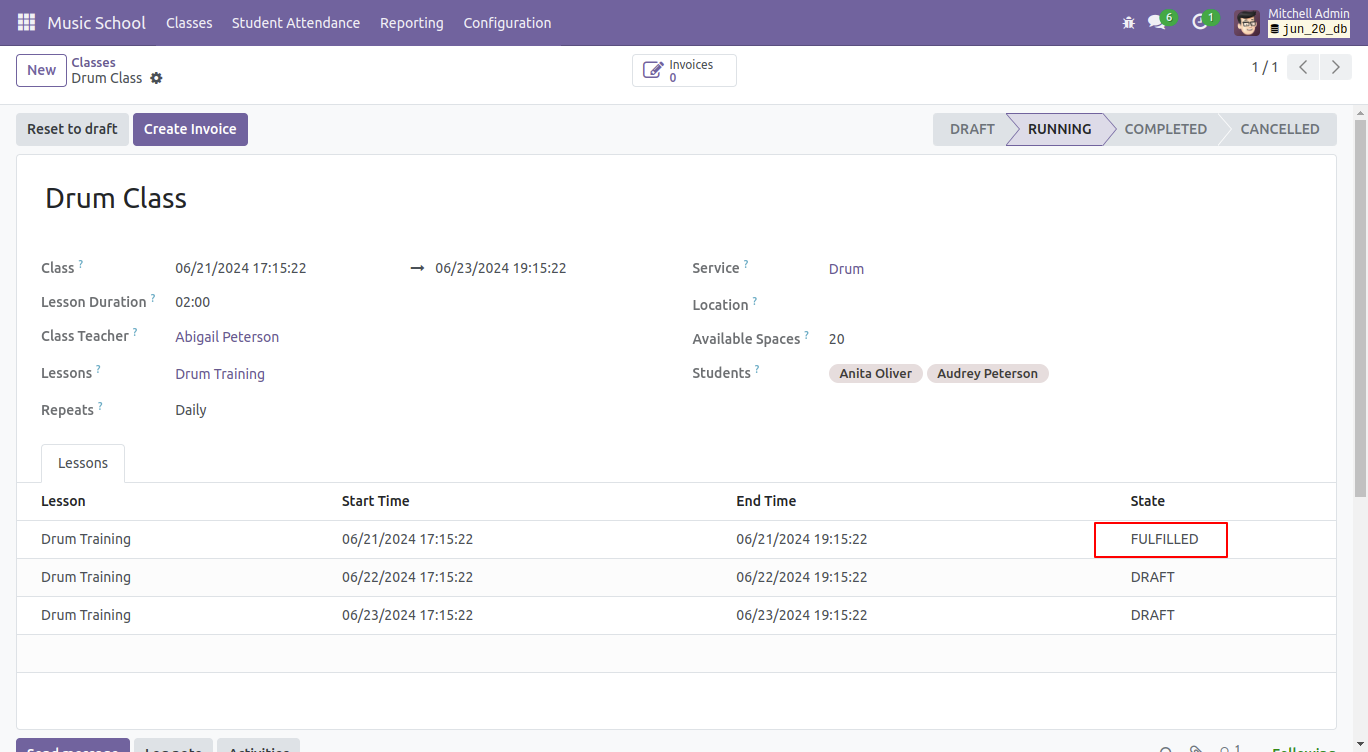
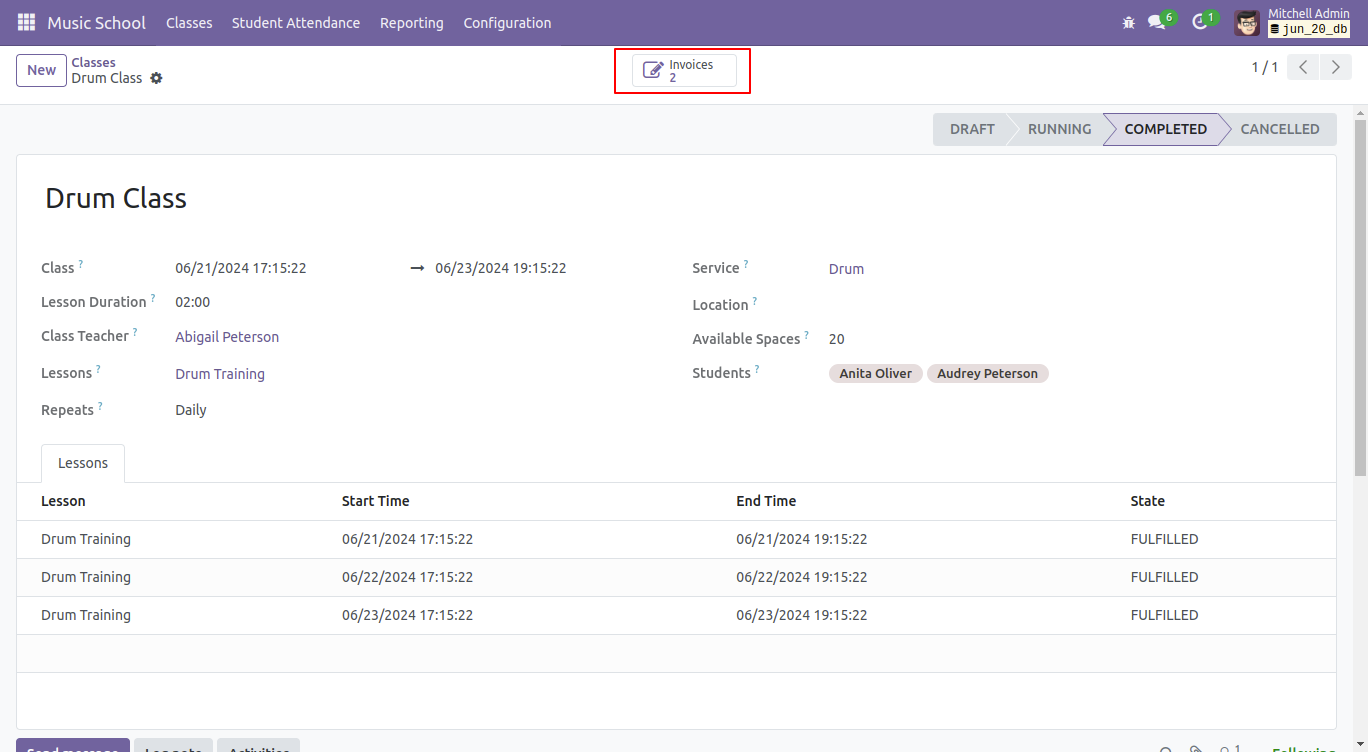
In the class form view, you will observe that the lesson state is 'Fulfilled'
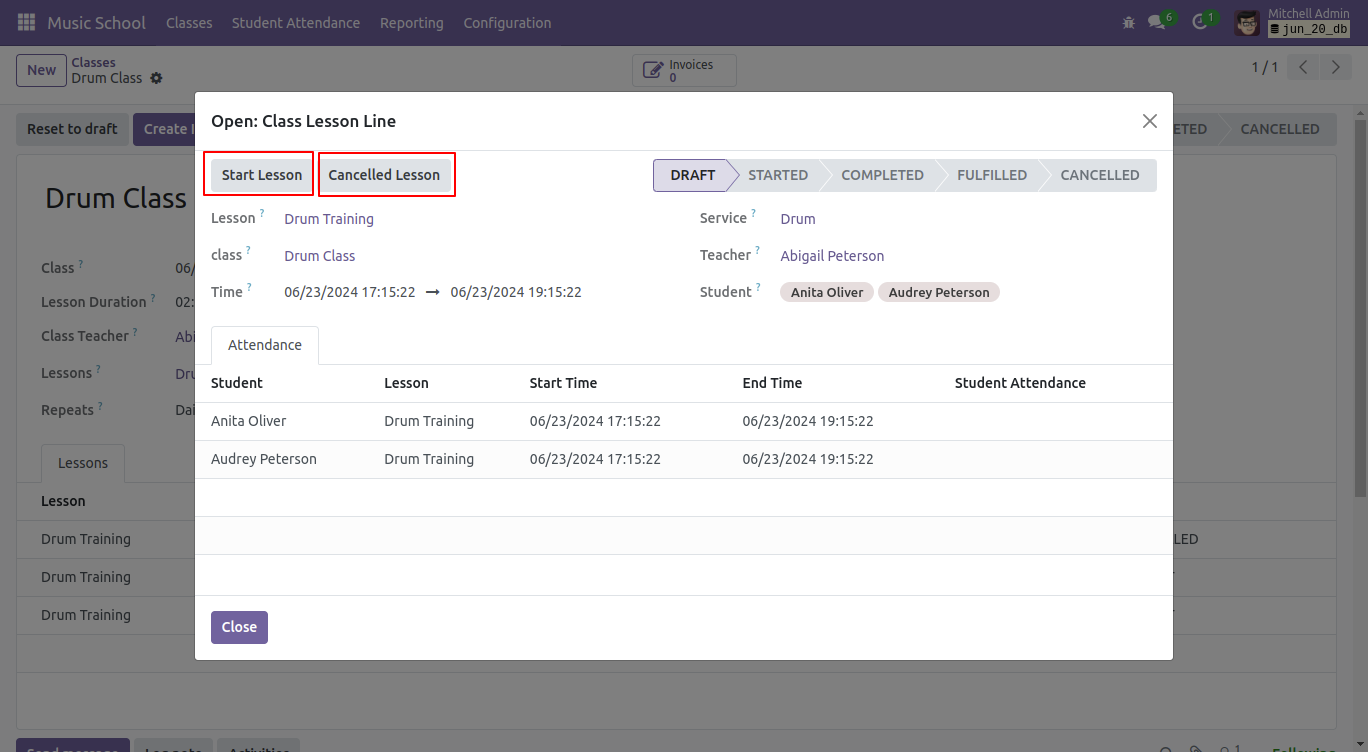
To start the lesson, click on the specific lesson you wish to start.
Initiate the lesson by clicking the 'Start lesson' button.
You can also cancel the lesson by clicking on 'Cancelled Lesson' button.
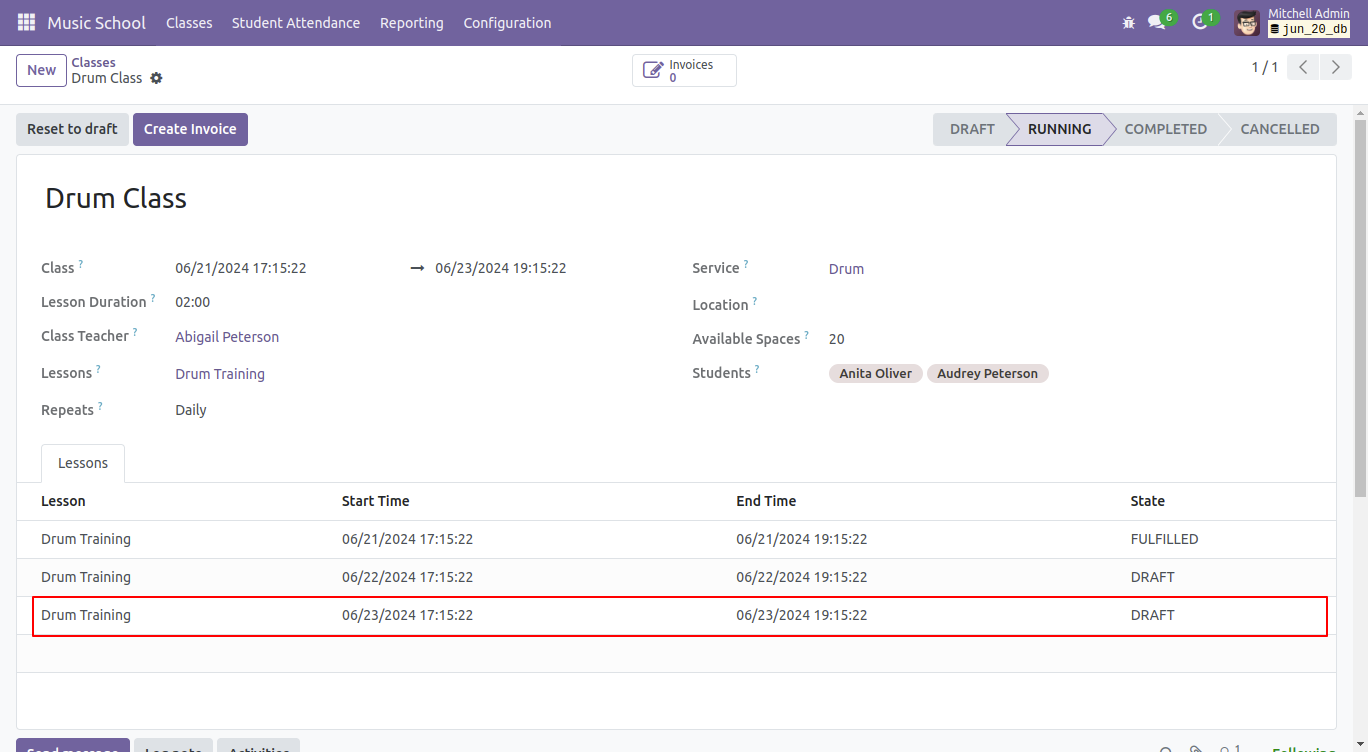
If you start the next lesson without marking the previous lesson as 'Fulfilled', this error will occur.

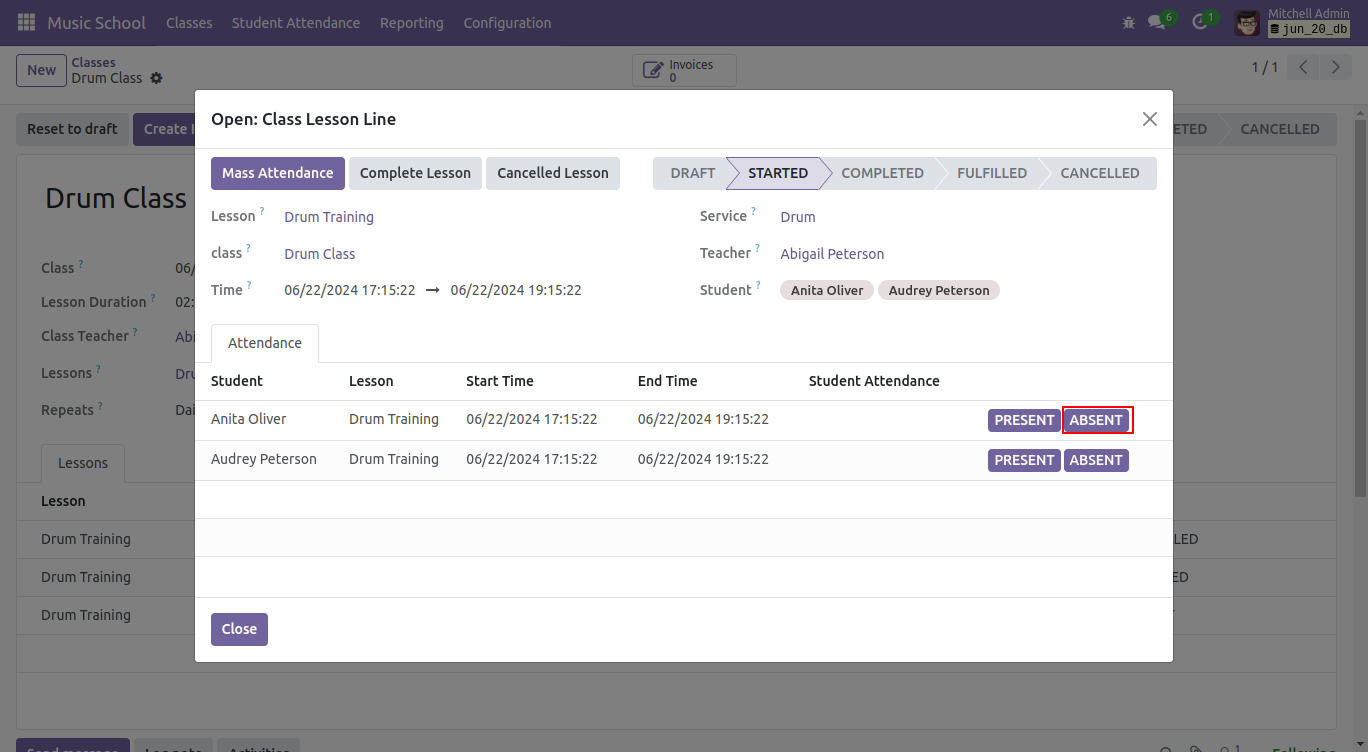
Mark student attendance by clicking on 'Absent' button.
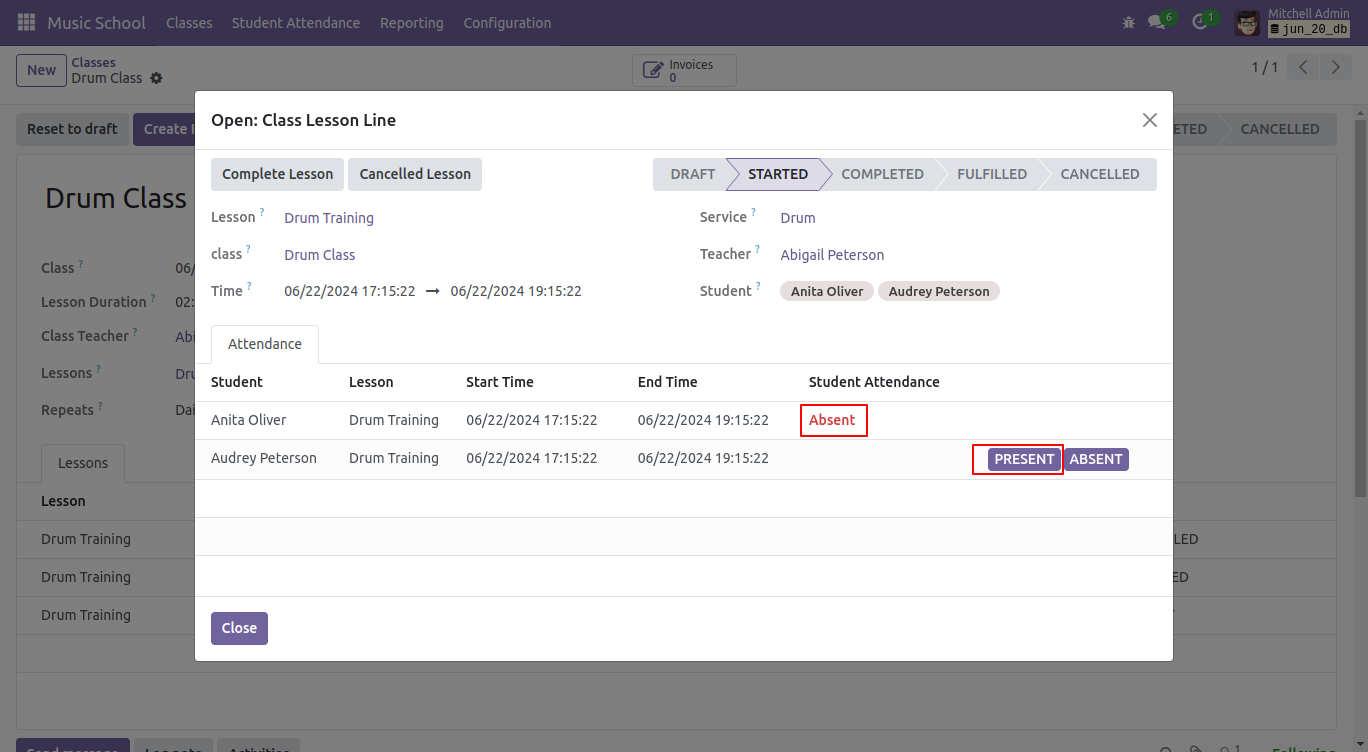
Mark student attendance by clicking on 'present' button.
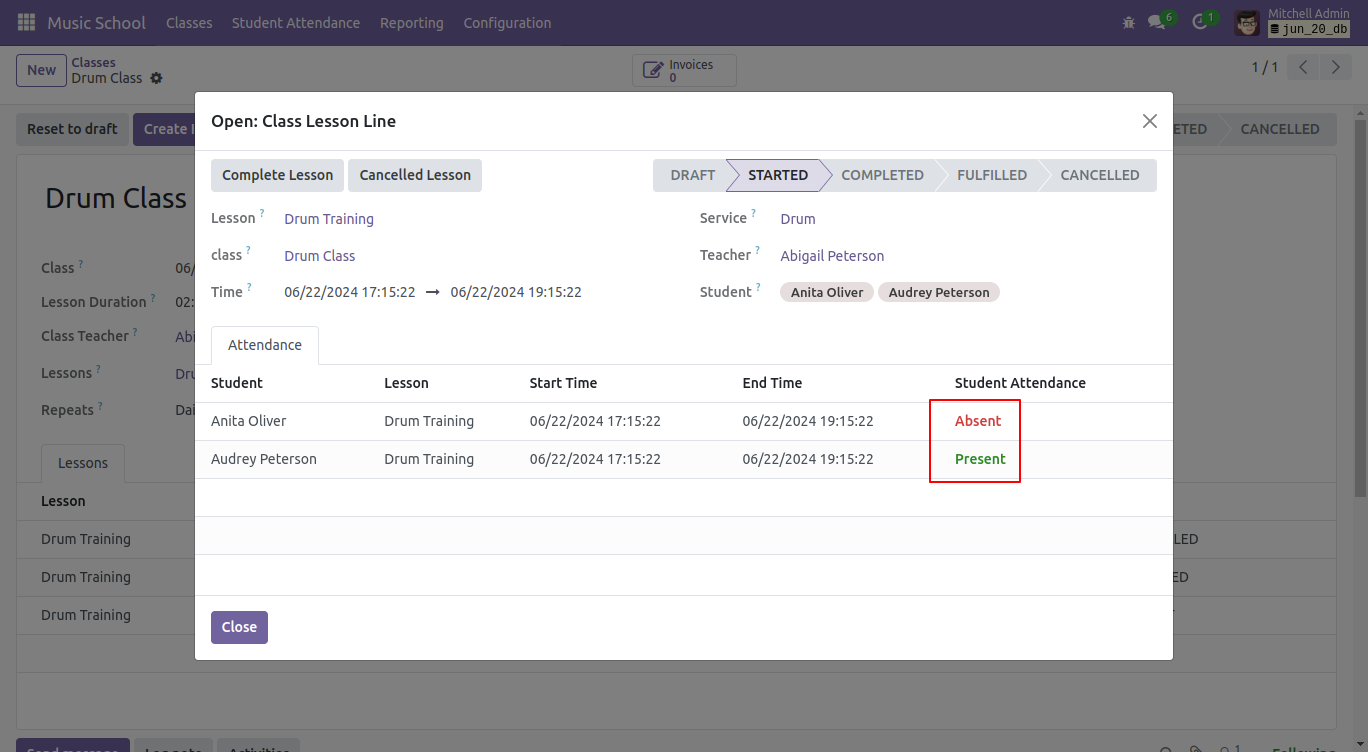
Here, you can view the student attendance.
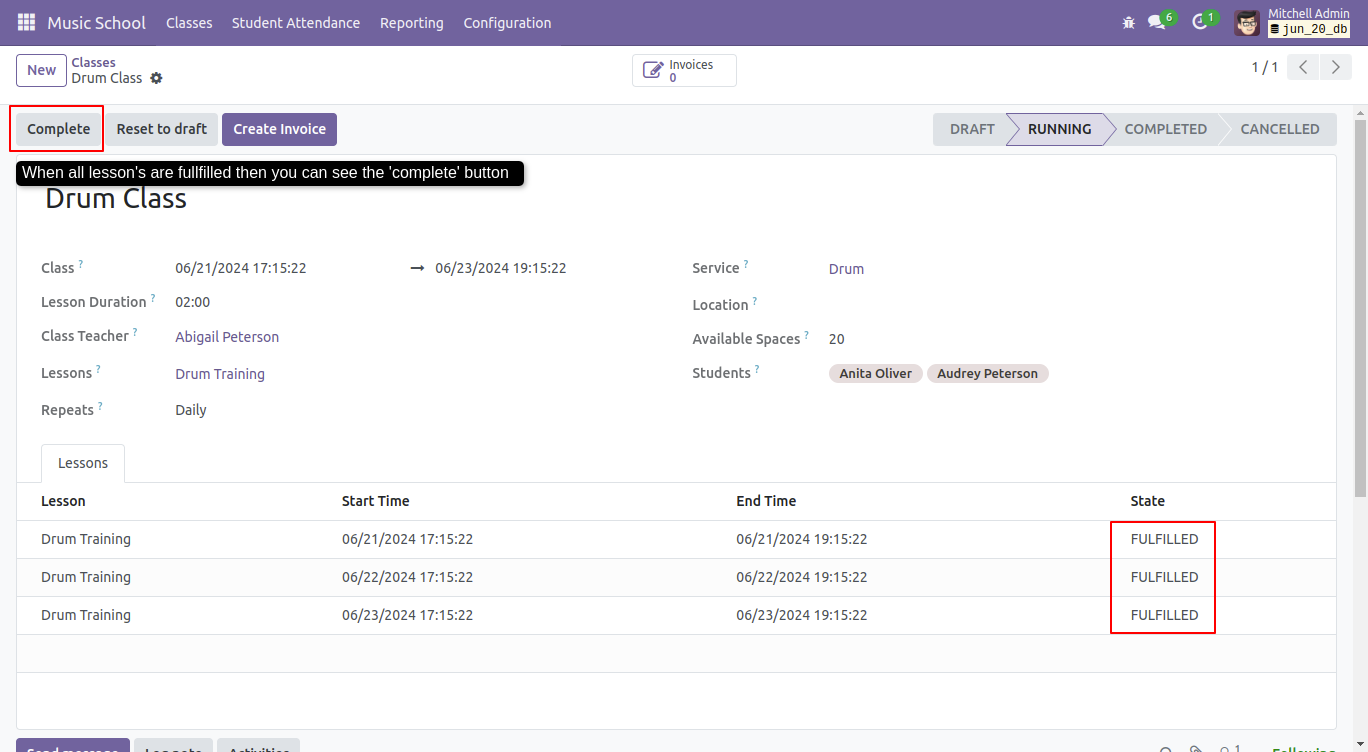
After fulfilling all lessons, complete the class by clicking the 'Complete' button.
Note: The 'Complete' button becomes visible only when all lessons are in a fulfilled state.
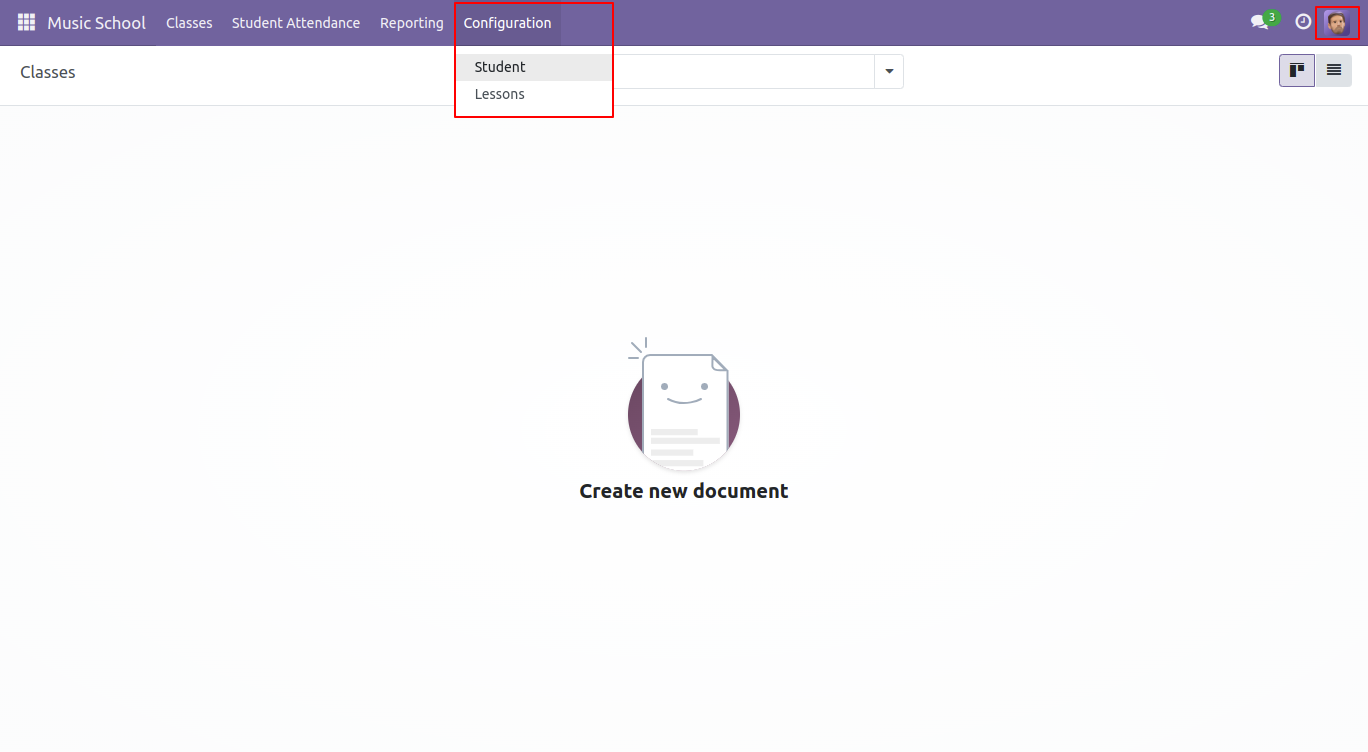
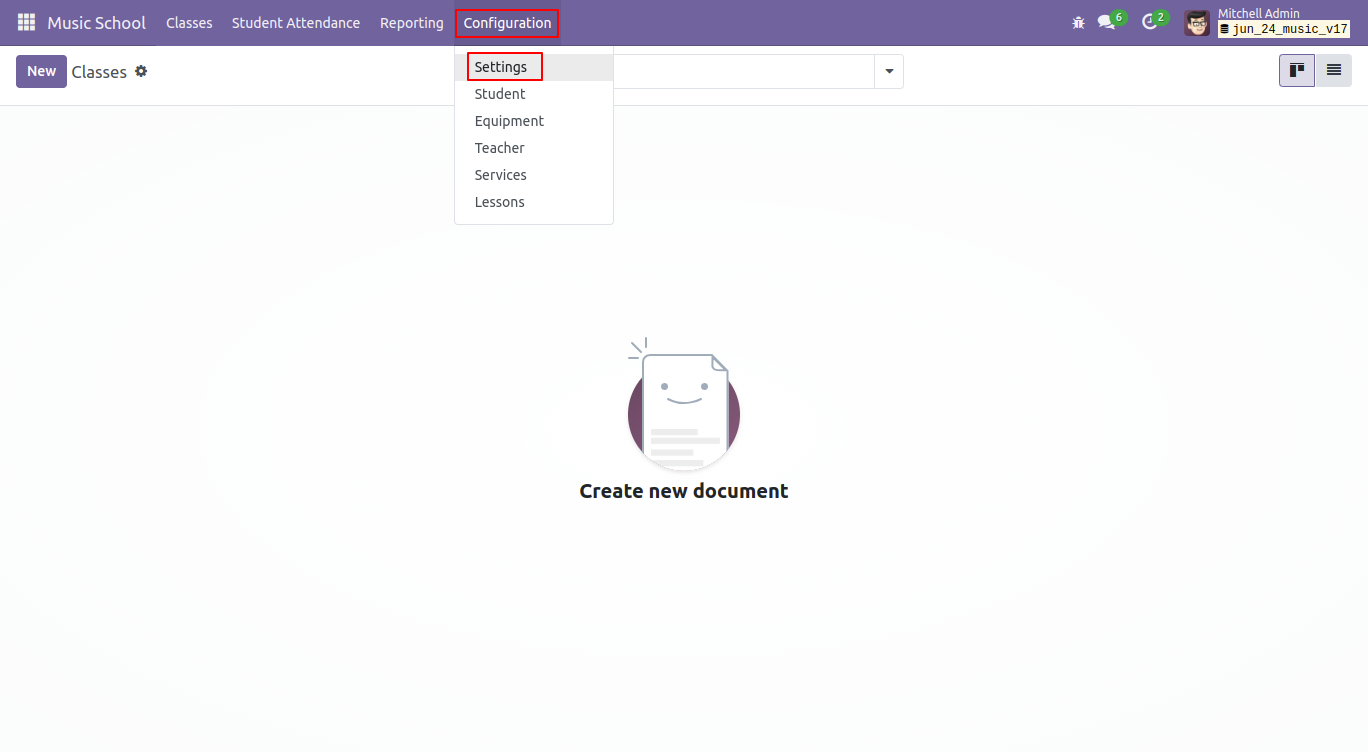
Select the settings menu from the configuration options.
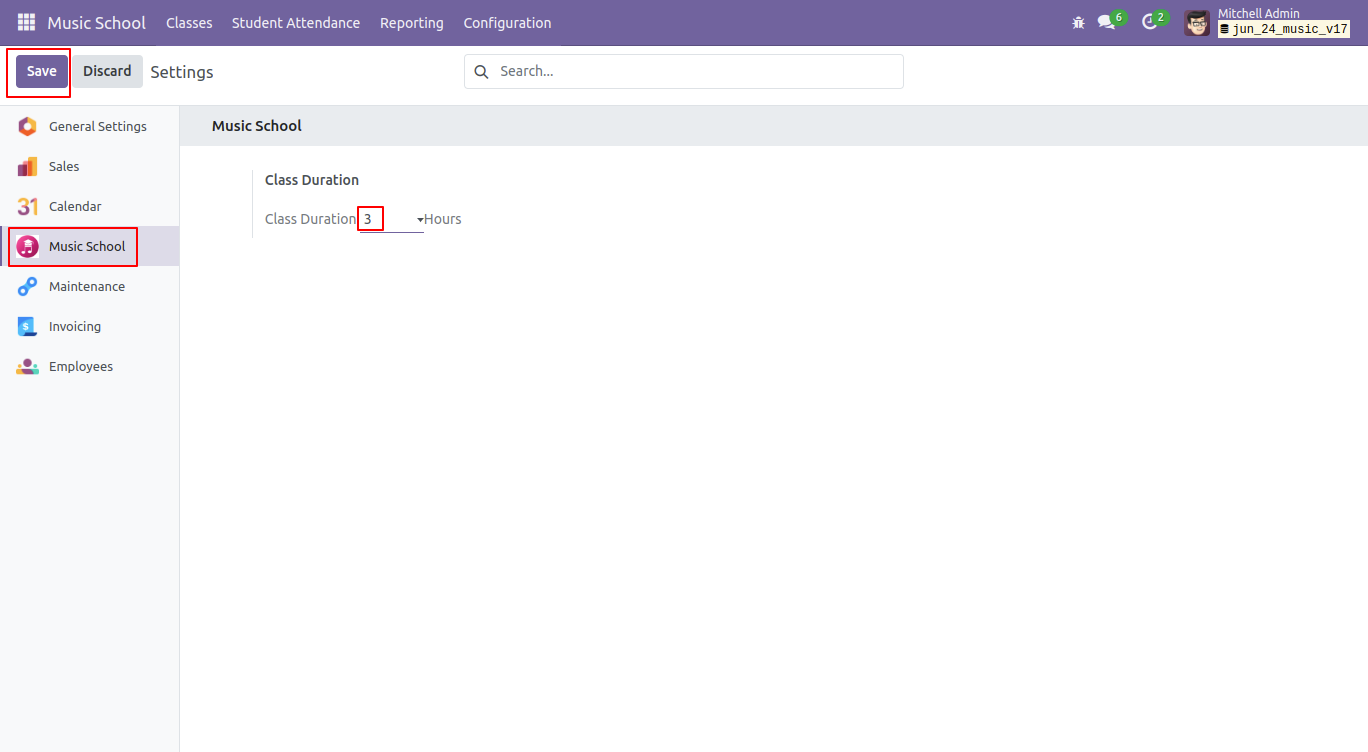
Set the class duration in this section. We have set it to 3 hours.
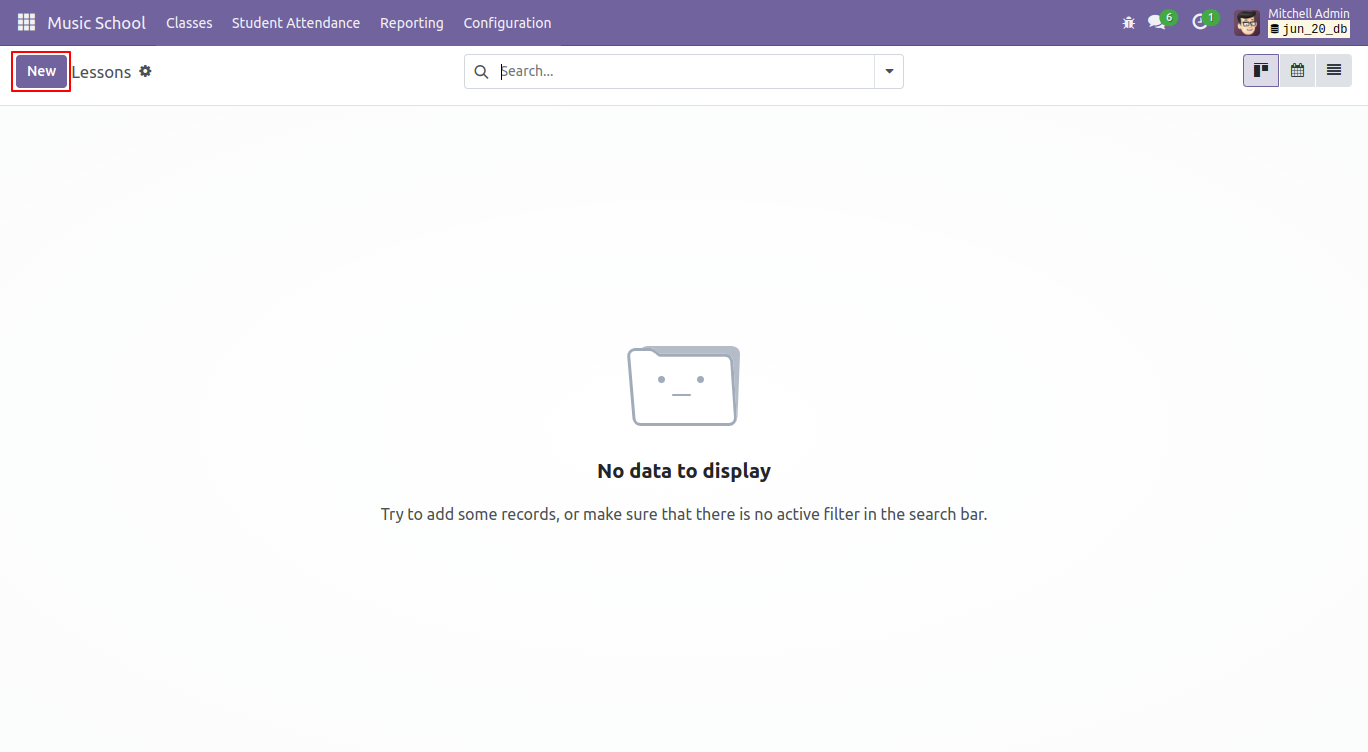
Kanban view of the lessons. To create a new lesson, click on the "New" button.
Fill the details in the lessons form view.
If you add more than 3 lesson hours, an error pop-up will appear.

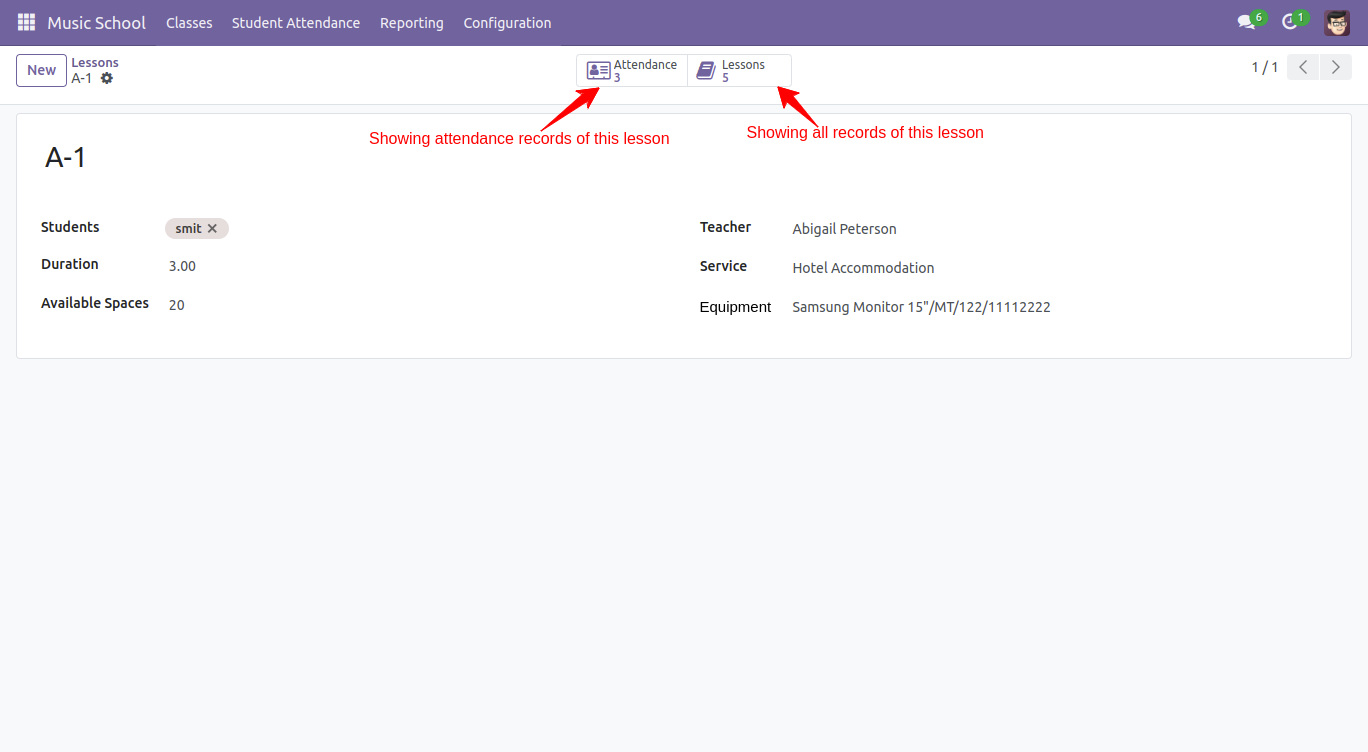
In the lessons form view, you can access attendance records and lessons through the smart button.
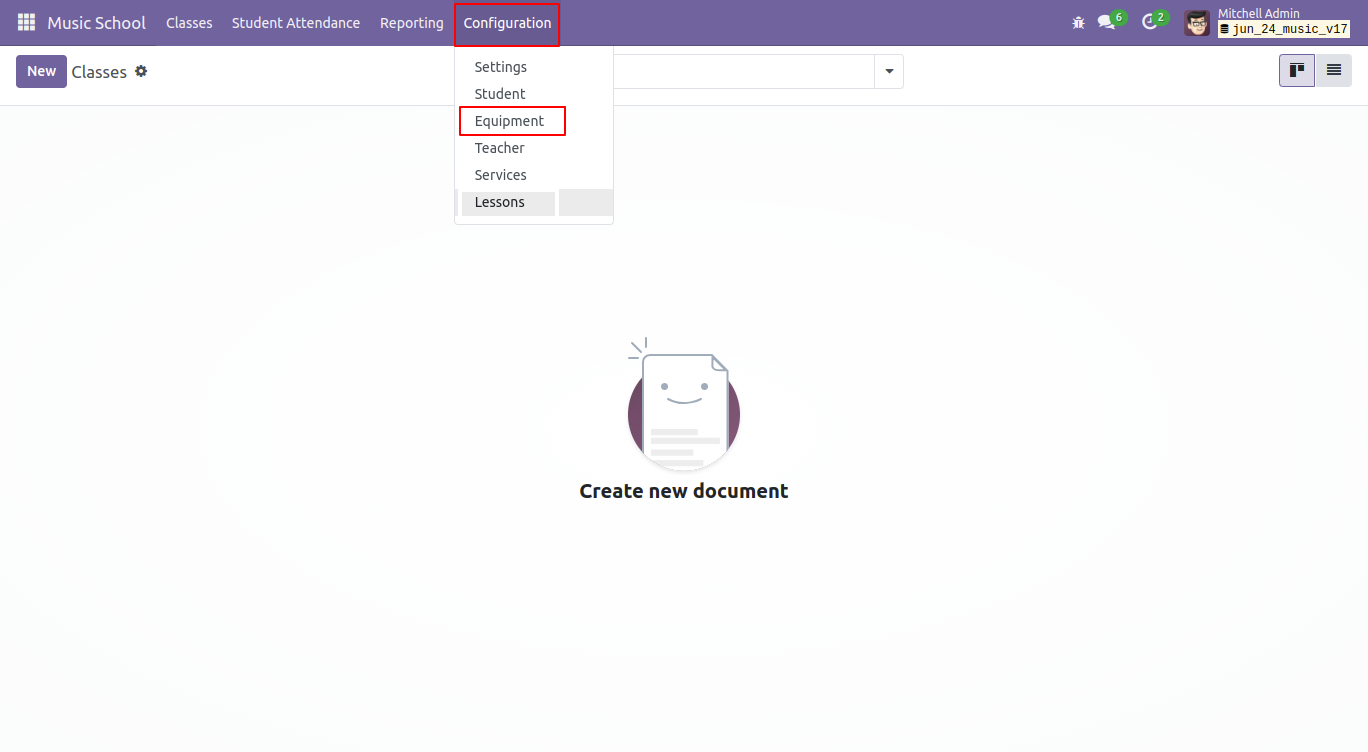
'Equipment' menu.
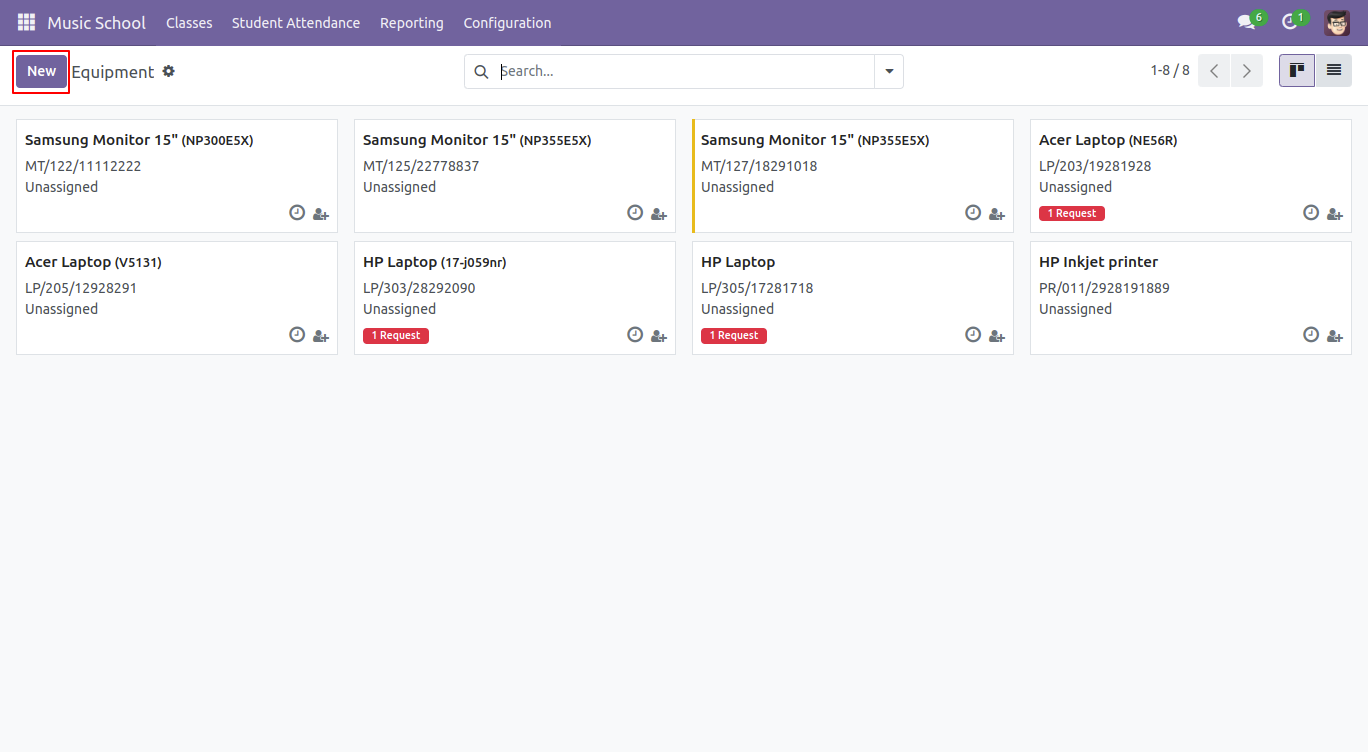
Kanban view of instrument. To create new equipment click the 'New' button.
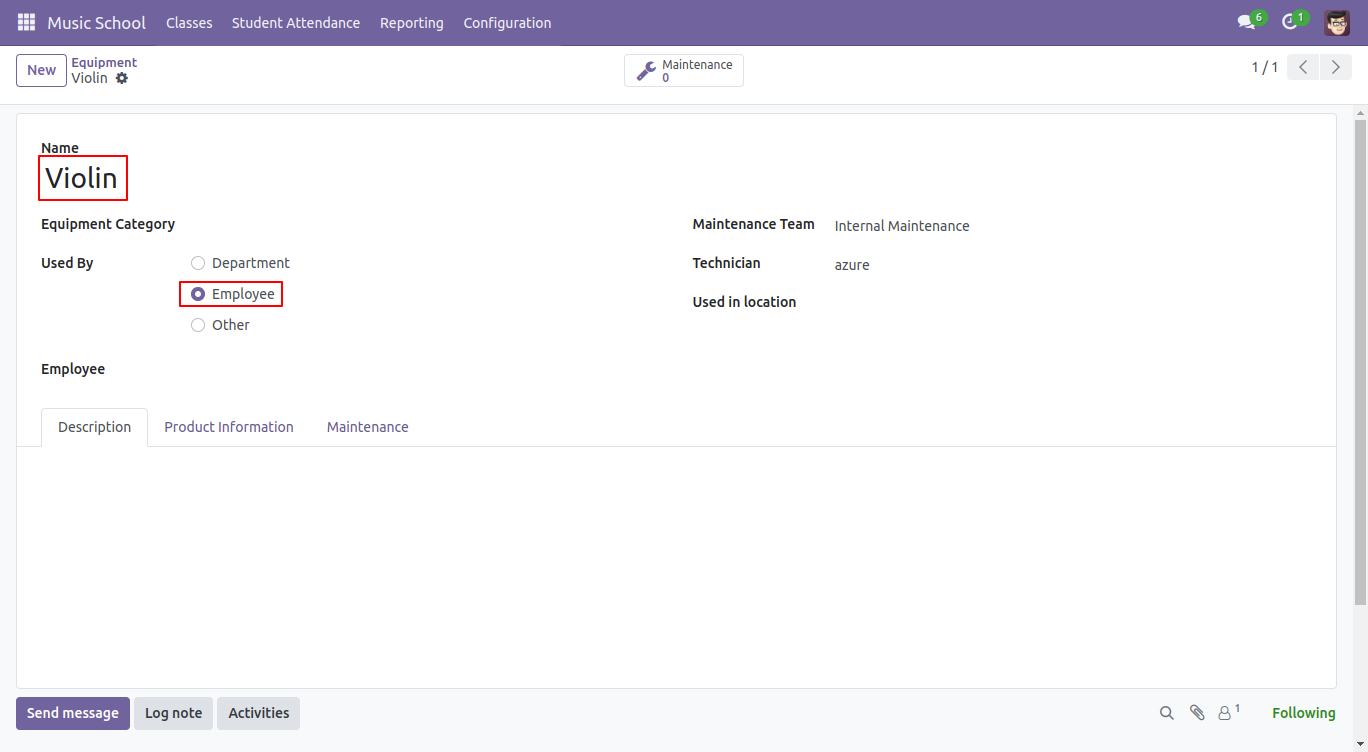
Form view of the equipment.
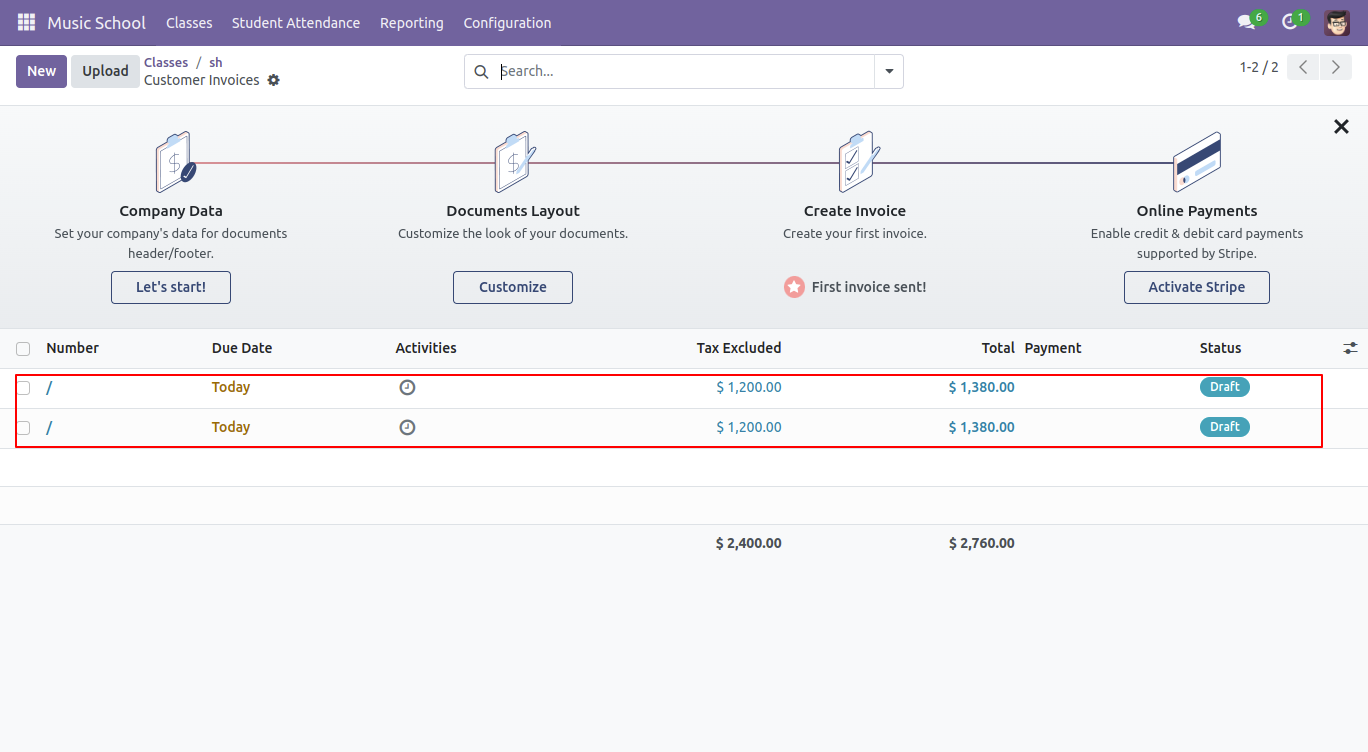
Create an invoice.
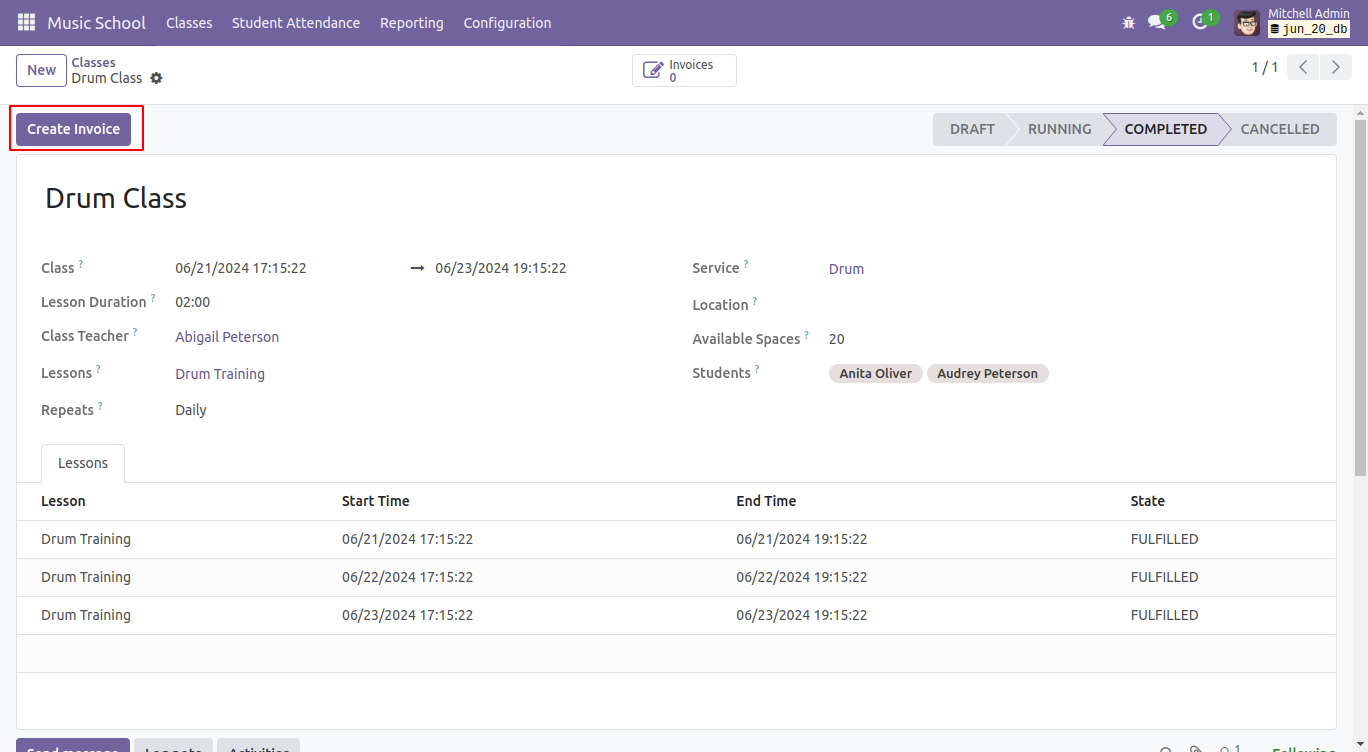
In the classes form view, the invoices smart button is visible. Click on it to view the invoices.
Tree view of the customer invoices.
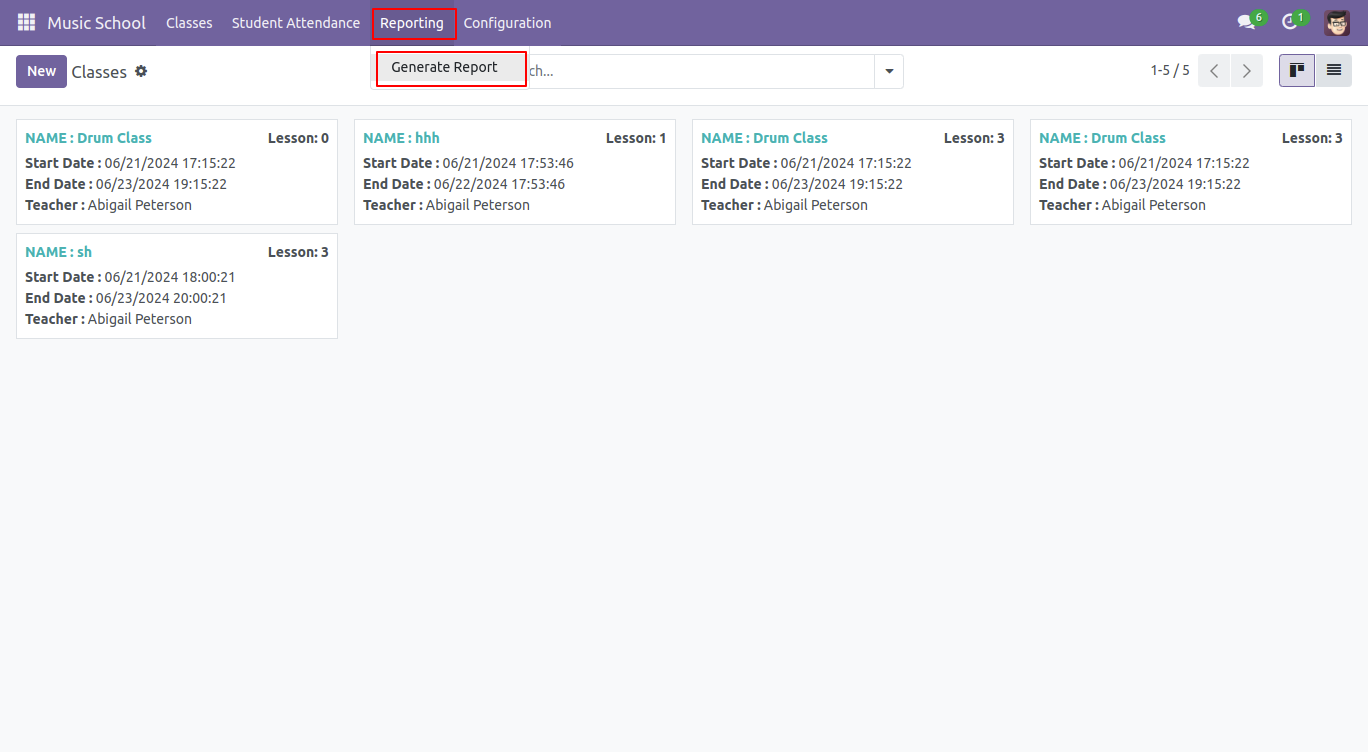
'Generate Report' menu.
In the report wizard, enter the date, lesson name, and attendance details, then click the 'Print' button to generate the attendance report.
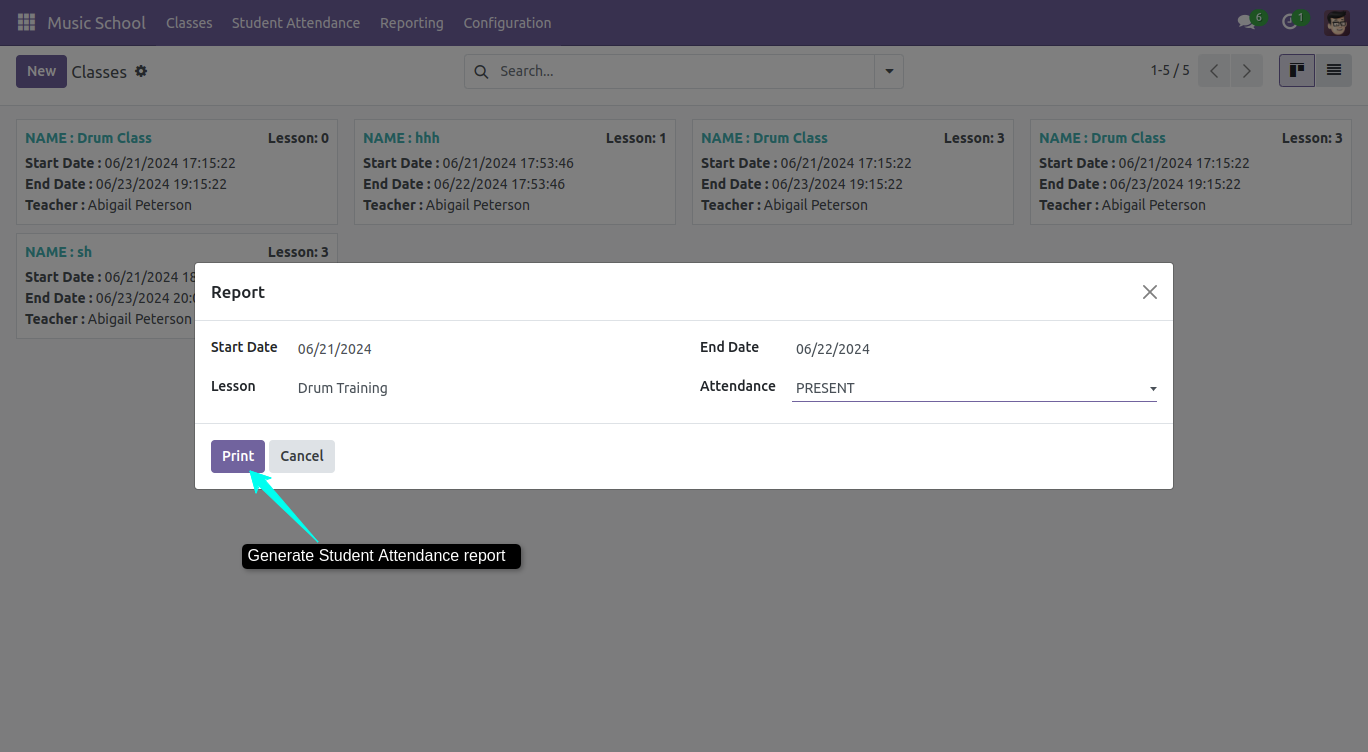
The attendance report looks like below.

Version 17.0.1 | Released on : 5th July 2024
- Yes, this app works perfectly with Odoo Enterprise (Odoo.sh & On-Premise) as well as Community.
- No, this application is not compatible with odoo.com(odoo saas/Odoo Online).
- Please Contact Us at sales@softhealer.com to request customization.
- Yes, you will get free update for lifetime.
- No, you don't need to install addition libraries.
- For version 12 or upper, you will need to purchase the module for each version that you want to use.
- Yes, we provide free support for 100 days.
- No, We do not provide any kind of exchange.
