












Institute Management System

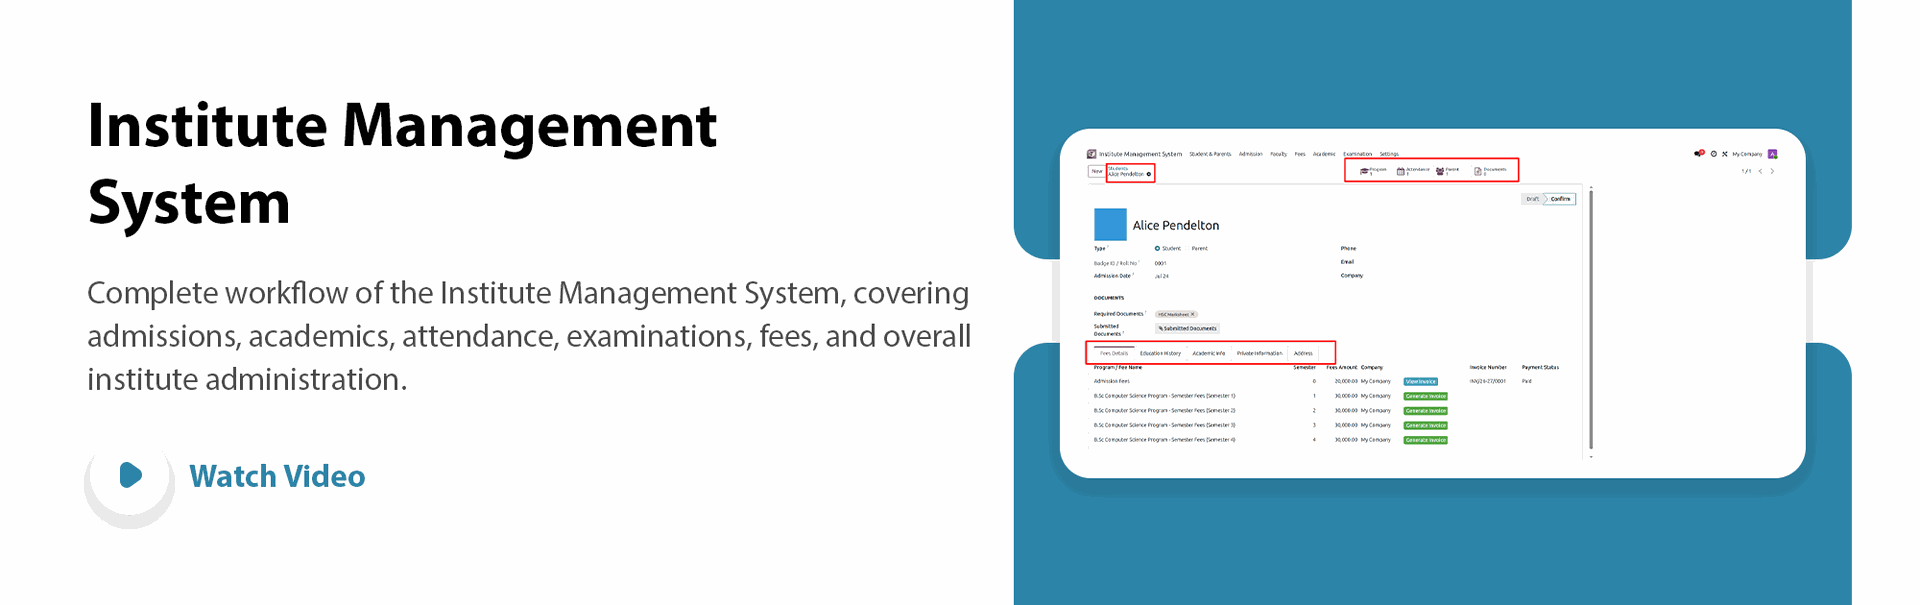
Institute Management System is a comprehensive Odoo solution designed to manage the complete operations of educational institutions. Easily handle admissions, students, courses, faculty, attendance, examinations, fee management, timetables, and academic records from a single, integrated platform.
Key Features
Features

Student Management
Manage student records, academic information, and activities from a centralized system.

Student Admission Management
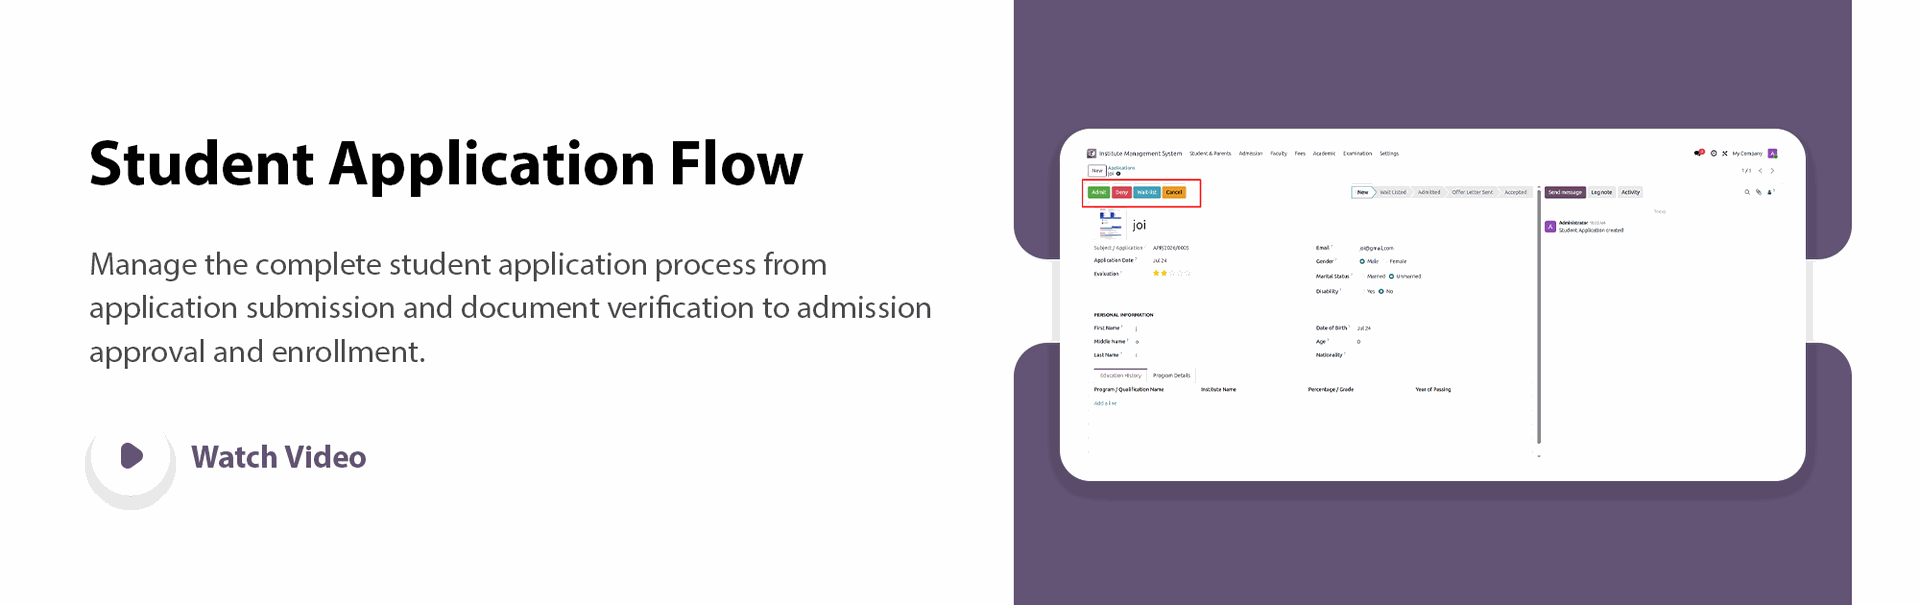
Streamline the student admission process from application to enrollment.

Student Registration
Register students efficiently with all required academic and personal details.

Student Profile & Academic Records
Maintain comprehensive student profiles, academic history, and performance records.

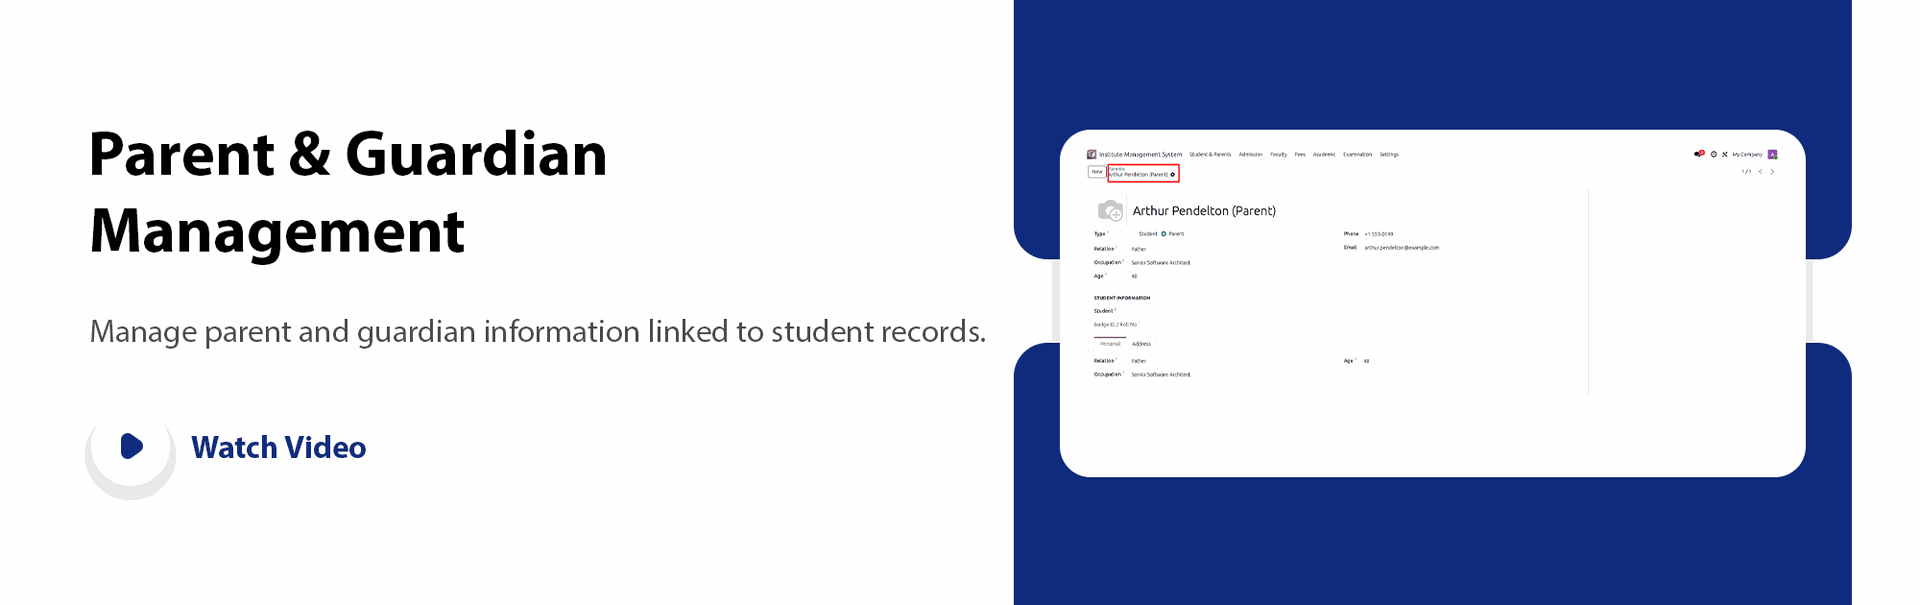
Parent & Guardian Management
Manage parent and guardian information linked to student records.

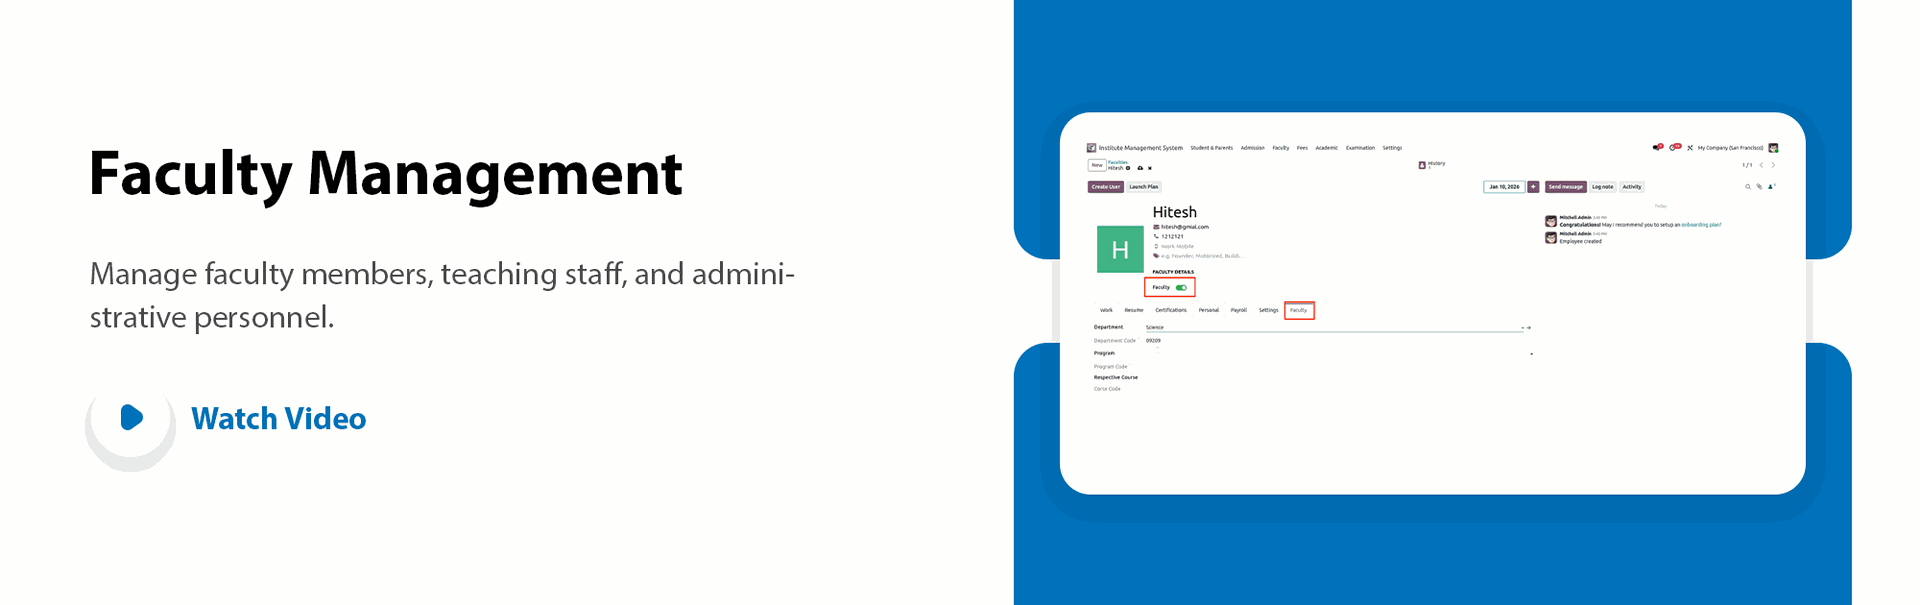
Faculty & Staff Management
Manage faculty members, teaching staff, and administrative personnel.

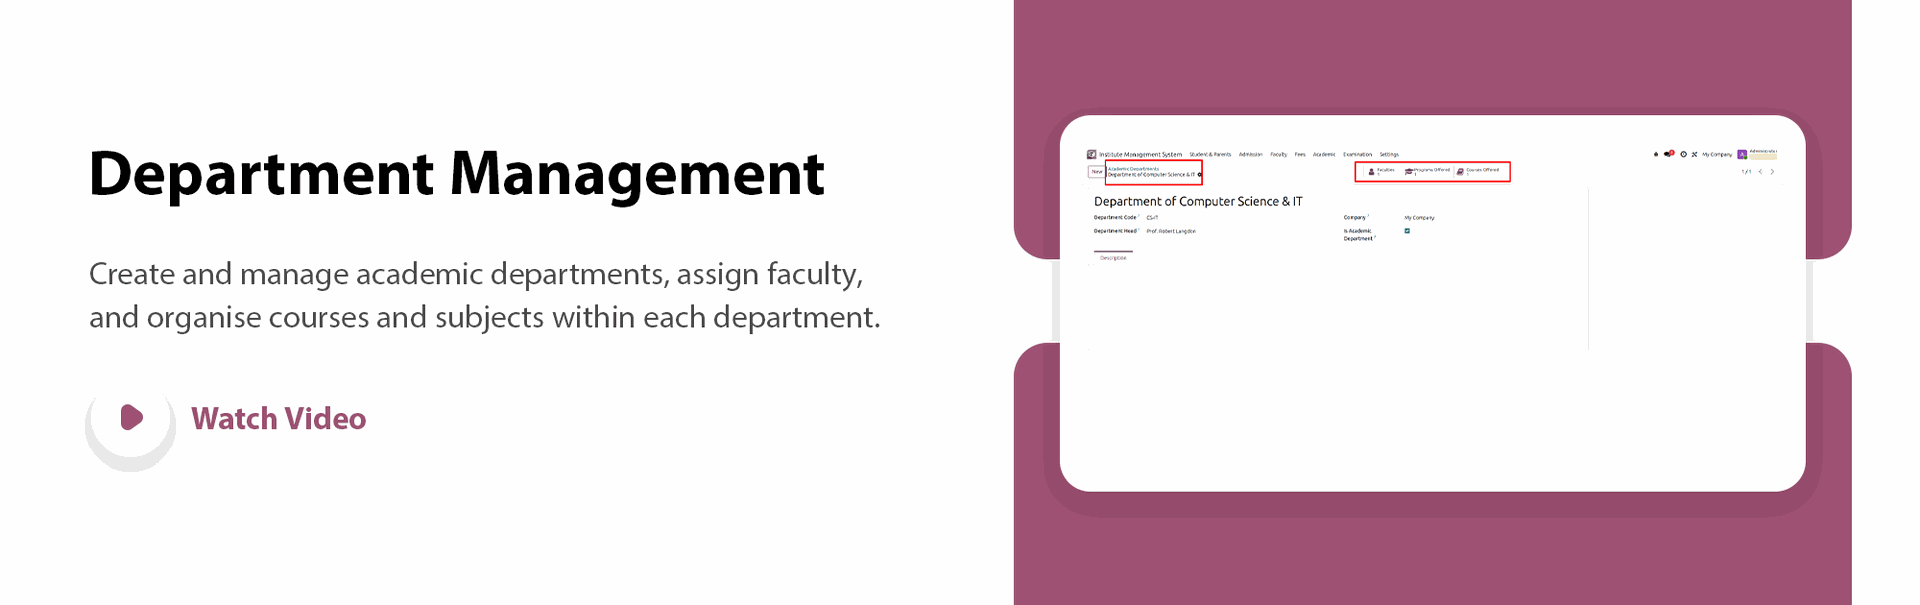
Department Management
Create and manage academic departments, assign faculty, and organise courses and subjects within each department.

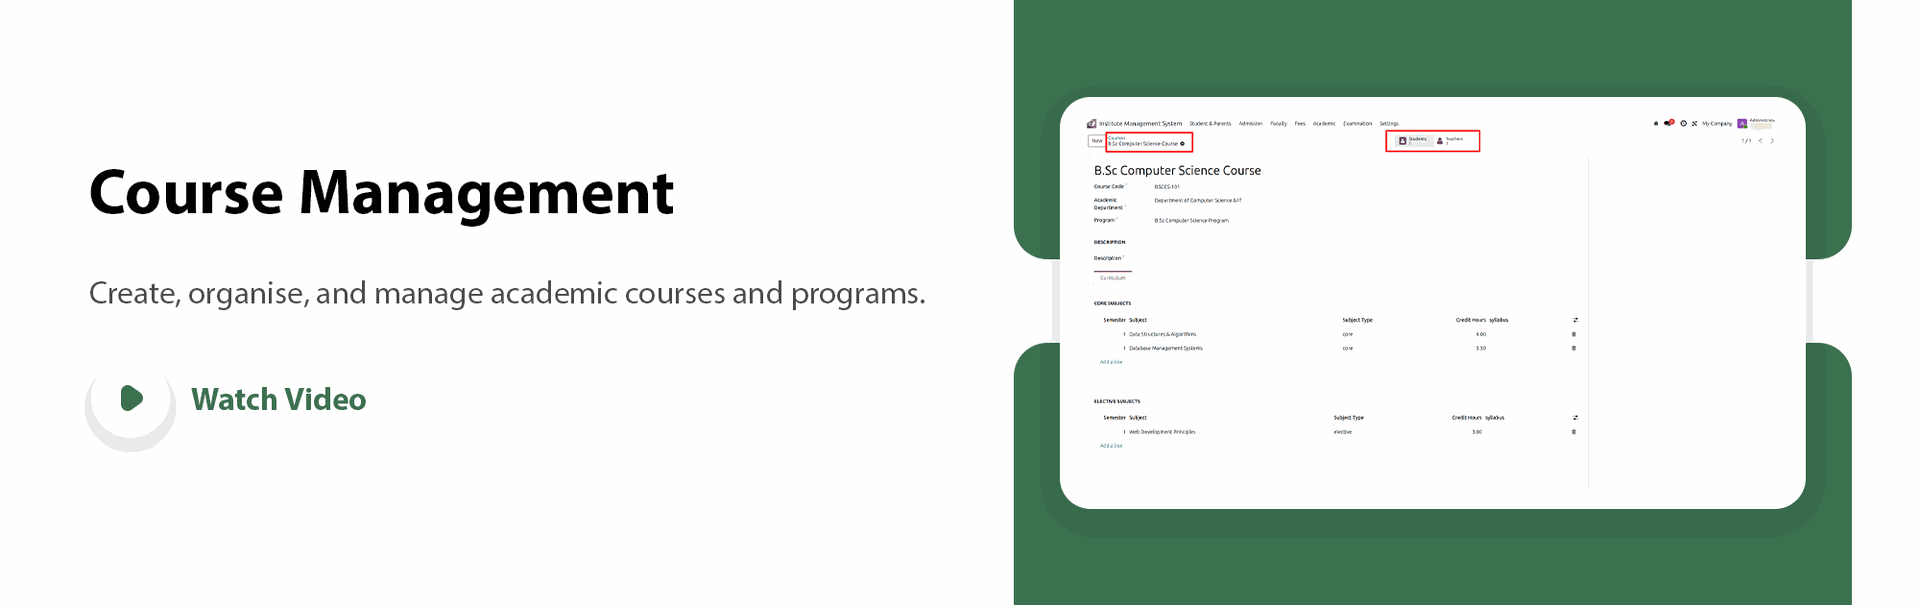
Course Management
Create, organize, and manage academic courses and programs.

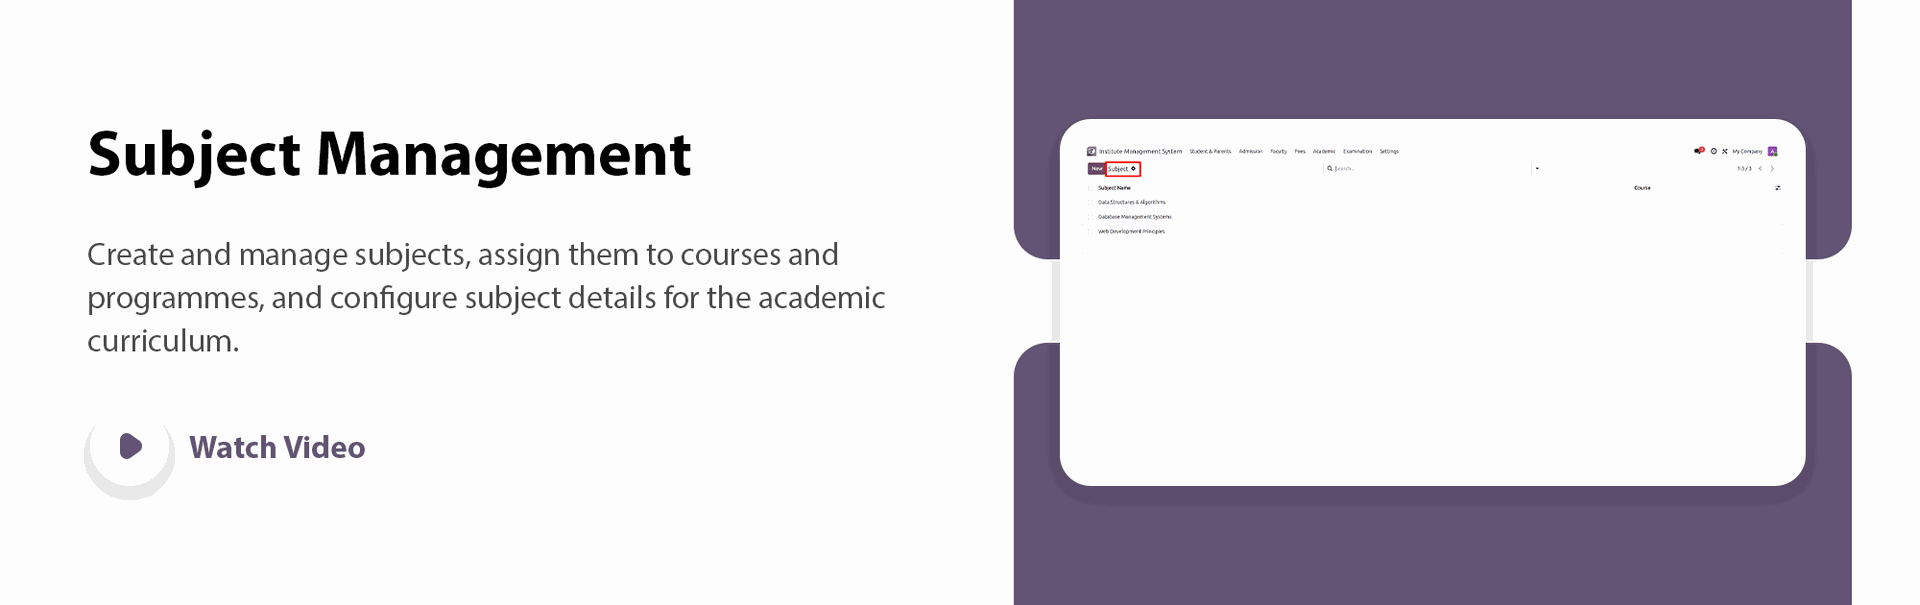
Subject Management
Configure and manage subjects associated with courses and departments.

Academic Year & Semester Management
Configure academic years, semesters, and session schedules.

Eligibility Criteria Management
Define and manage eligibility criteria for student admissions, courses, and academic programmes based on configurable requirements.

Timetable & Class Scheduling
Create and manage class timetables and lecture schedules.

Attendance Management
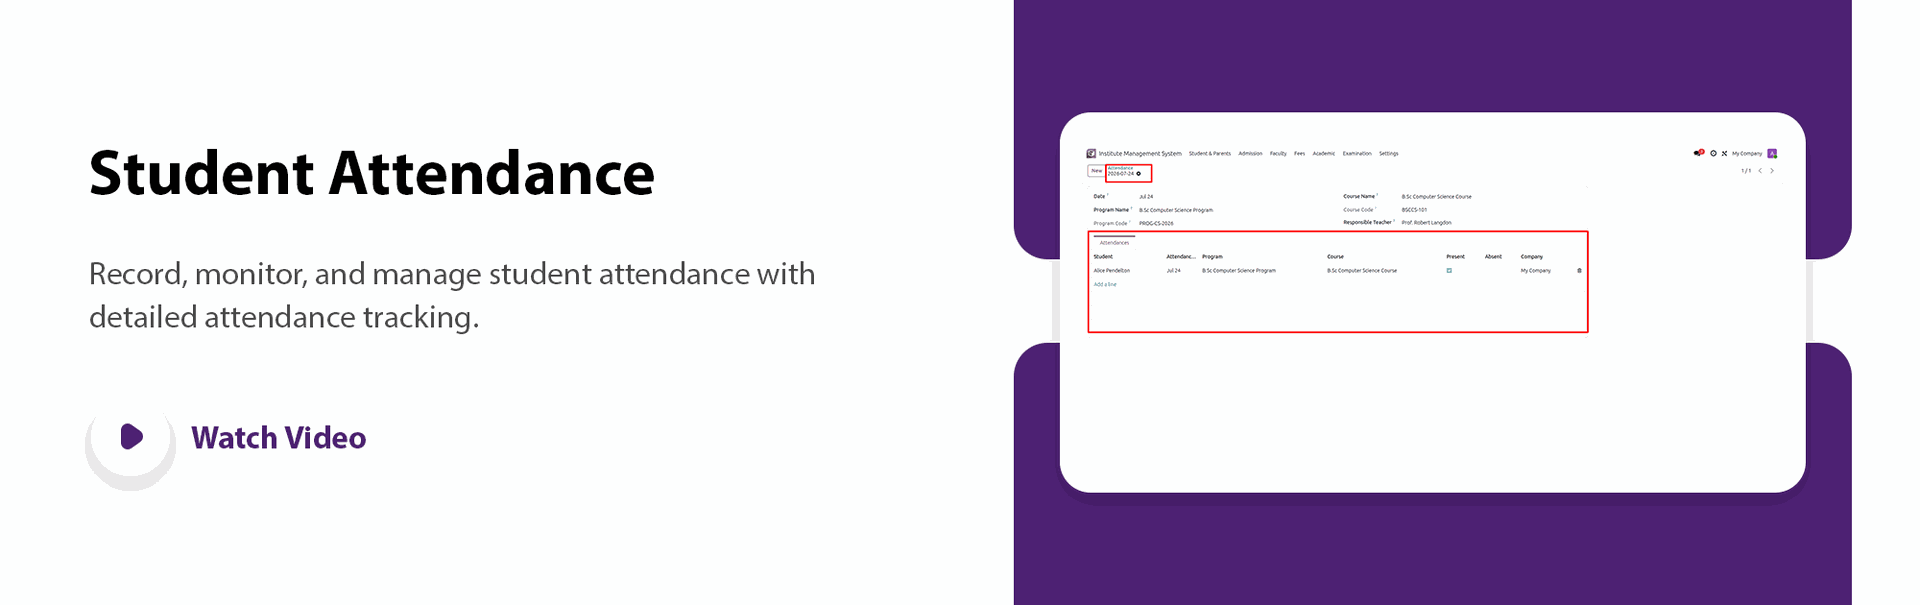
Record and monitor student attendance for classes and academic activities.

Examination Management
Create and manage examinations, question papers, answer sheets, and hall tickets from a centralized system.

Fee Structure Management
Configure fee structures for courses, classes, and academic sessions.

Fee Collection & Payment Tracking
Manage fee collection, payment history, outstanding balances, and receipts.
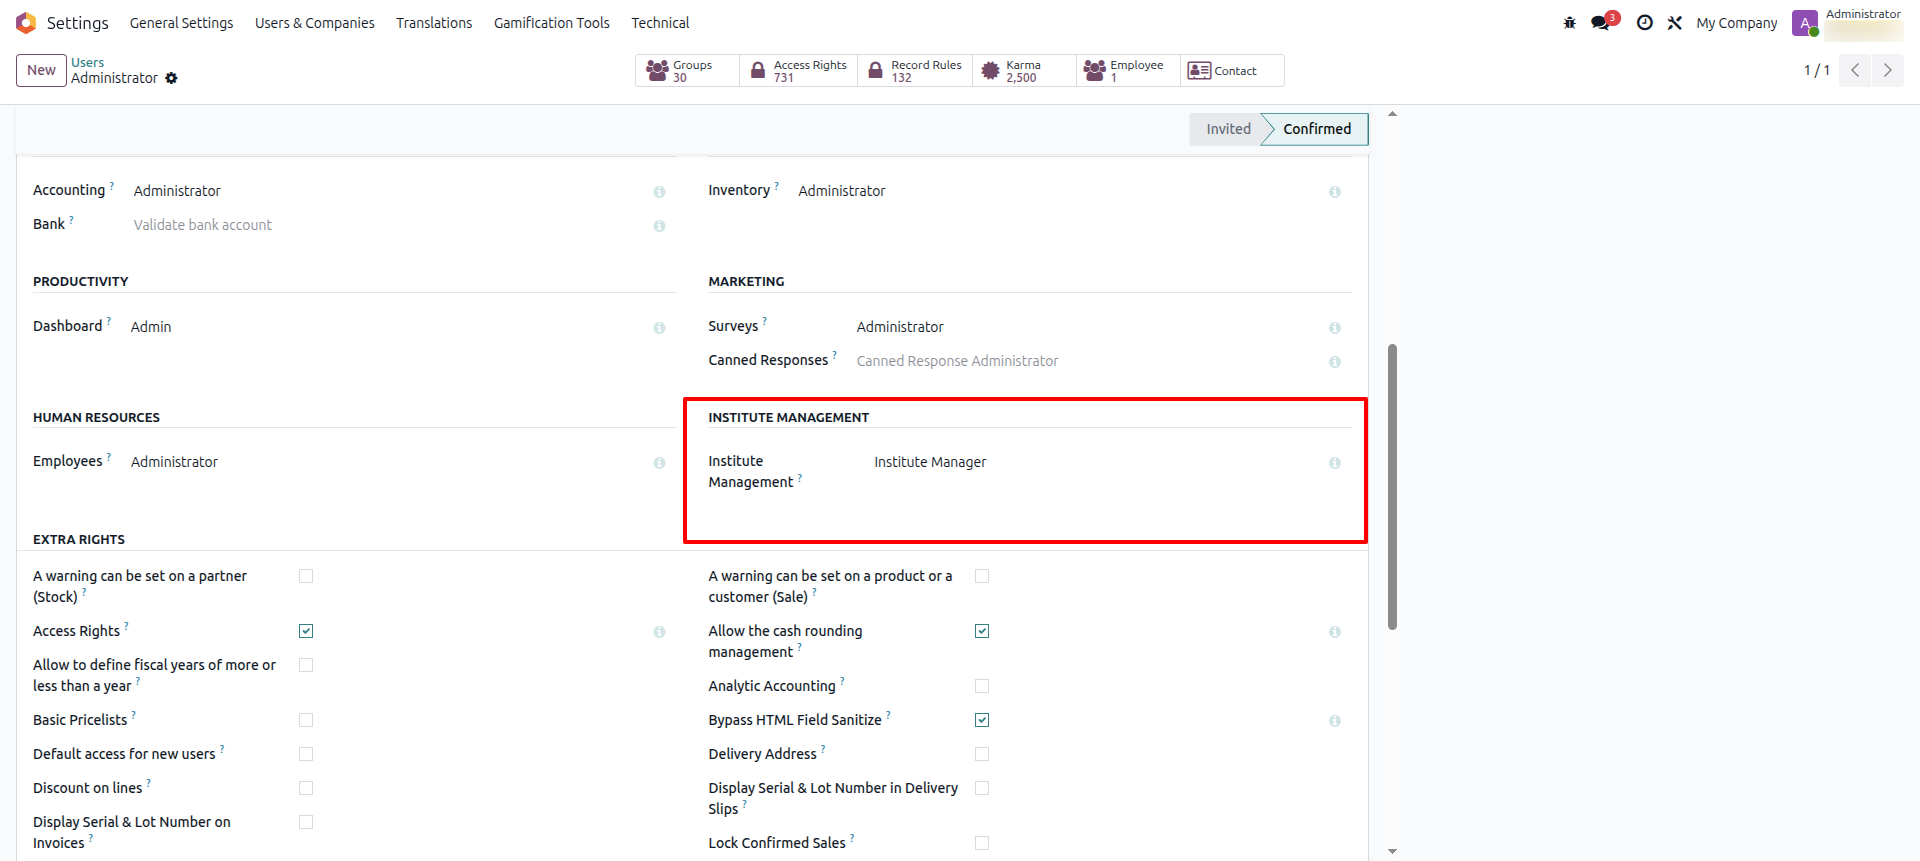
Go to User Settings and select the Institute Manager role to configure or manage the user's institute-level permissions and access rights.
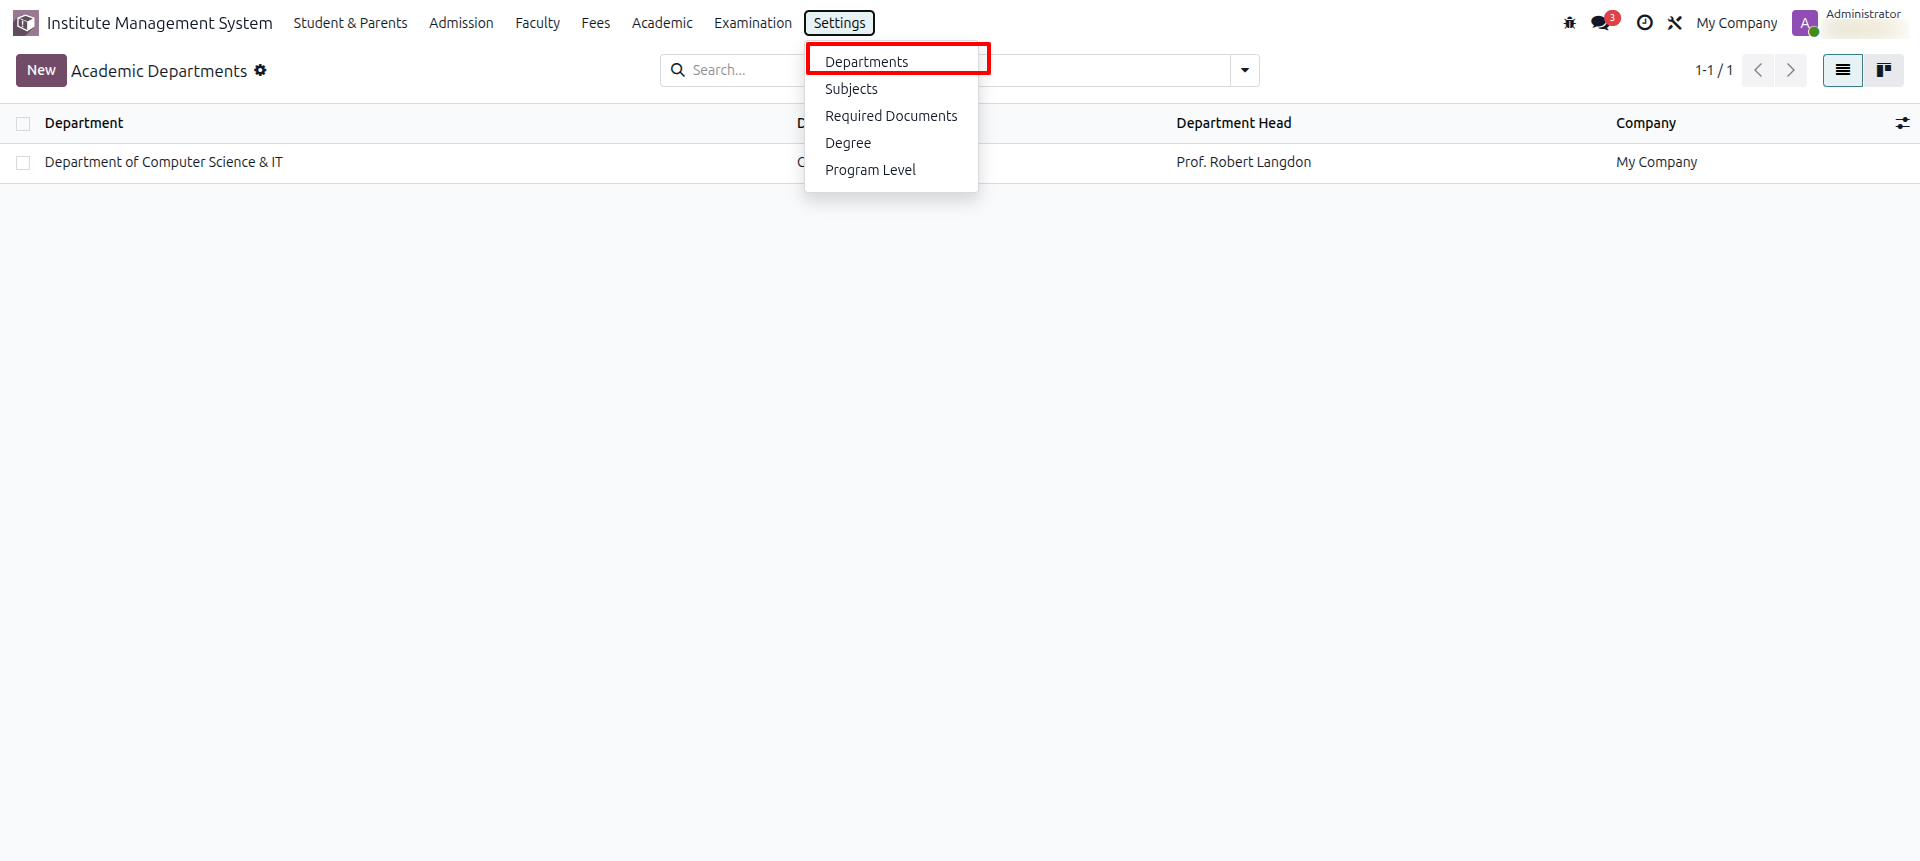
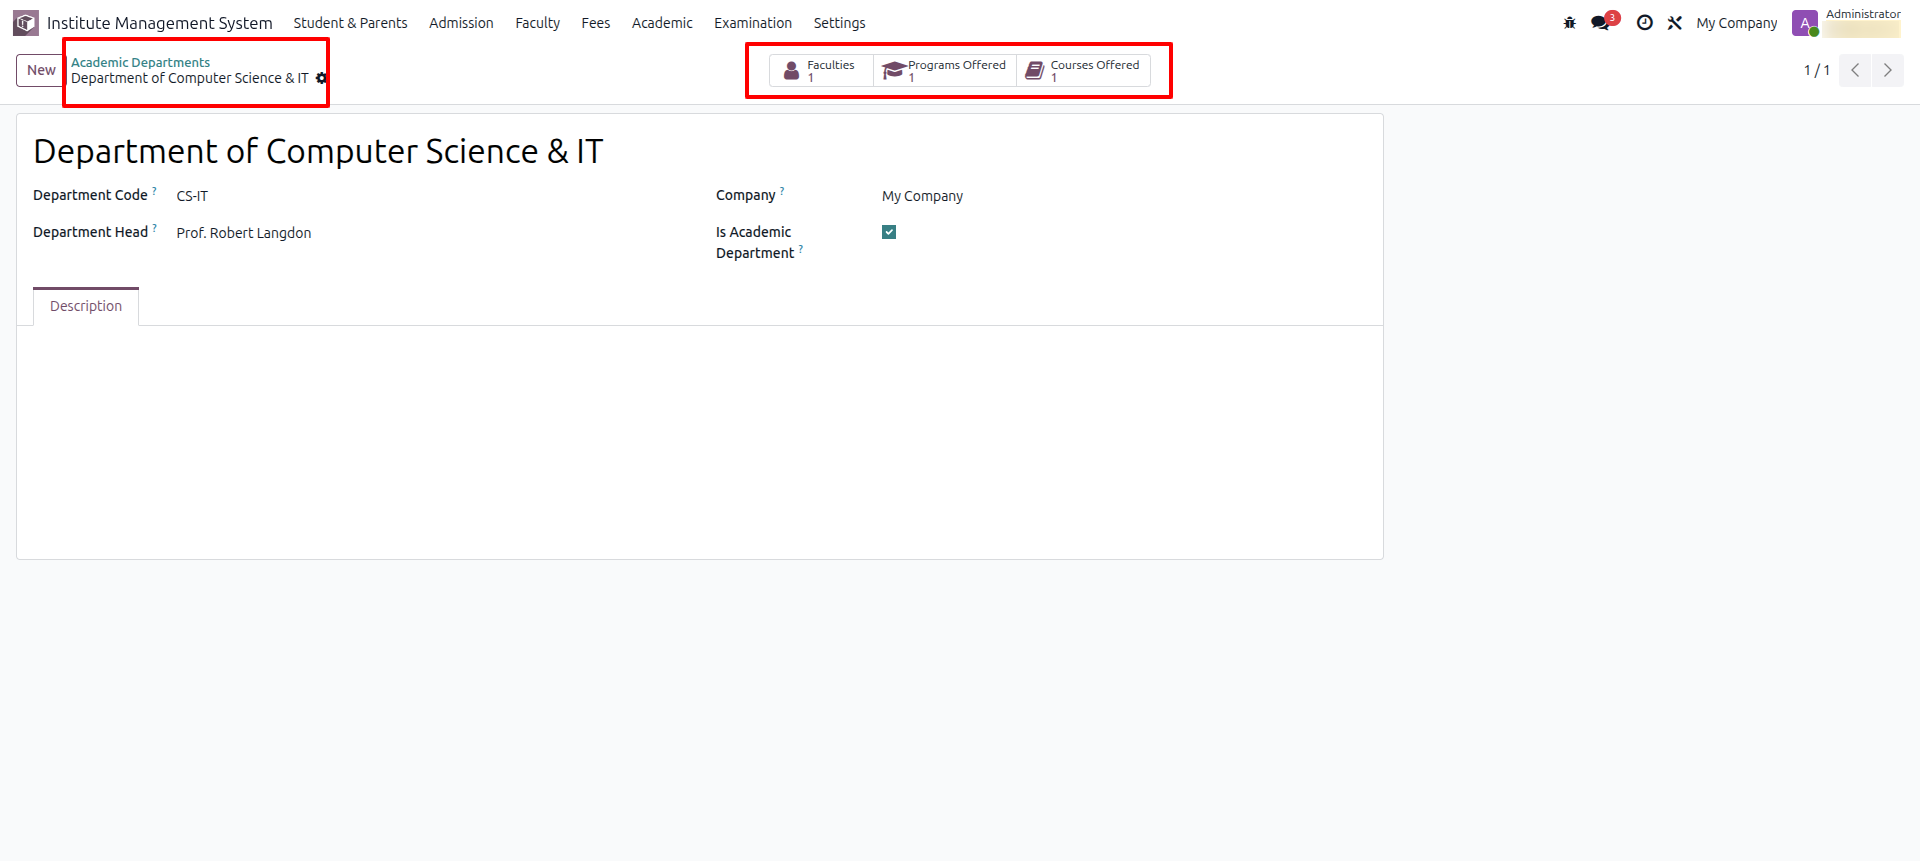
Go to the Institute Management Settings menu and select the Departments submenu.
Open the Department form view to create or manage department details, including the Department Name, Department Code, Head of Department, and other related information.
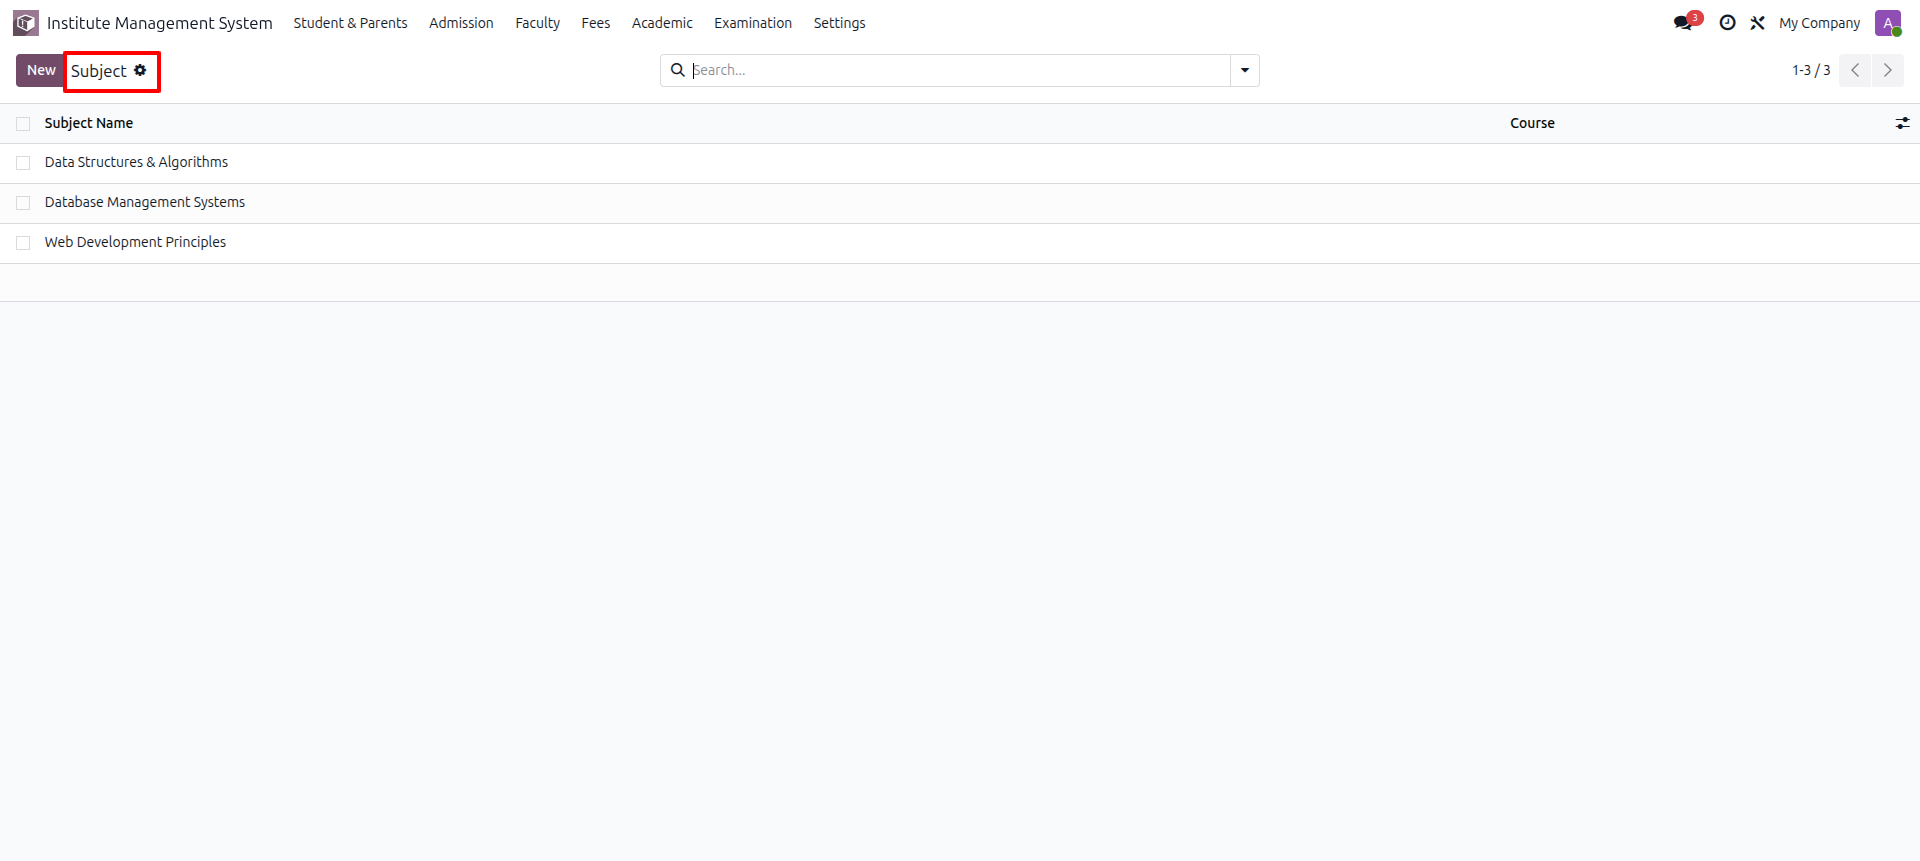
Go to the Institute Management Settings menu and select the Subjects submenu to open the Subject List View, where you can view, create, edit, and manage all subjects offered by the institute.
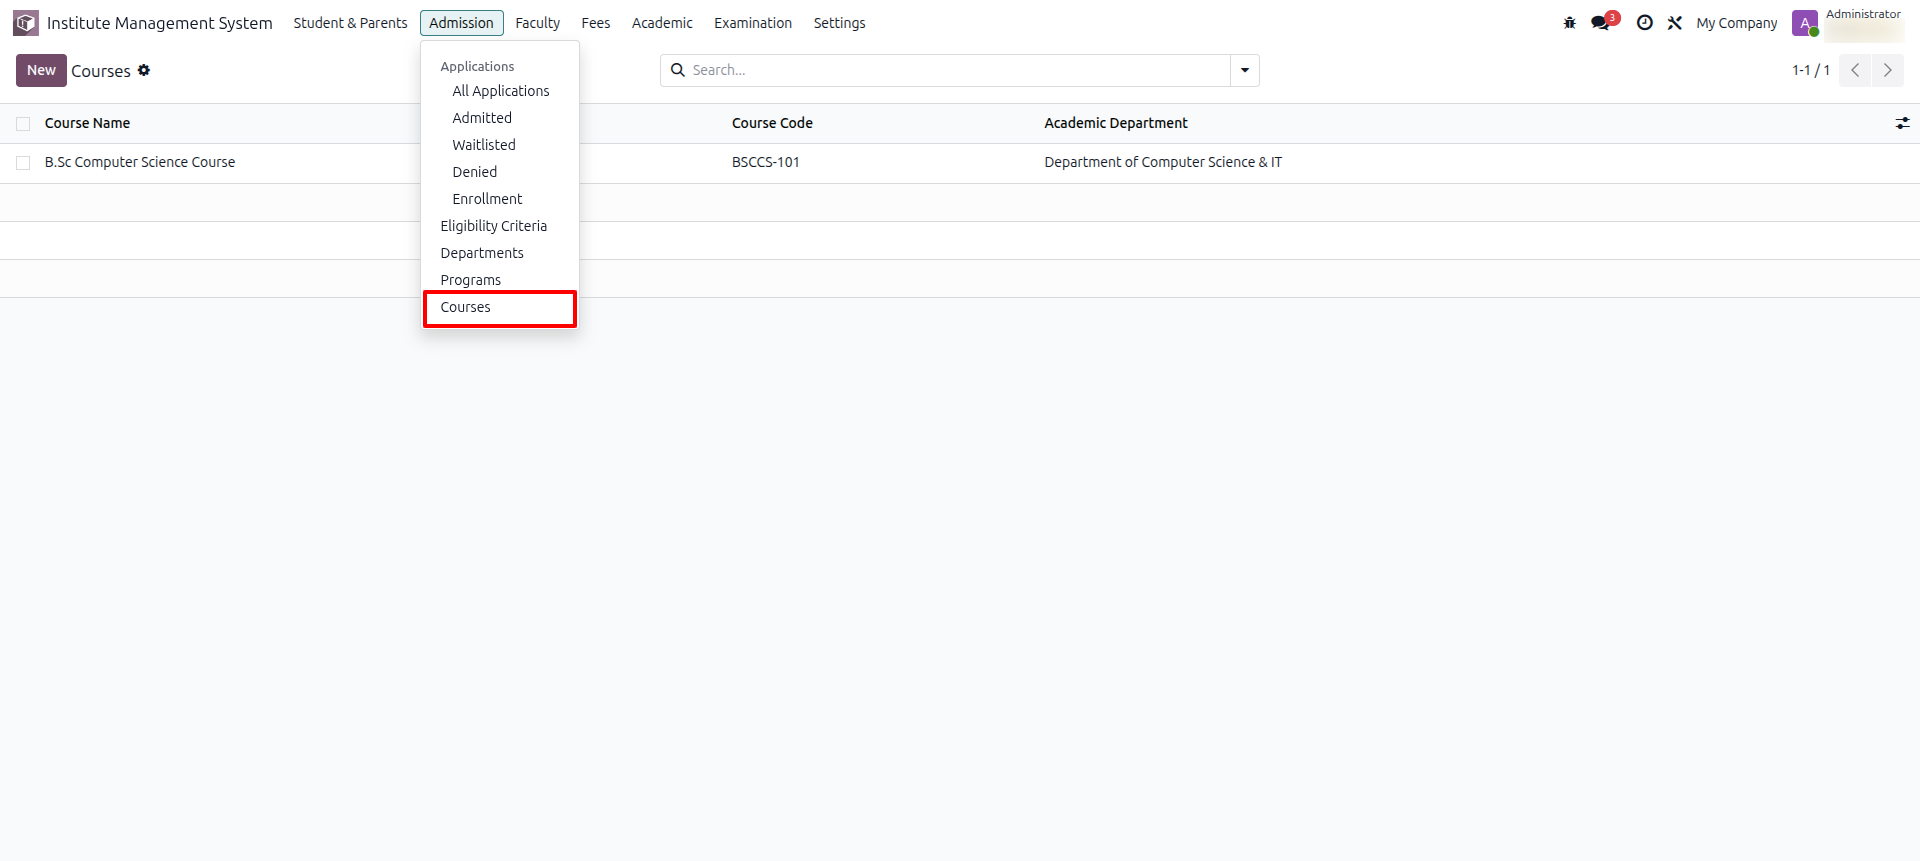
Go to the Admissions menu and select the Courses submenu to view, create, and manage all courses offered by the institute.
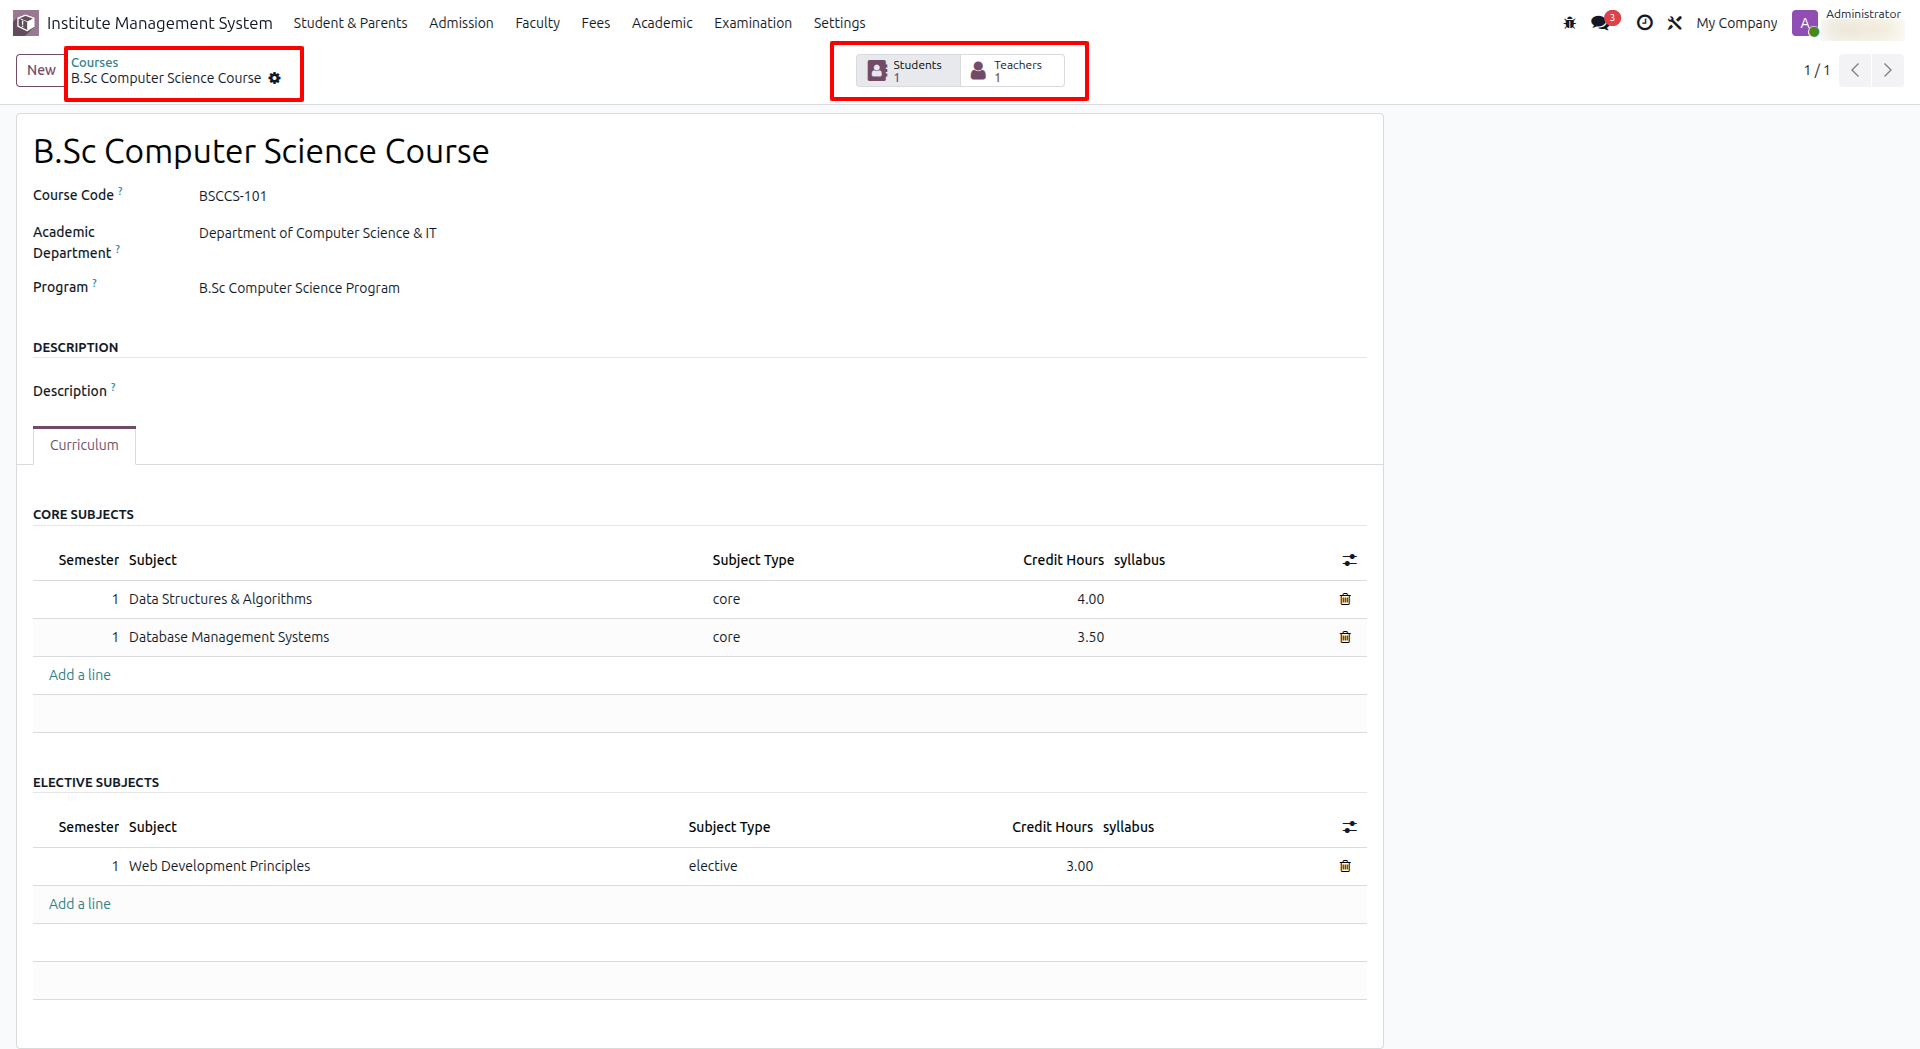
Open the Course form view to create or manage course details, including the Course Name, Course Code, Duration, Department, Eligibility Criteria, and other related information.
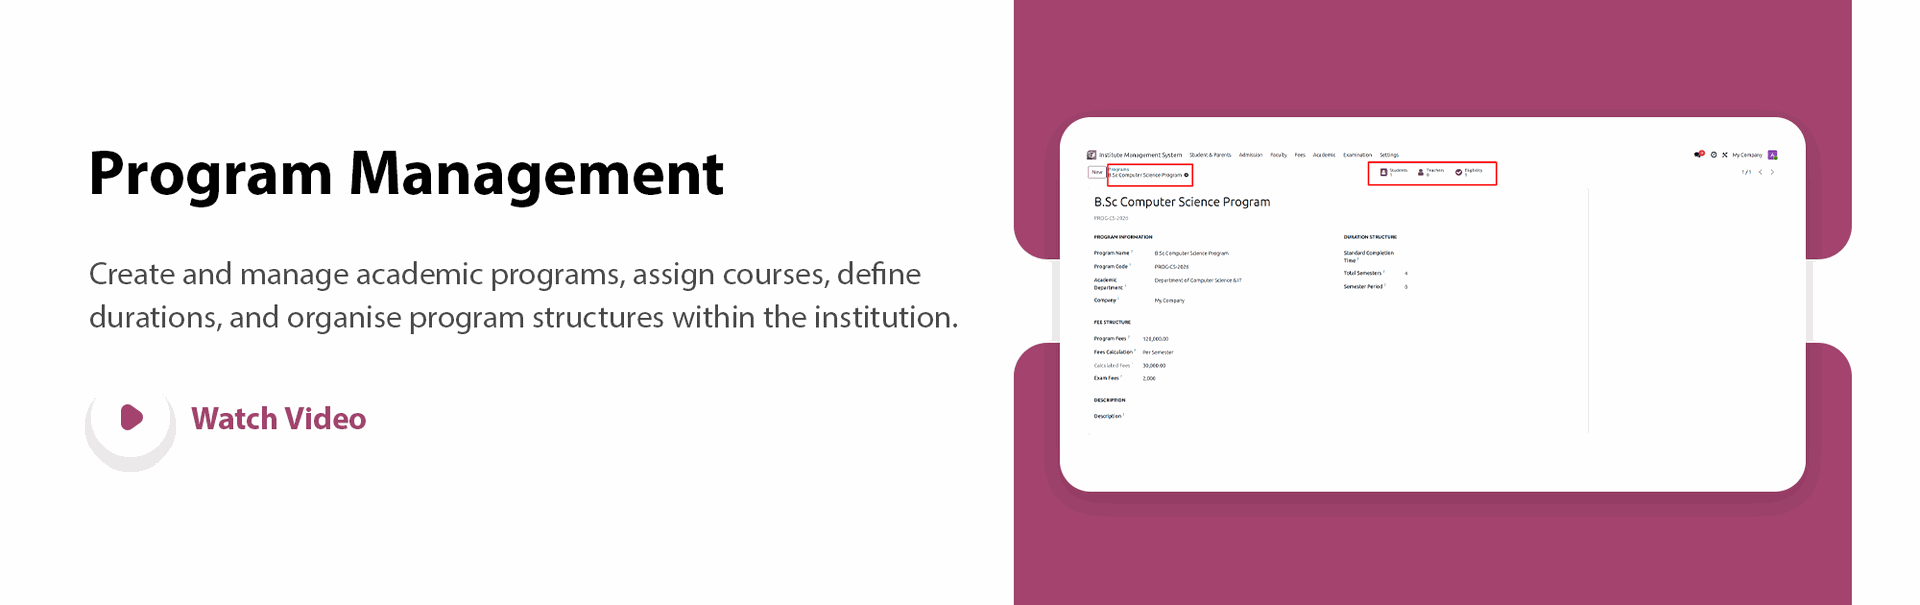
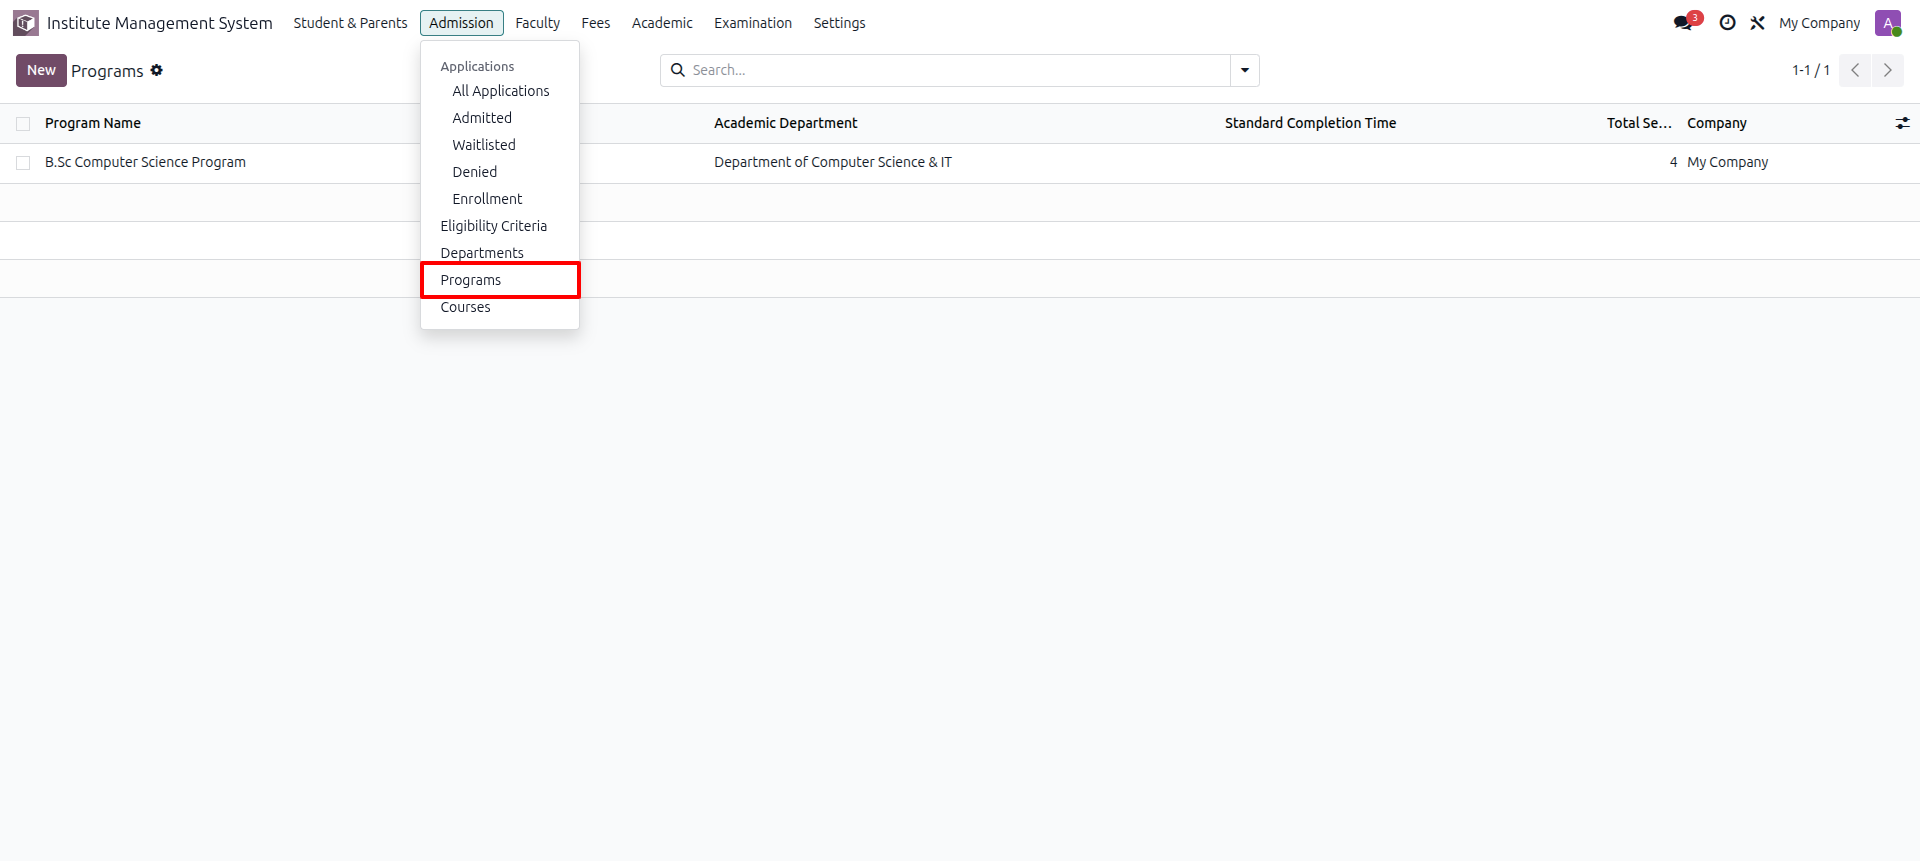
Go to the Admissions menu and select the Programs submenu to view, create, and manage all academic programs offered by the institute.
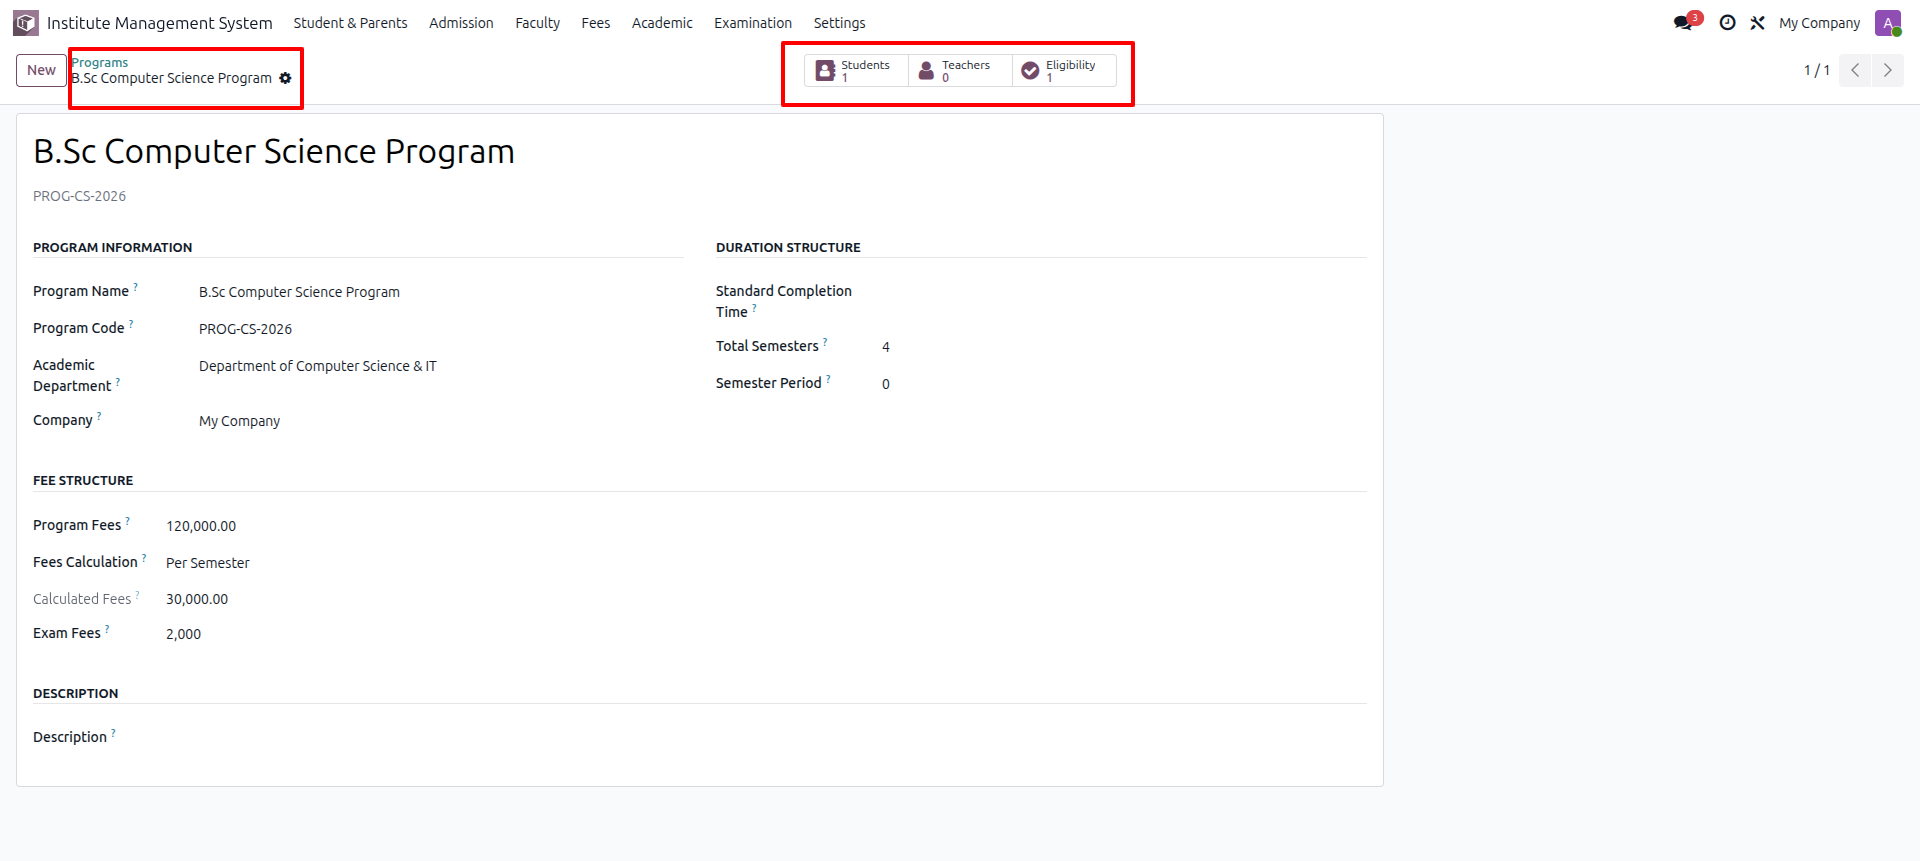
Open the Program form view to create or manage program details, including the Program Name, Program Code, Course, Department, Duration, Eligibility Criteria, Fees, and other related information.
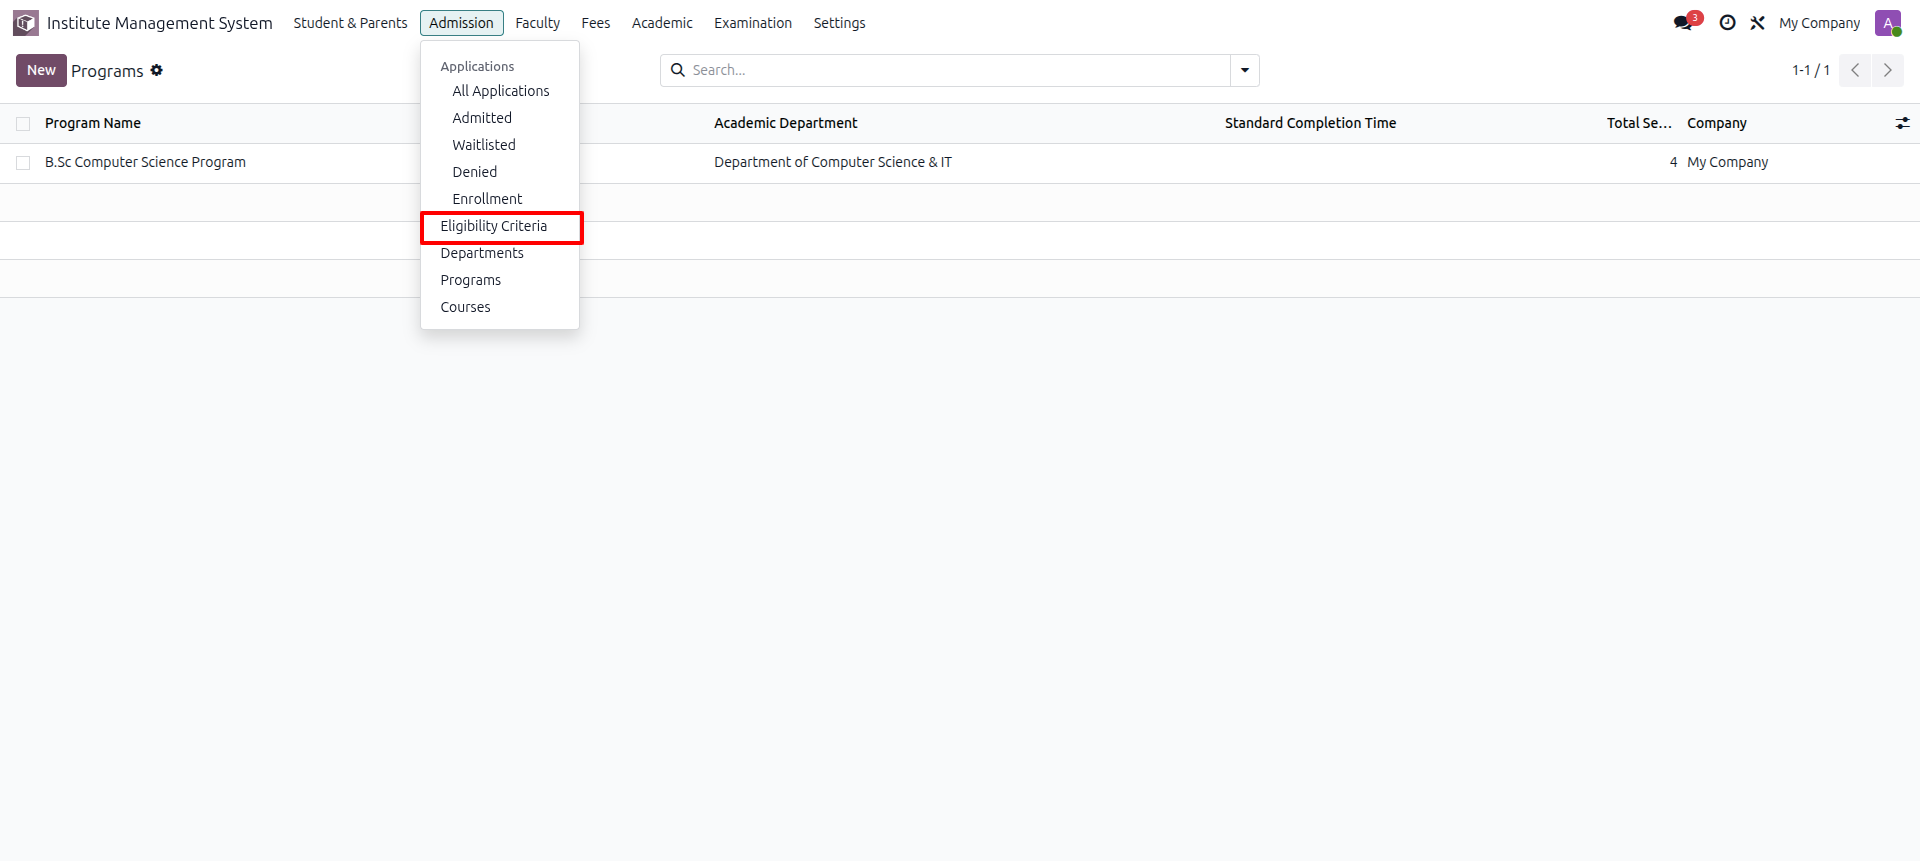
Go to the Admissions menu and select the Eligibility Criteria submenu to view, create, and manage the eligibility requirements for admission to different programs and courses.
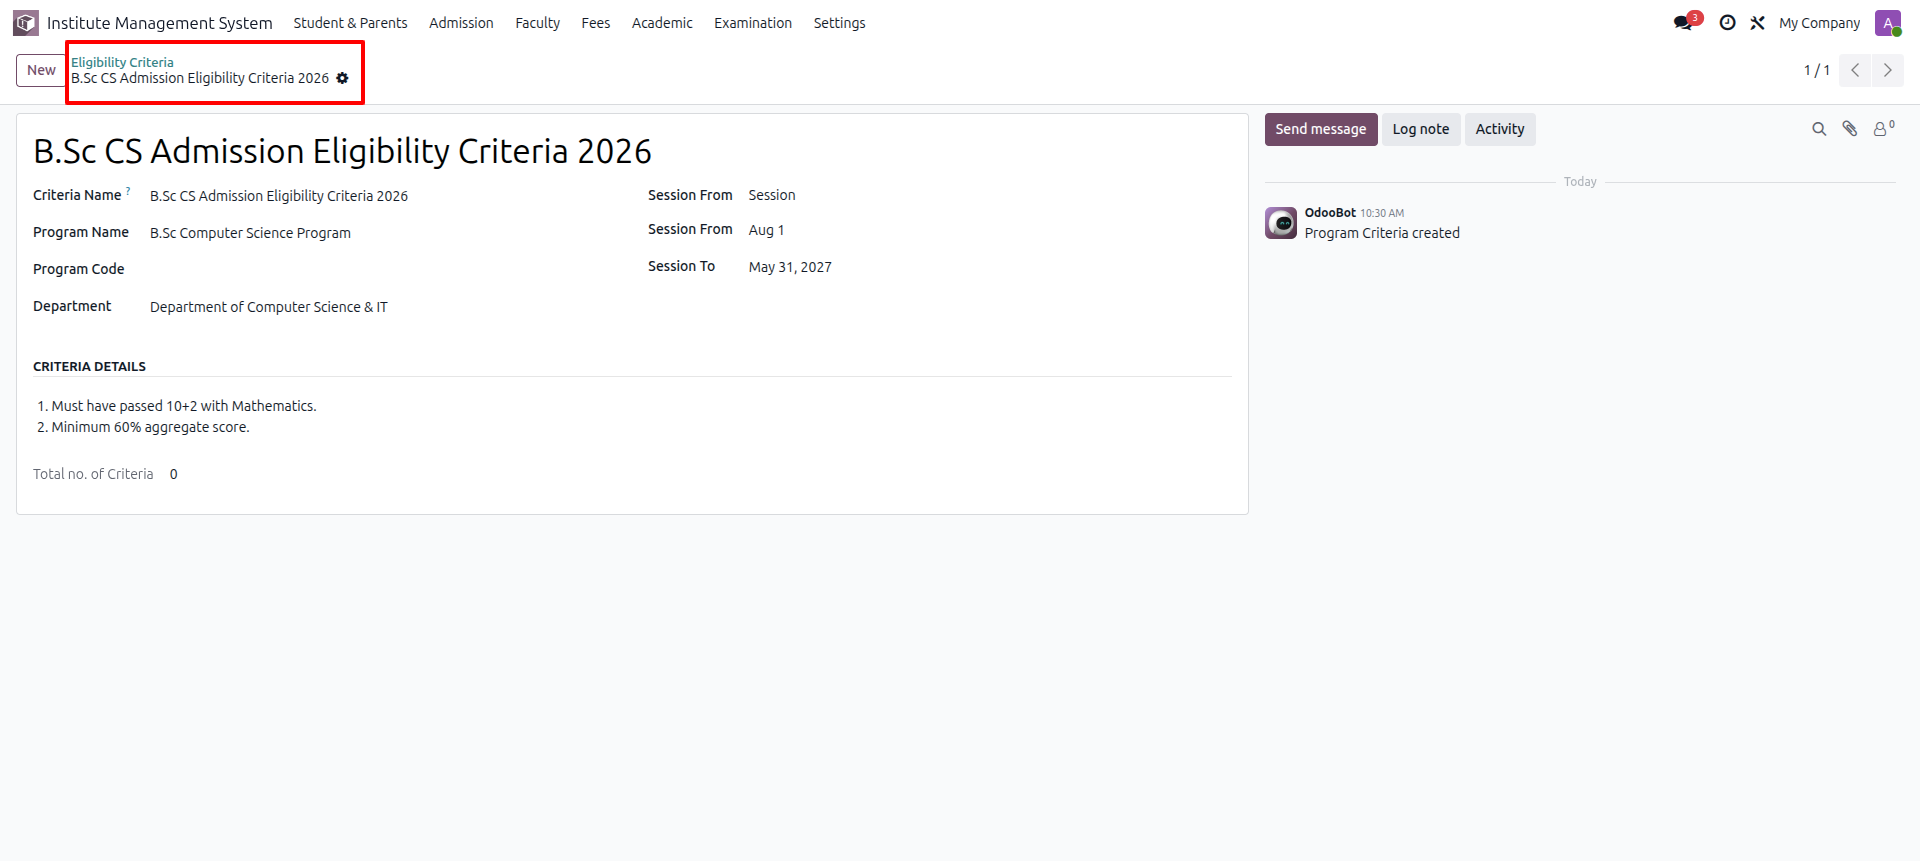
Open the Eligibility Criteria form view to create or manage eligibility requirements, including the Criteria Name, Applicable Program/Course, and other admission-related conditions.
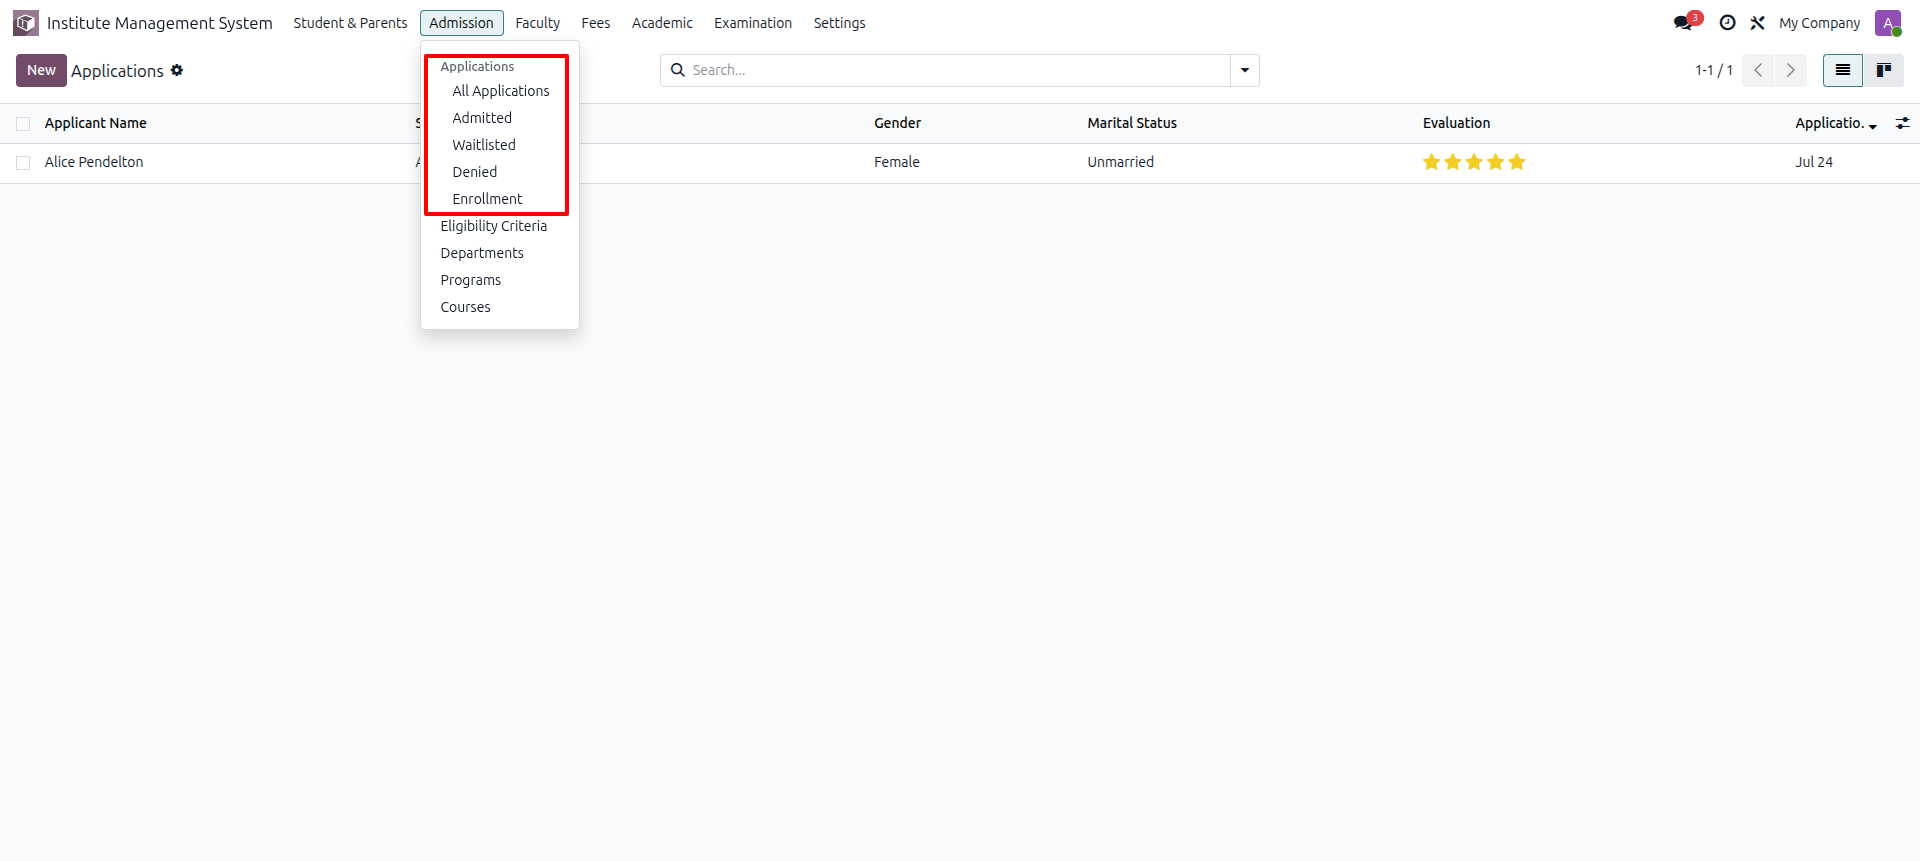
Go to the Admissions menu, where users can access the following submenus: All Applications, Admitted, Waitlisted, Denied, Enrollments.
These submenus allow users to view and manage applications based on their current admission status.
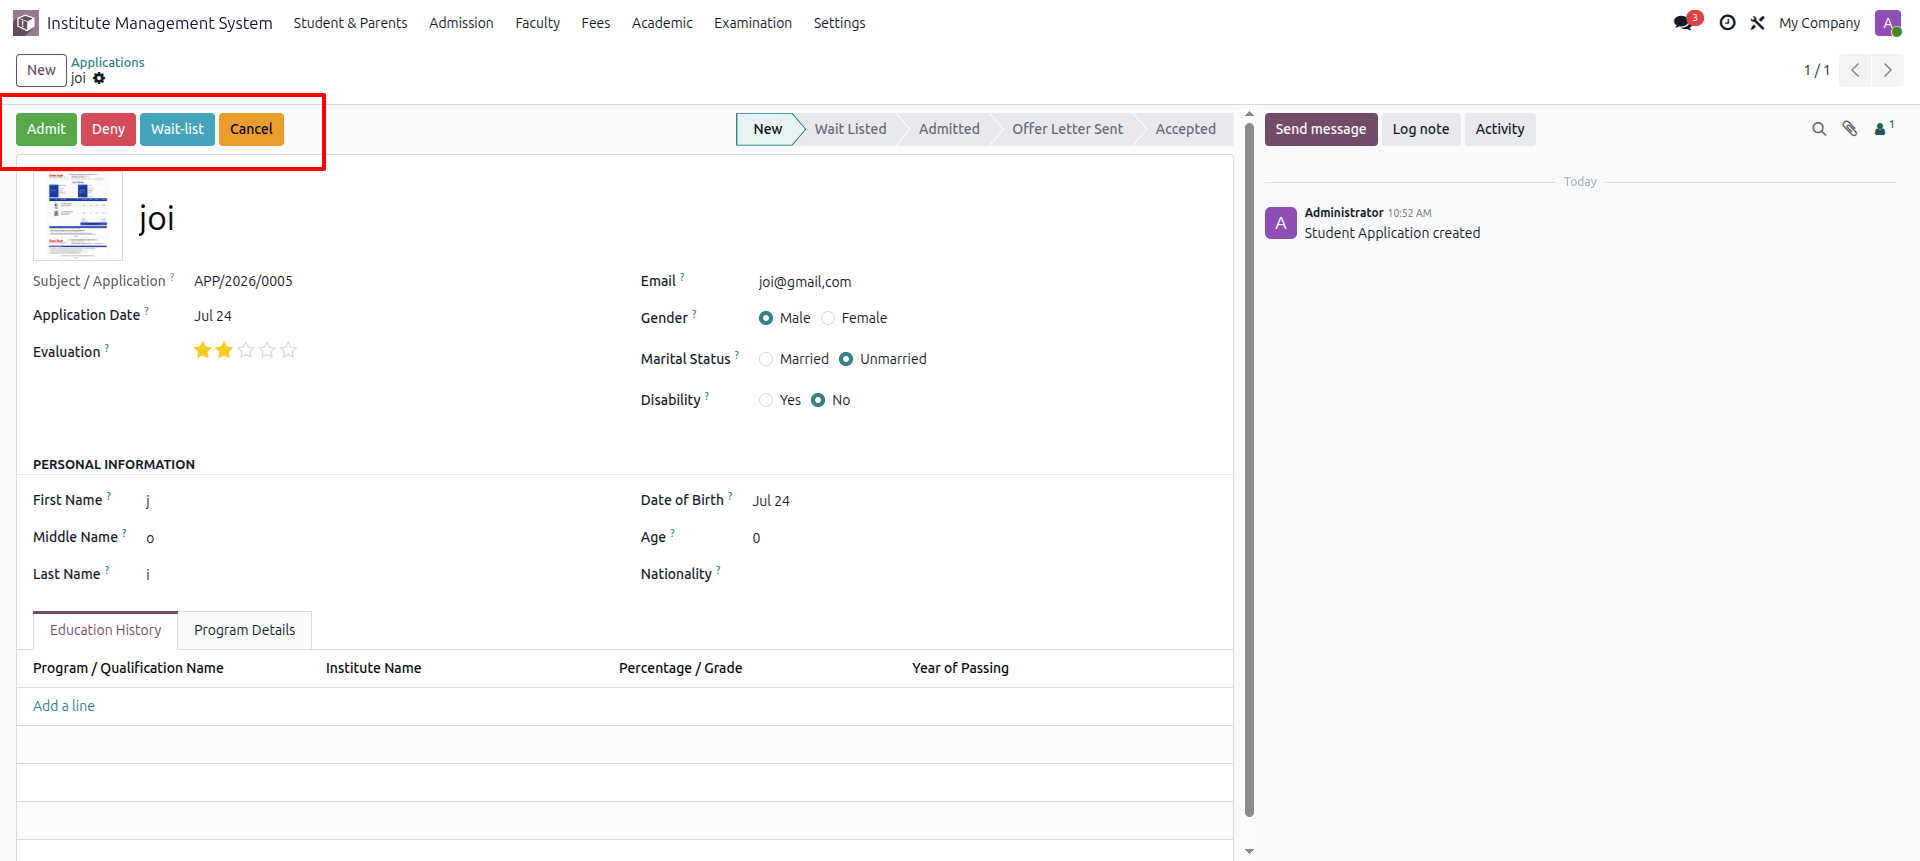
Create a new Application. In the Application form view, users can manage the admission process using the available action buttons: Admit, Deny, Waitlist, and Cancel, depending on the application's status.
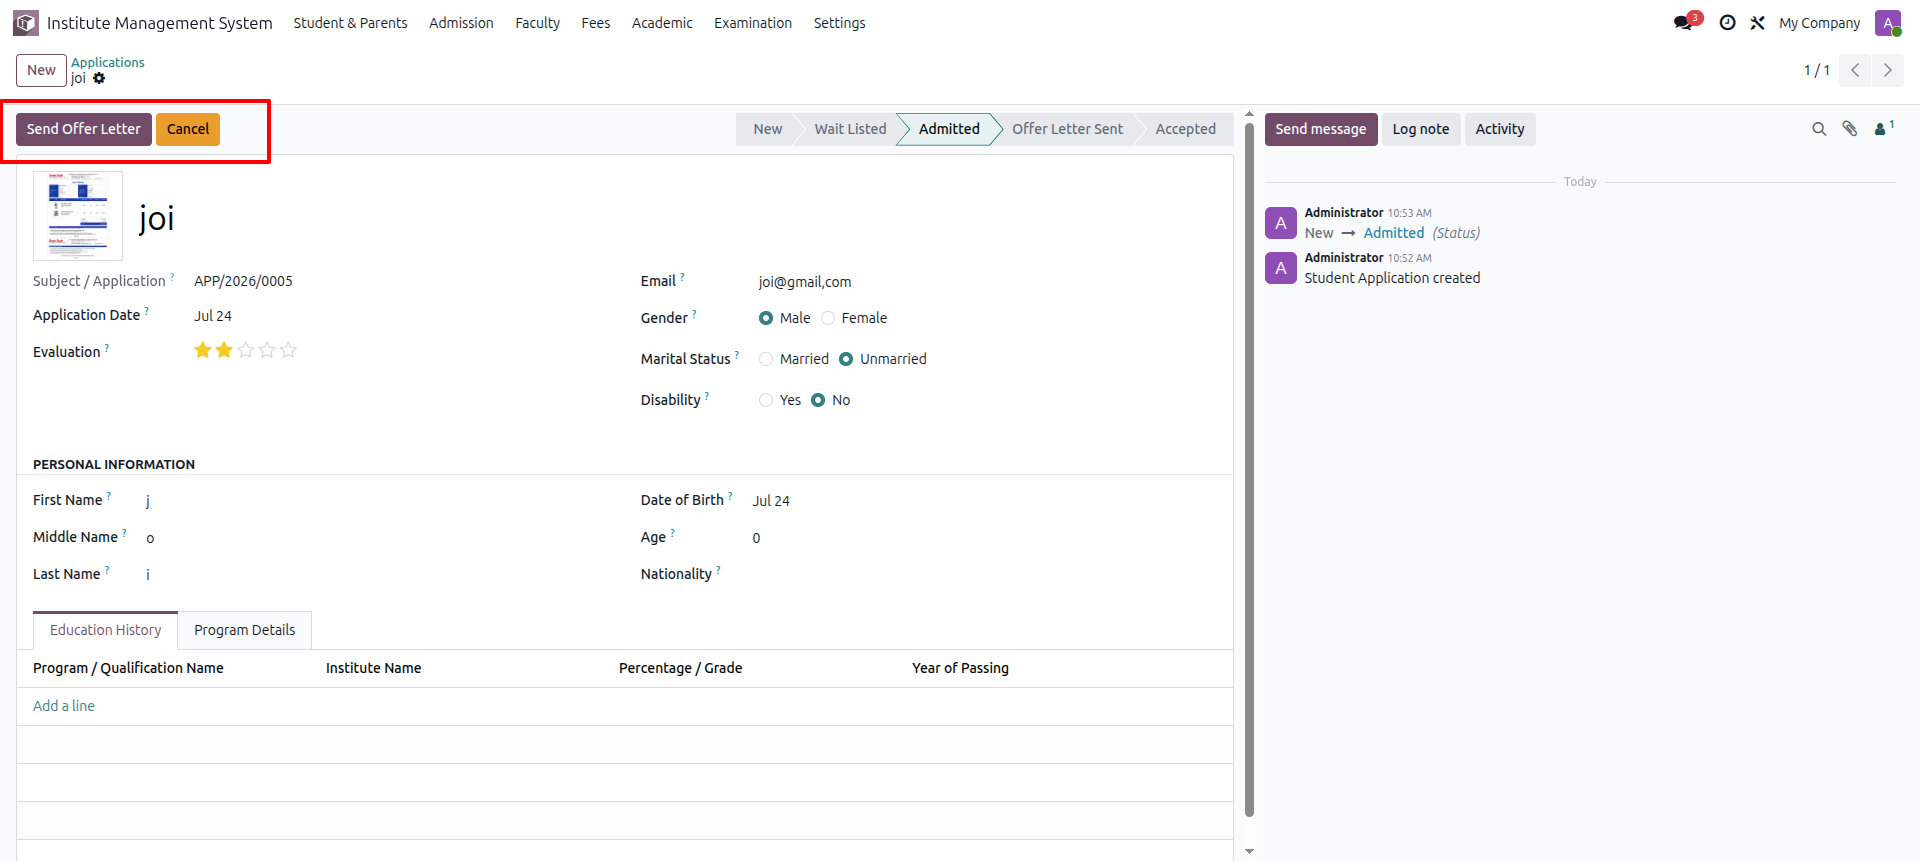
Click the Admit button to move the application to the Admitted stage. Once the application is admitted, the Send Offer Letter button becomes available, allowing you to generate and send the admission offer letter to the applicant.
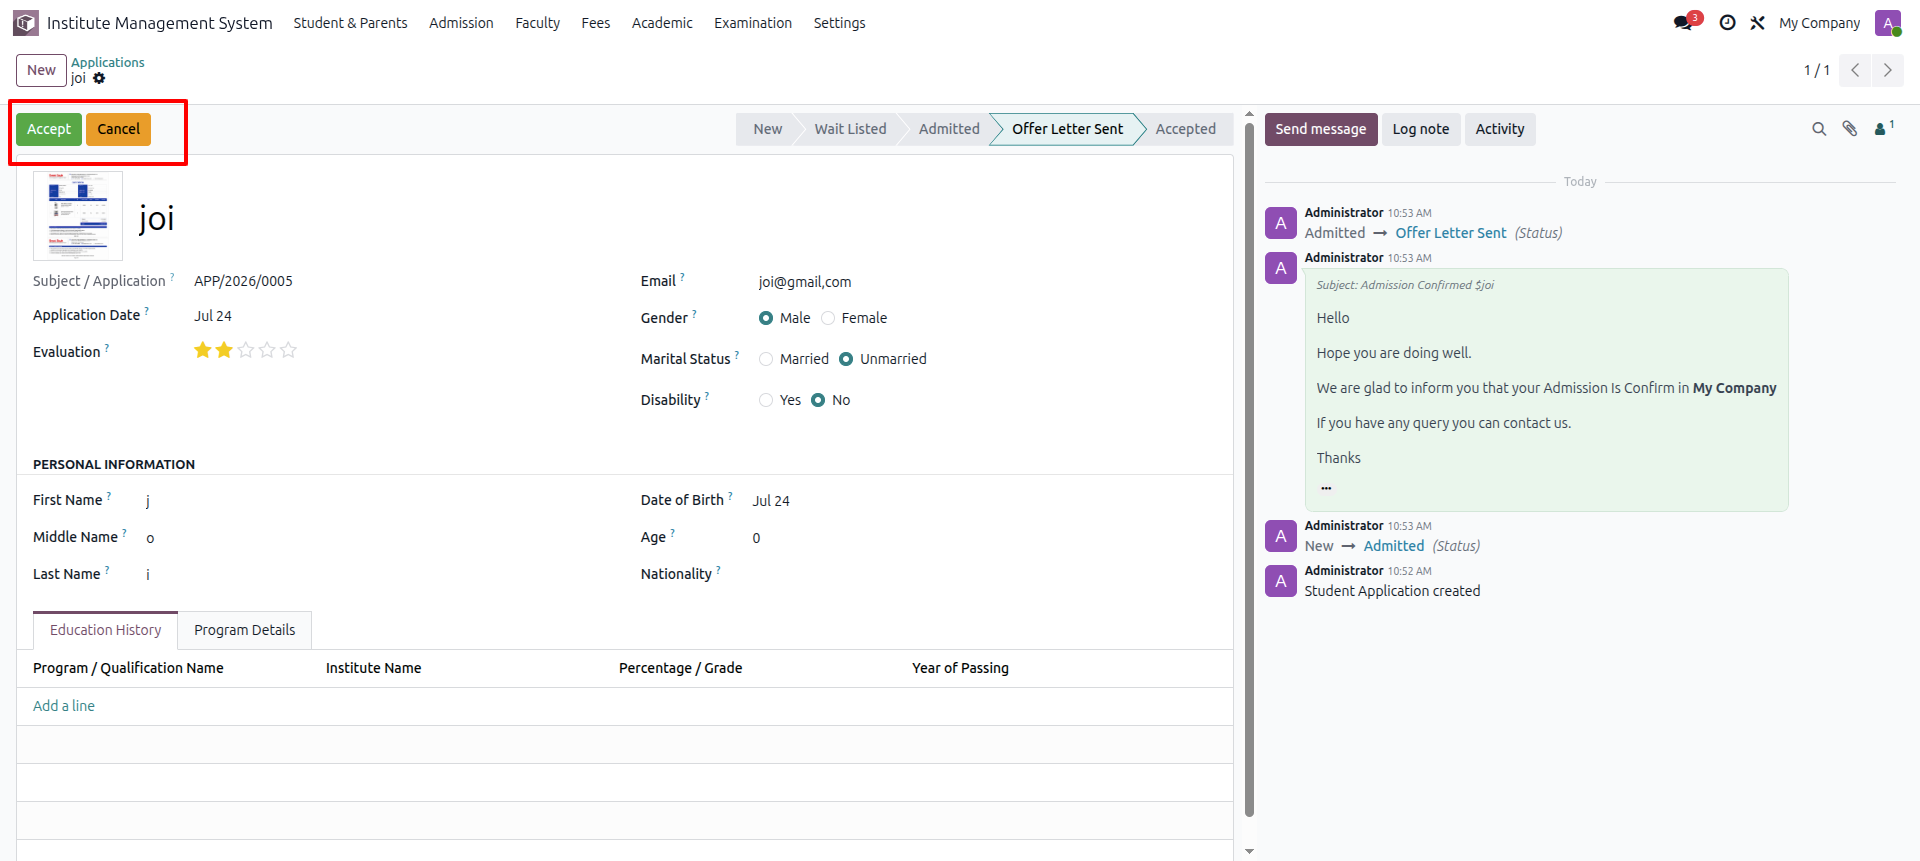
Click the Send Offer Letter button to move the application to the Offer Letter Sent stage. After the offer letter is sent, the Accept and Cancel buttons become available, allowing the applicant's response to be processed.
Click the Accept button to accept the admission offer. The application is then moved to the Accepted stage, and the Create Student button becomes available, allowing you to create a Student record from the accepted application.
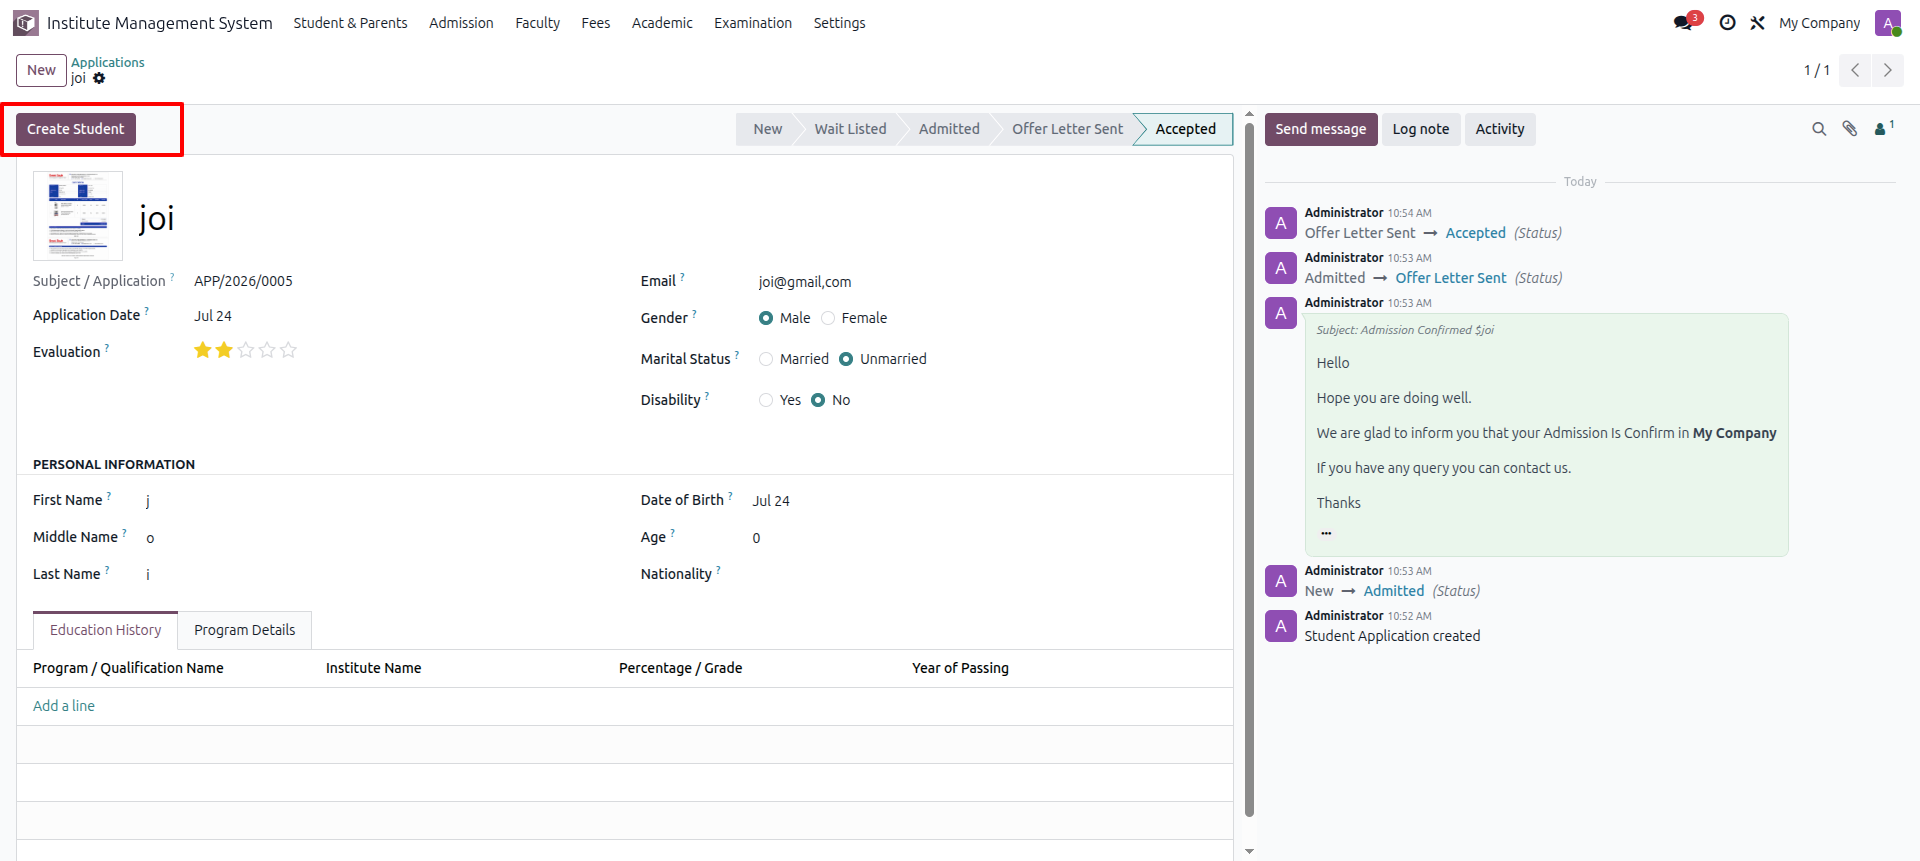
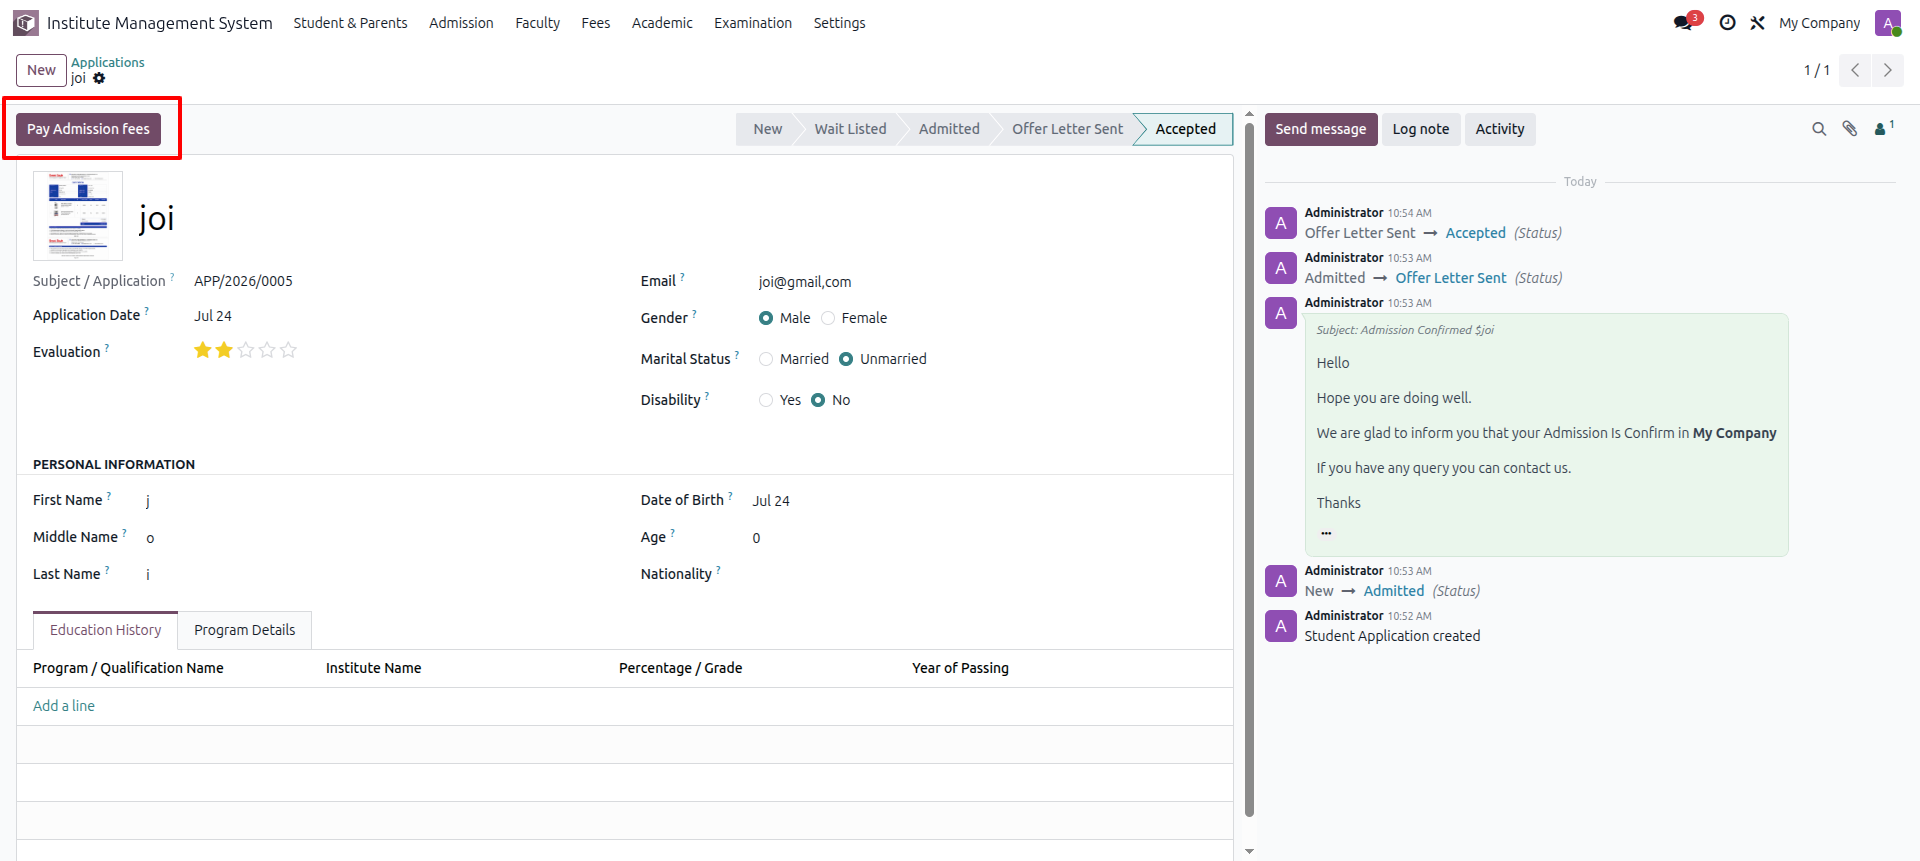
After the Student record is created, the Pay Admission Fees button becomes available. Click the Pay Admission Fees button to proceed with the admission fee payment process.
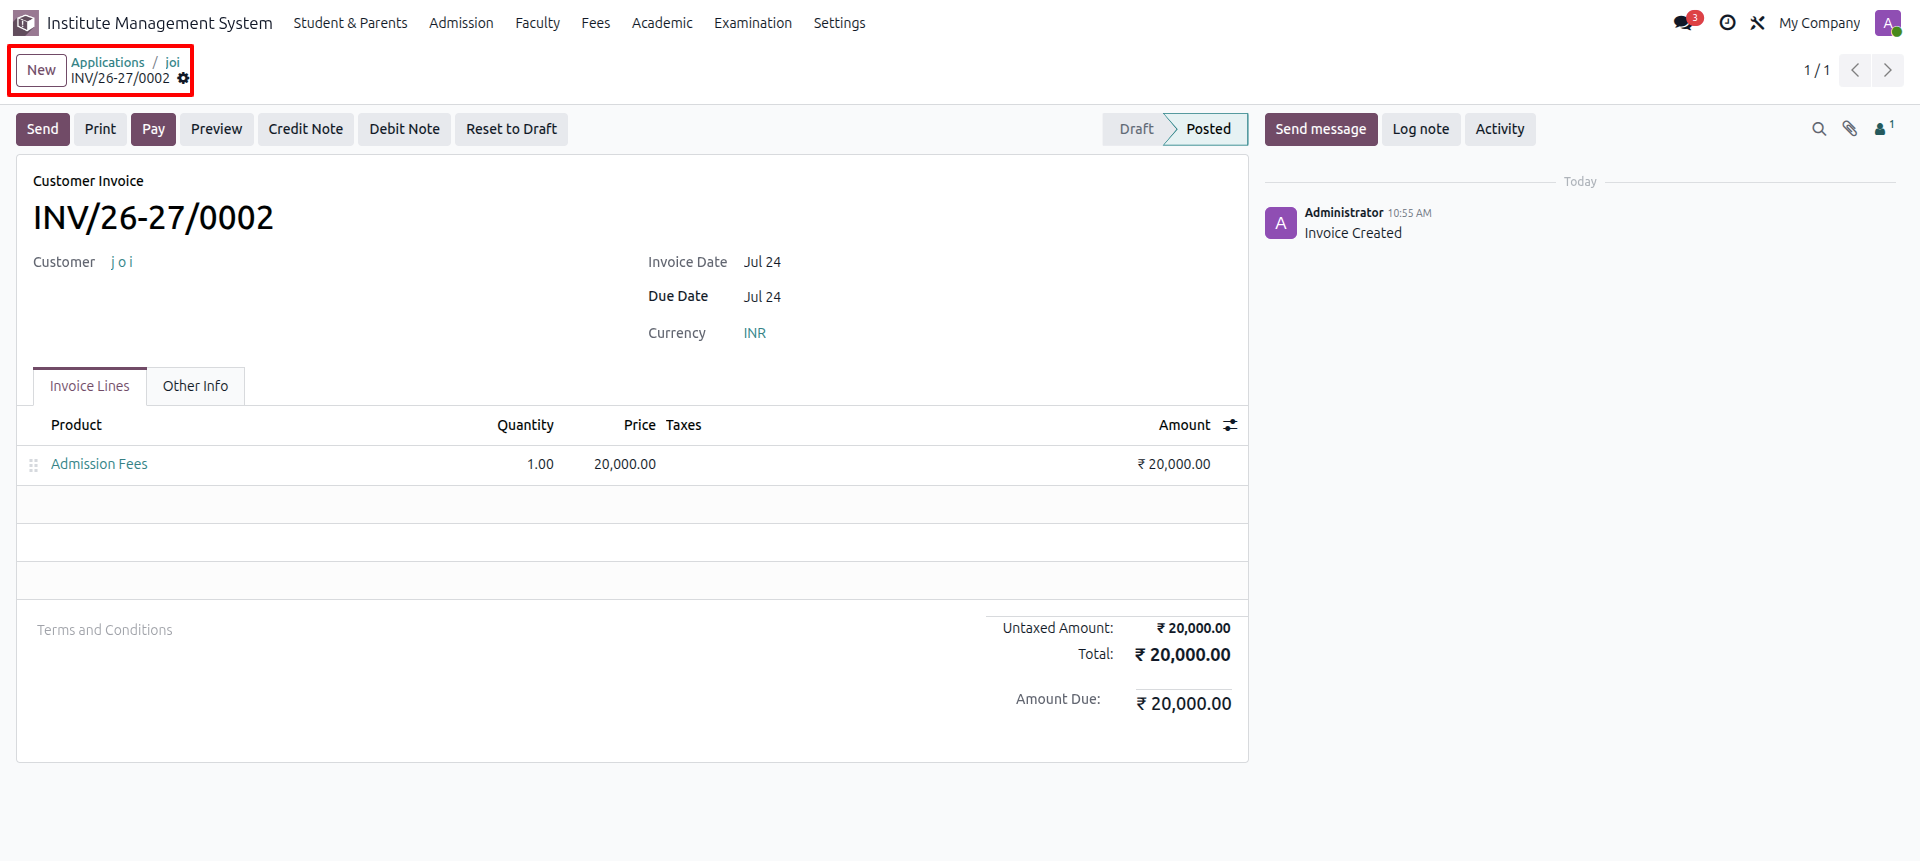
Clicking the Pay Admission Fees button opens the Invoice form view. Review the invoice details, then click the Pay button to complete the admission fee payment.
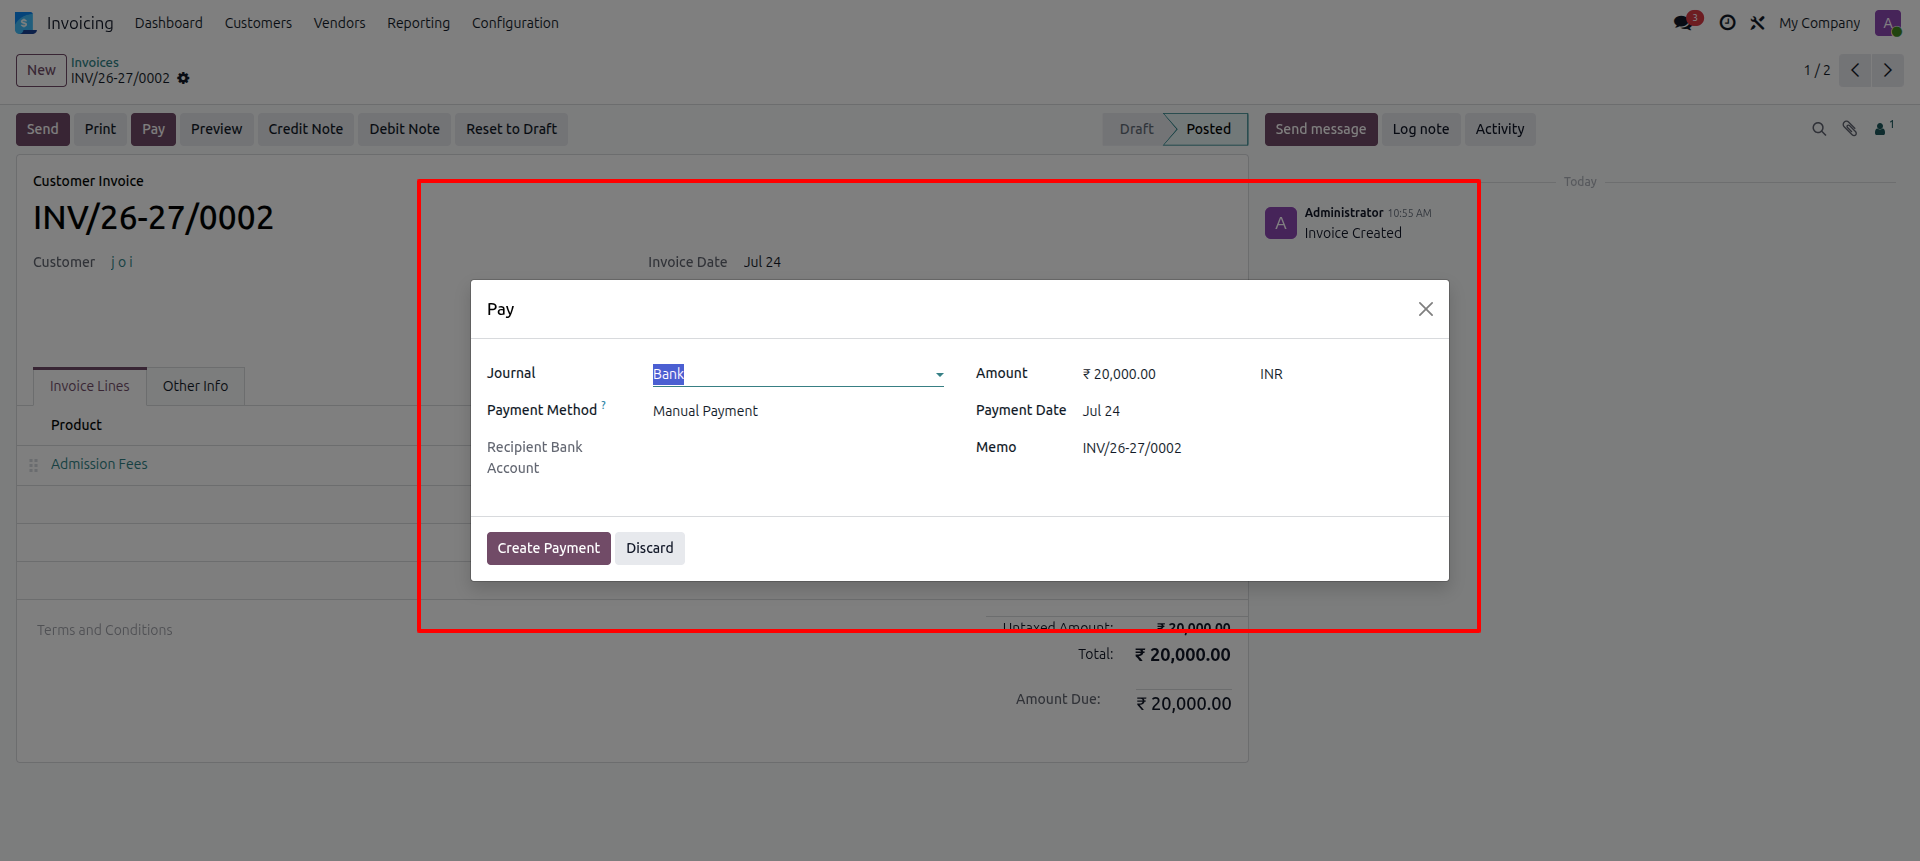
Clicking the Pay button opens the Payment wizard. Enter the required payment details, such as the Payment Method, Journal, Payment Date, and Amount, then click the Create Payment button to complete the payment.
Go to the Academics menu and select the Campus Structure submenu.
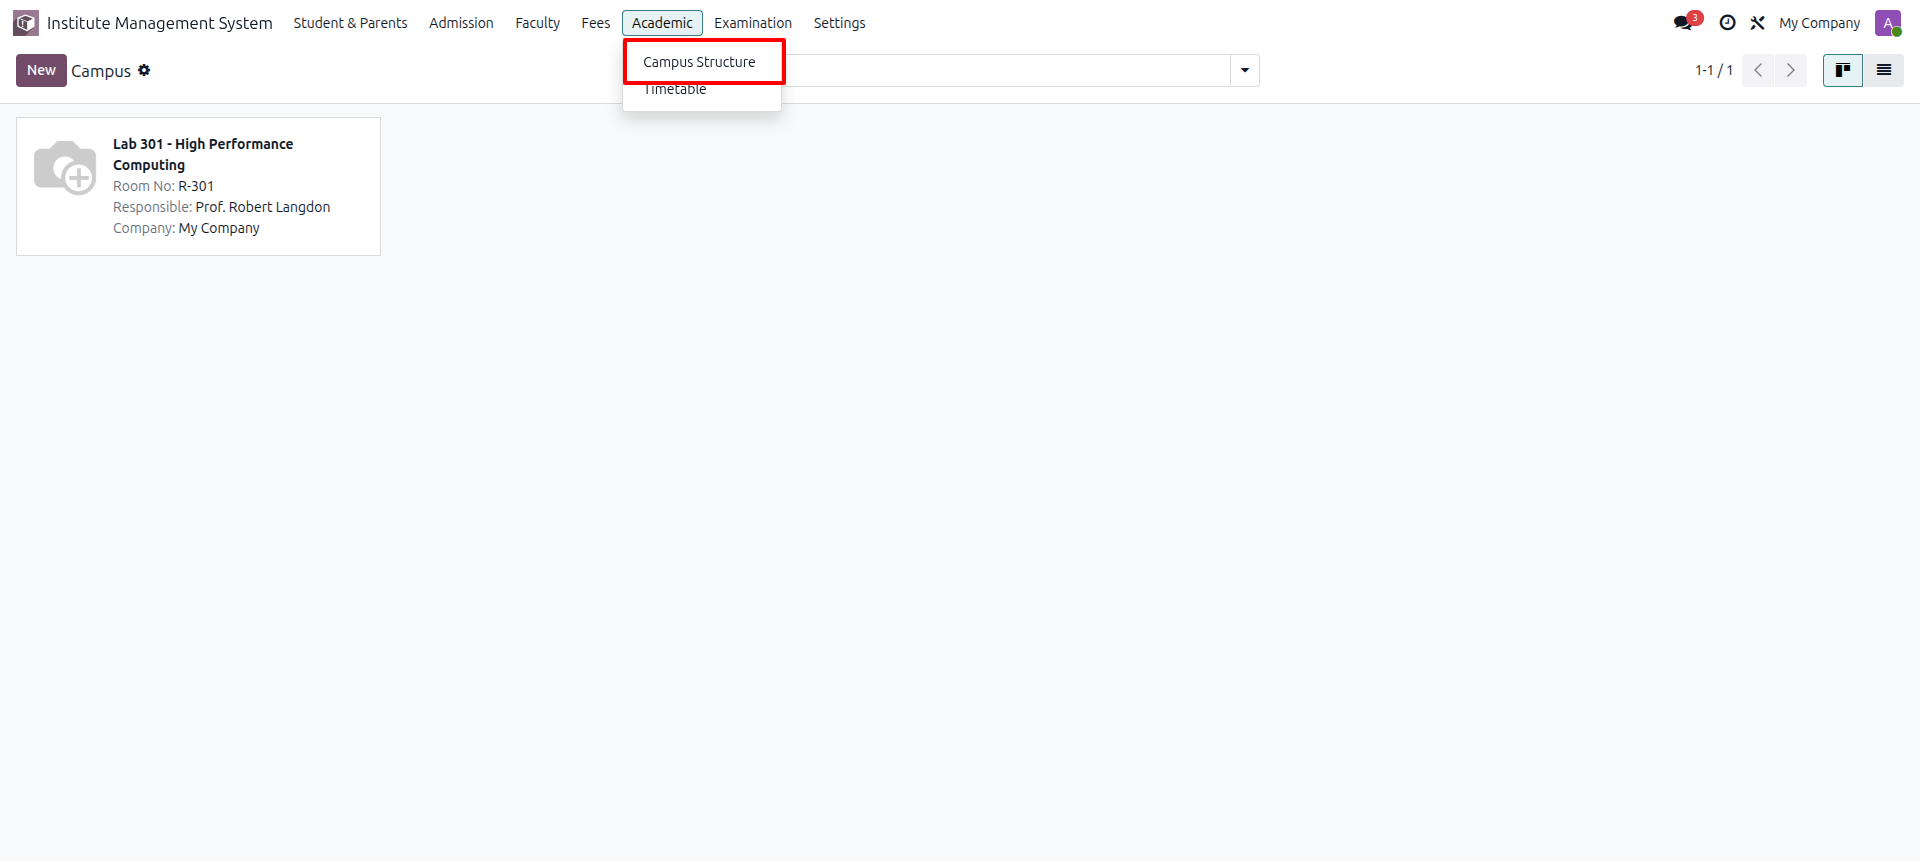
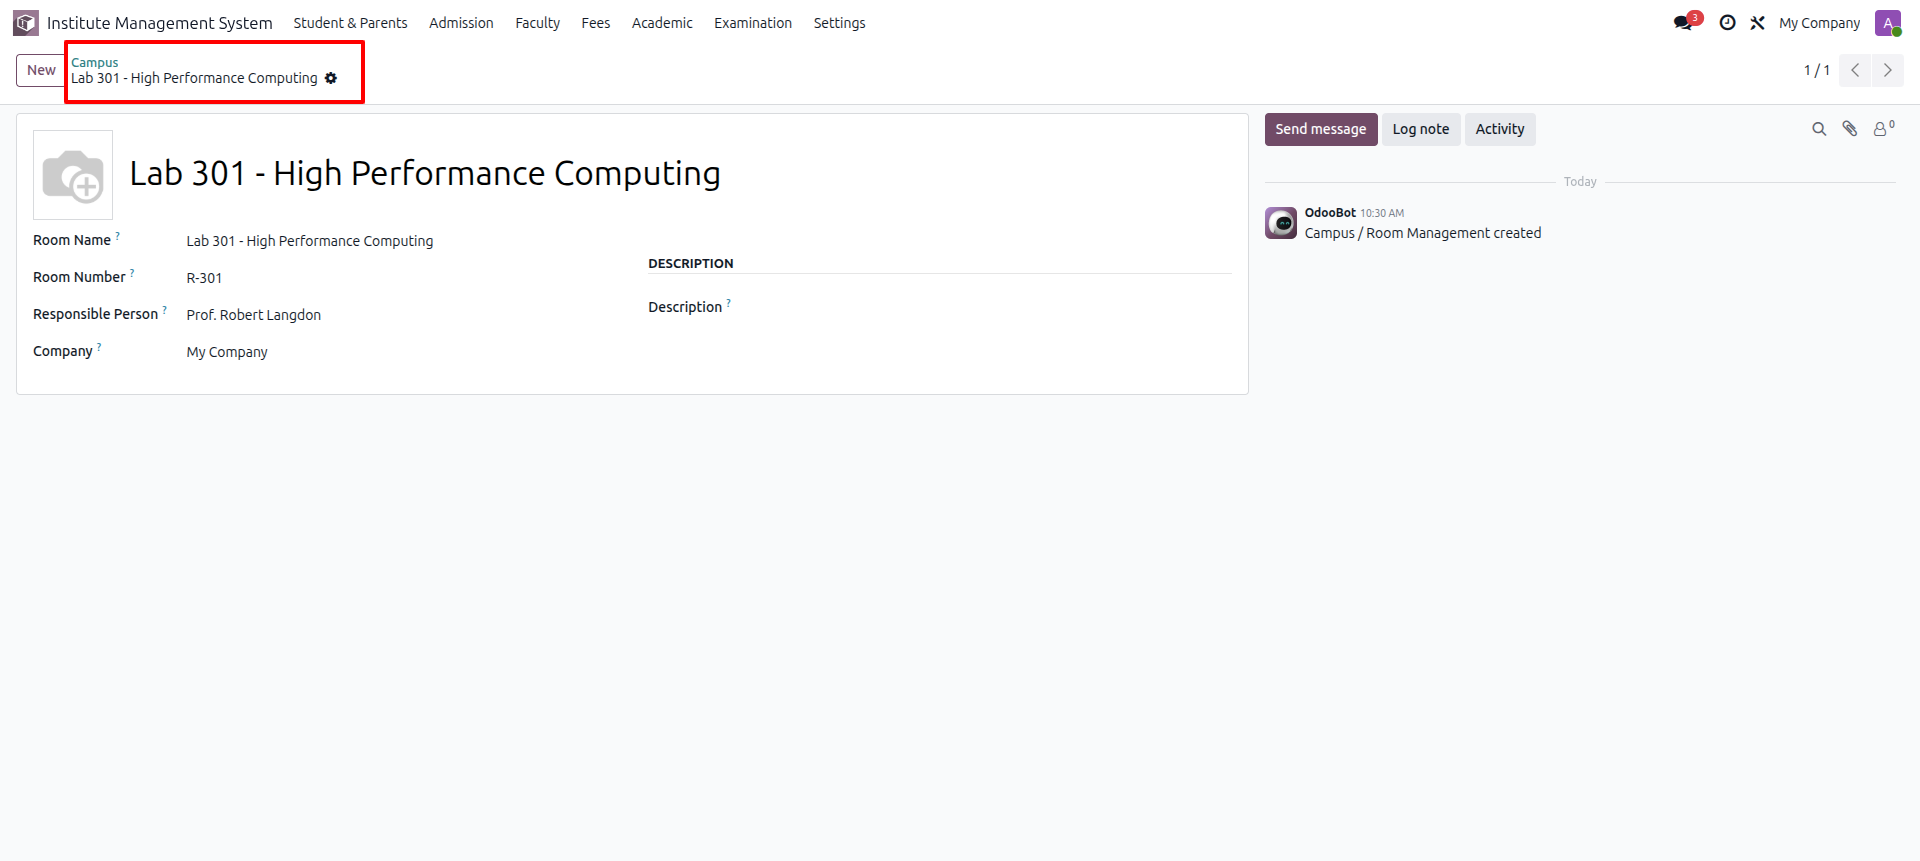
Open the Campus form view to create or manage campus details, including the Campus Name, Classroom Number, Classroom Name, Responsible Person, and other related information.
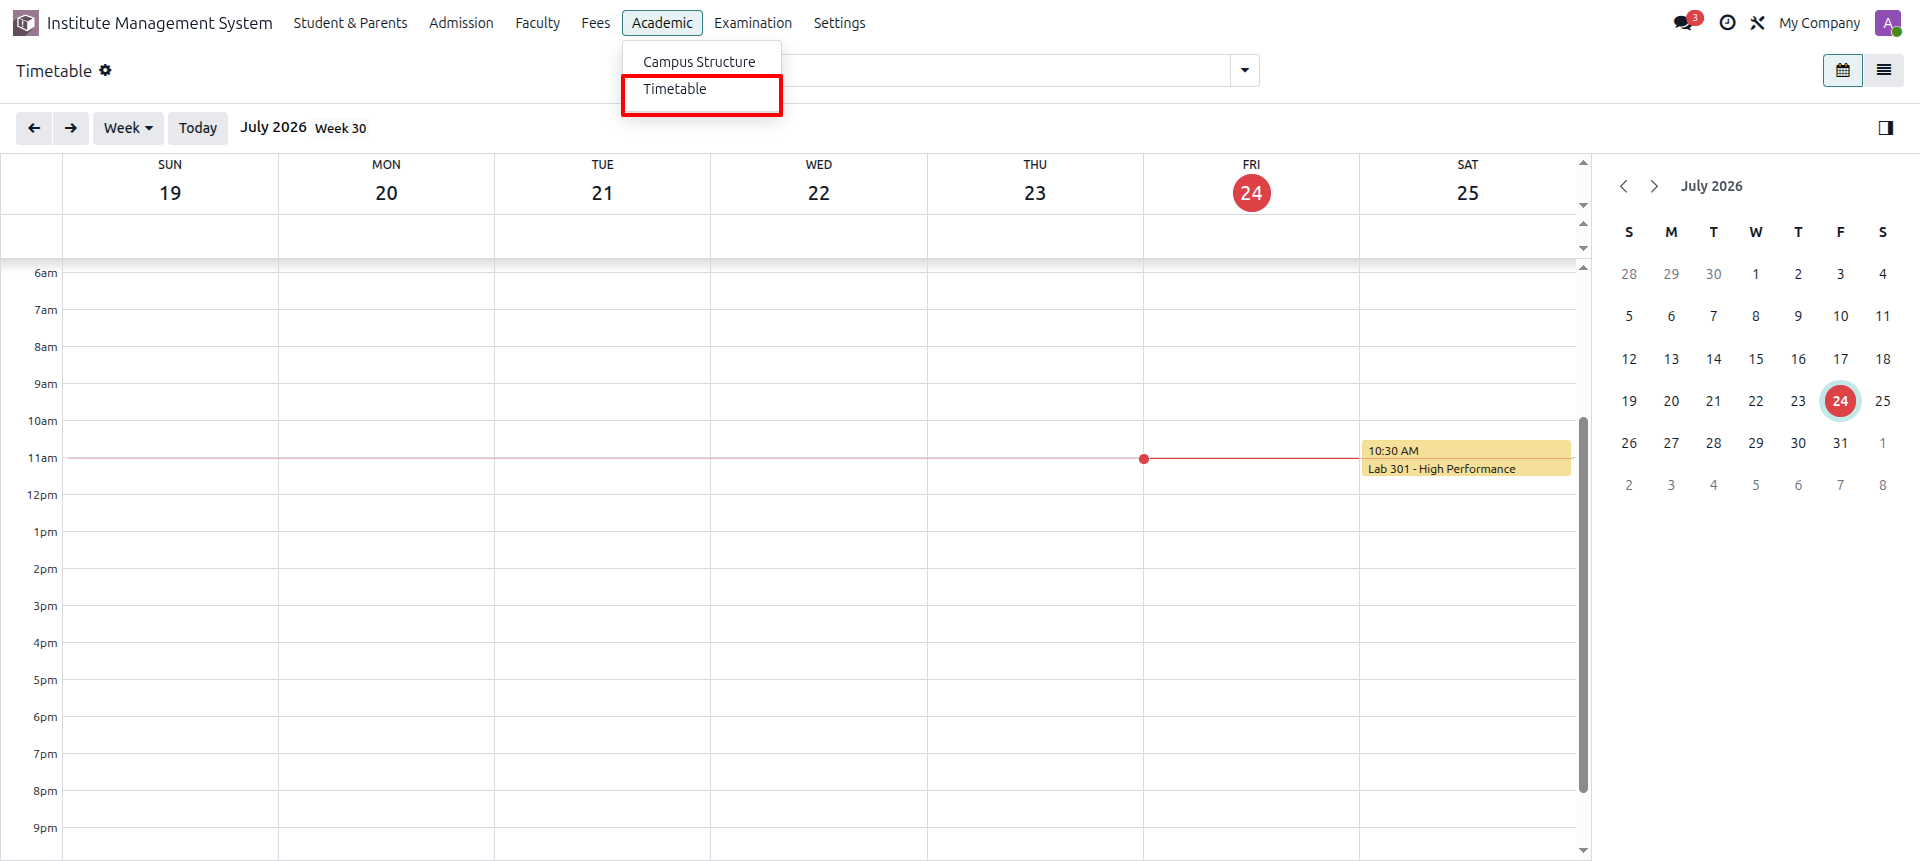
Go to the Academics menu and select the Timetable submenu to view, create, and manage class timetables.
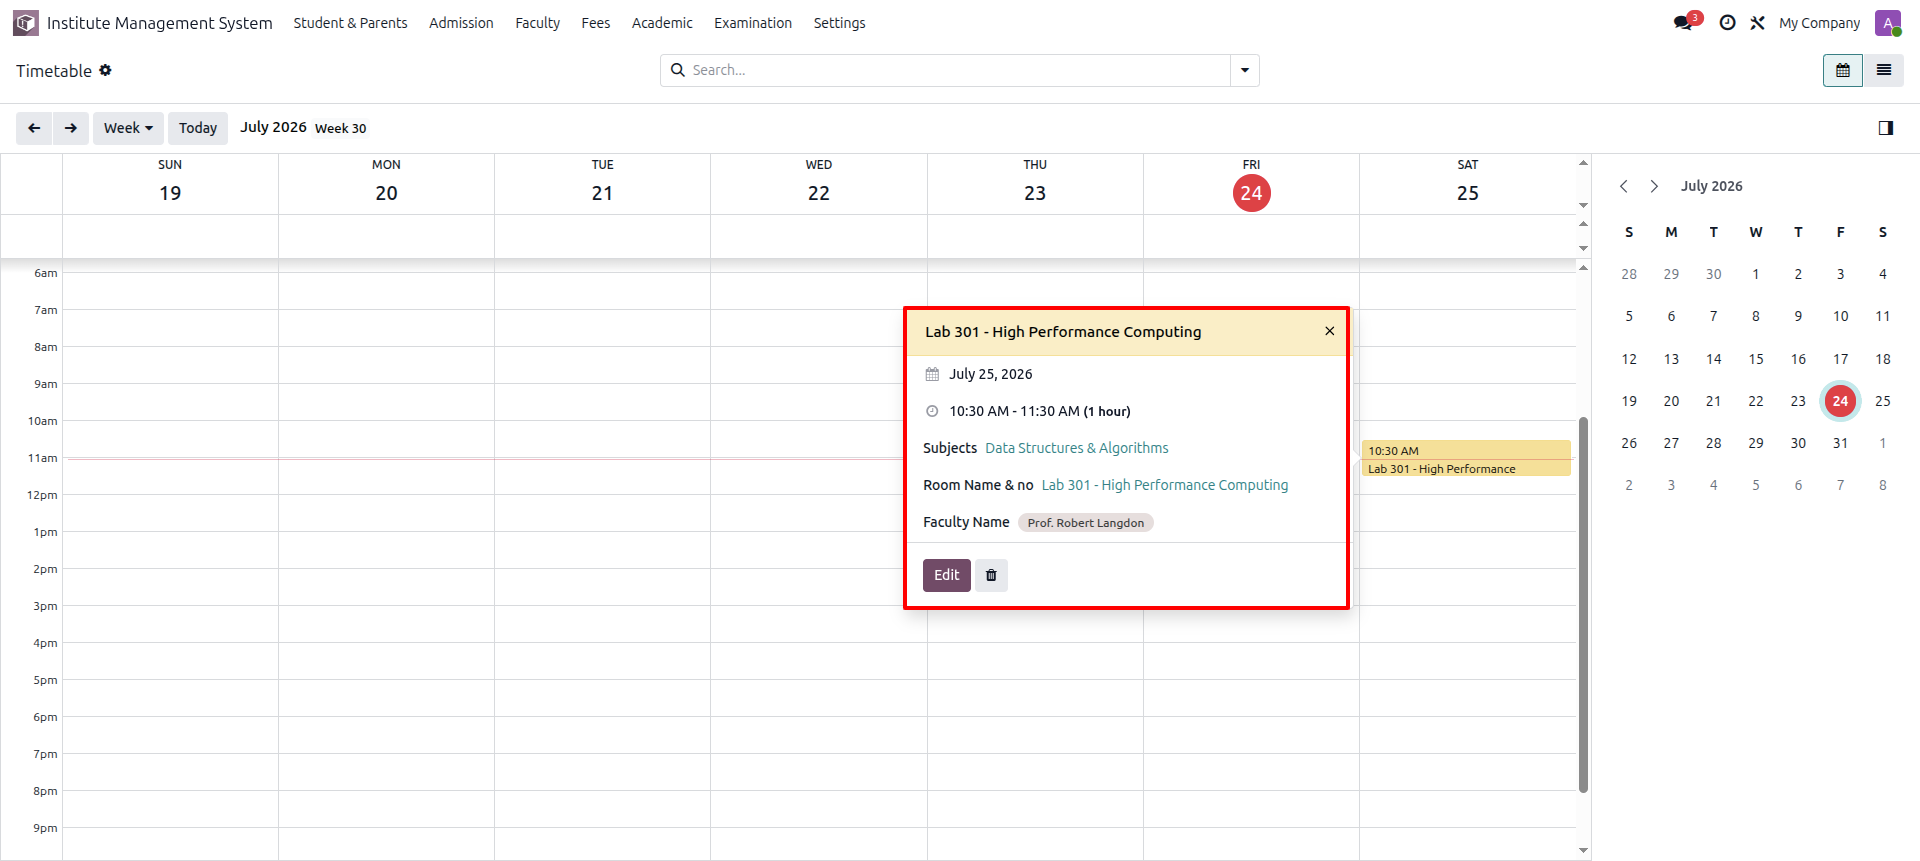
Open the Timetable Calendar View to view and manage class schedules in a calendar format. Users can easily see scheduled lectures, faculty assignments, classrooms, subjects, and time slots, as well as create or modify timetable entries directly from the calendar.
Open the Timetable List View to view and manage all timetable entries in a structured format.
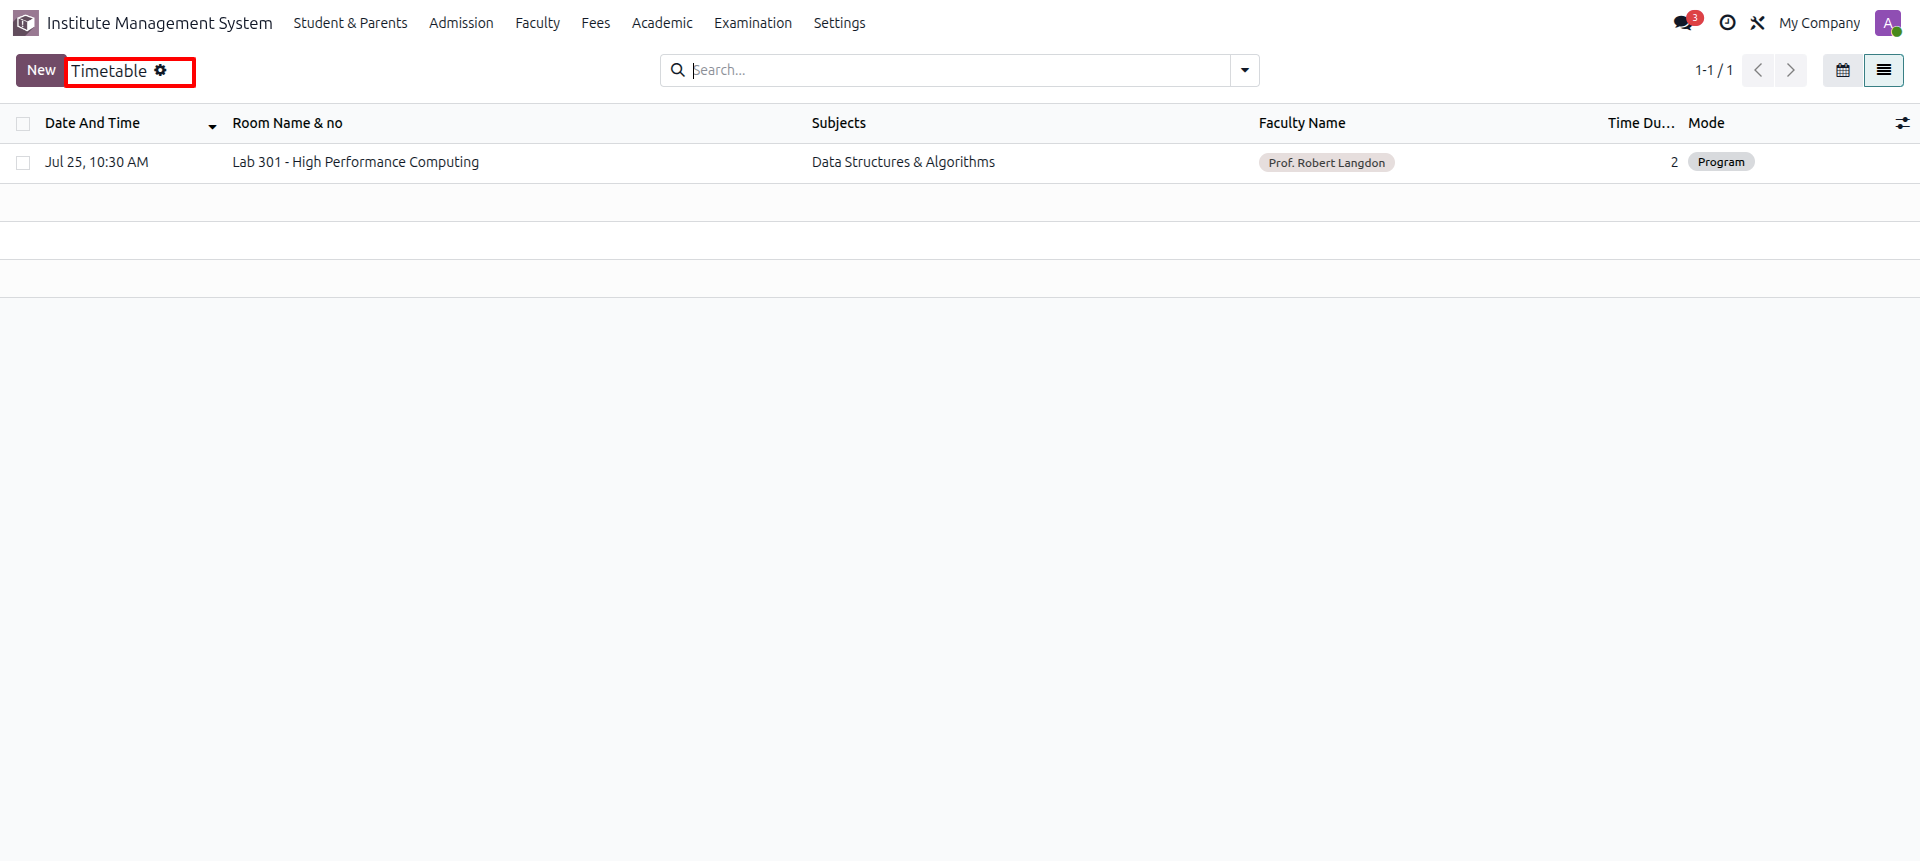
Open the Timetable Form View to create or manage a timetable entry. Users can configure details such as the Program, Subject, Faculty, Classroom, Date, Time Slot, Duration, Room, and any additional scheduling information.
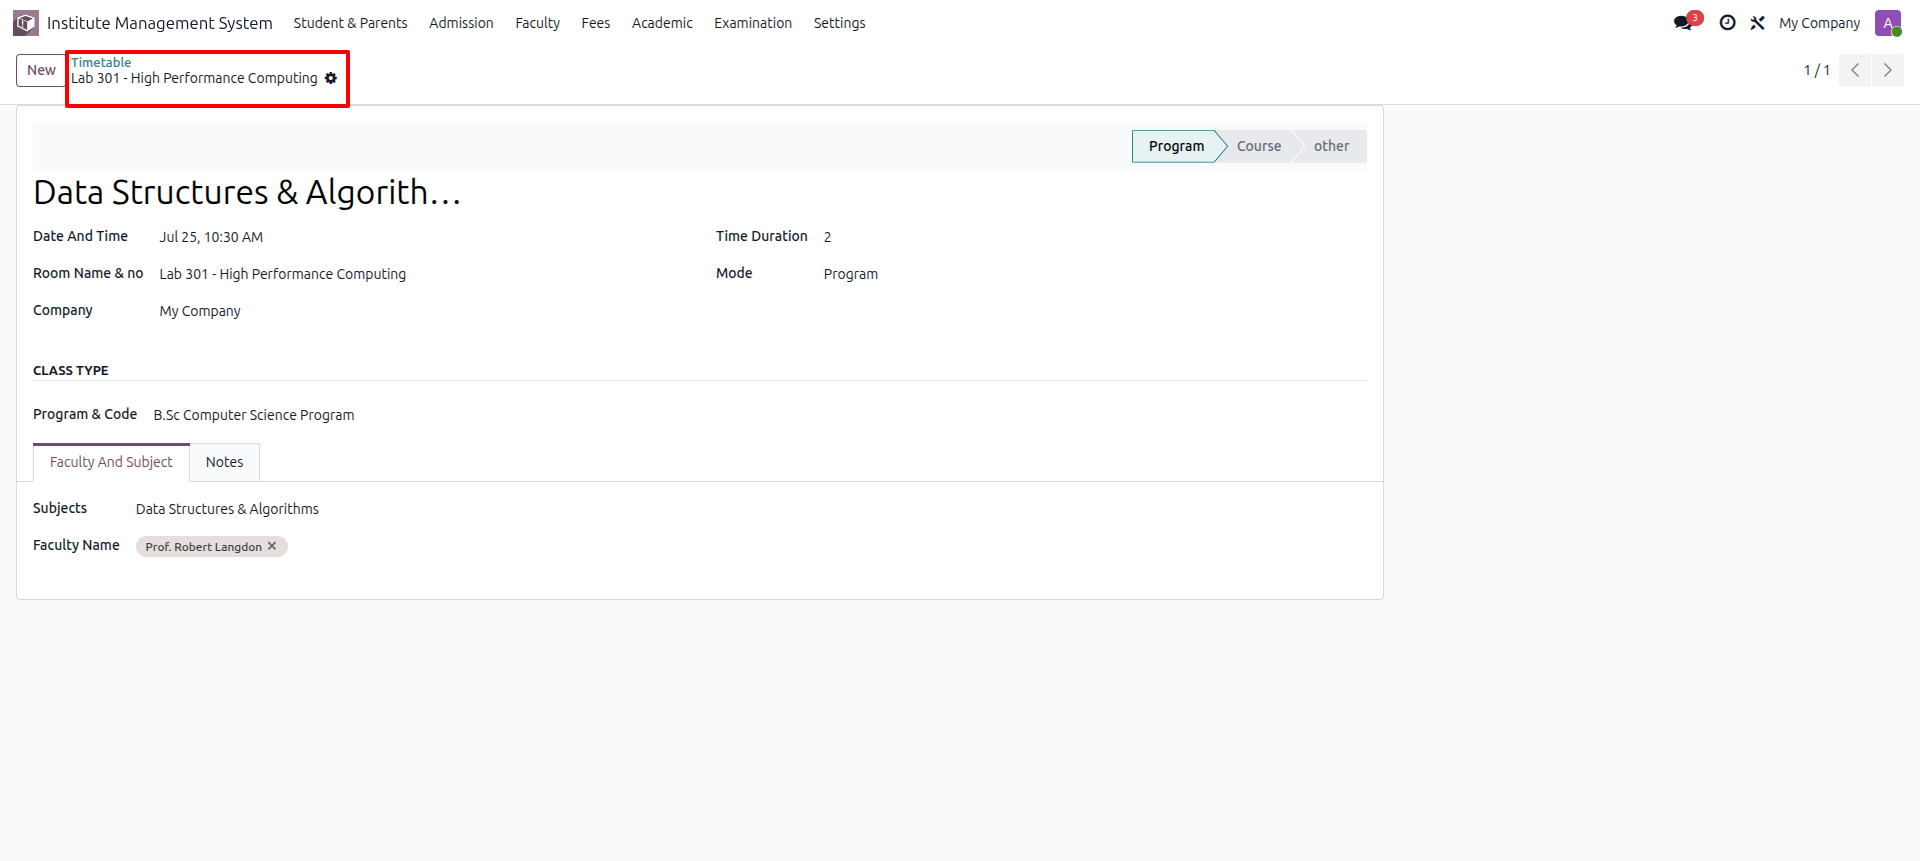
Open the Students List View to view and manage all student records in a structured format.
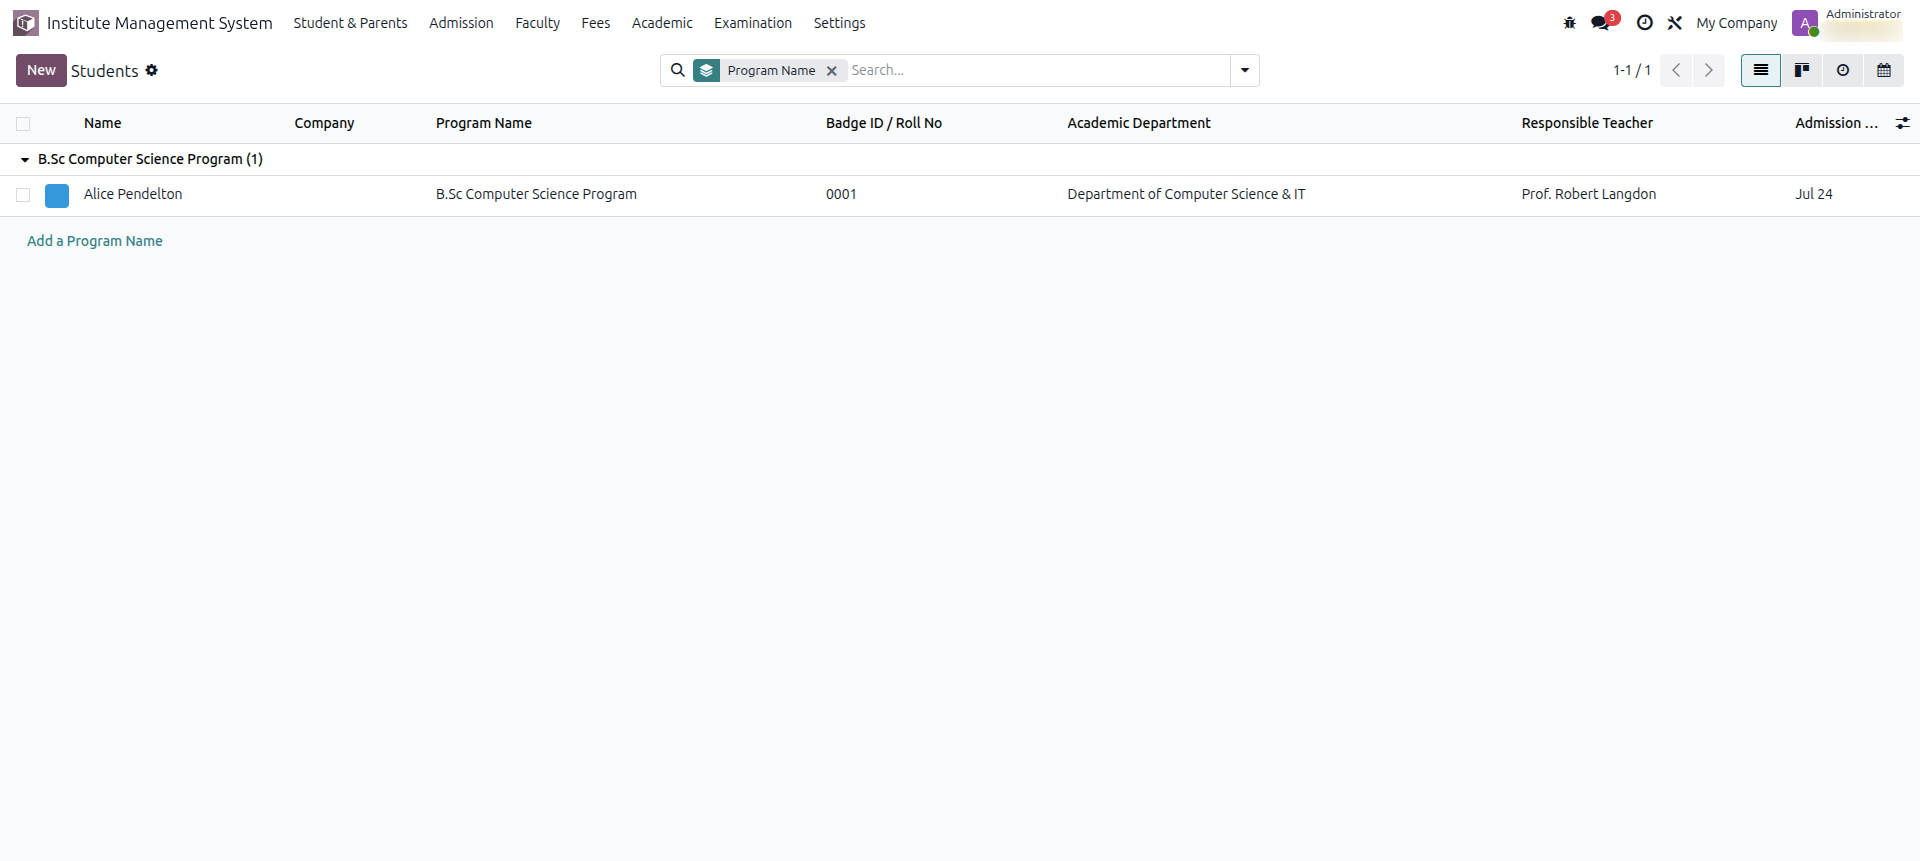
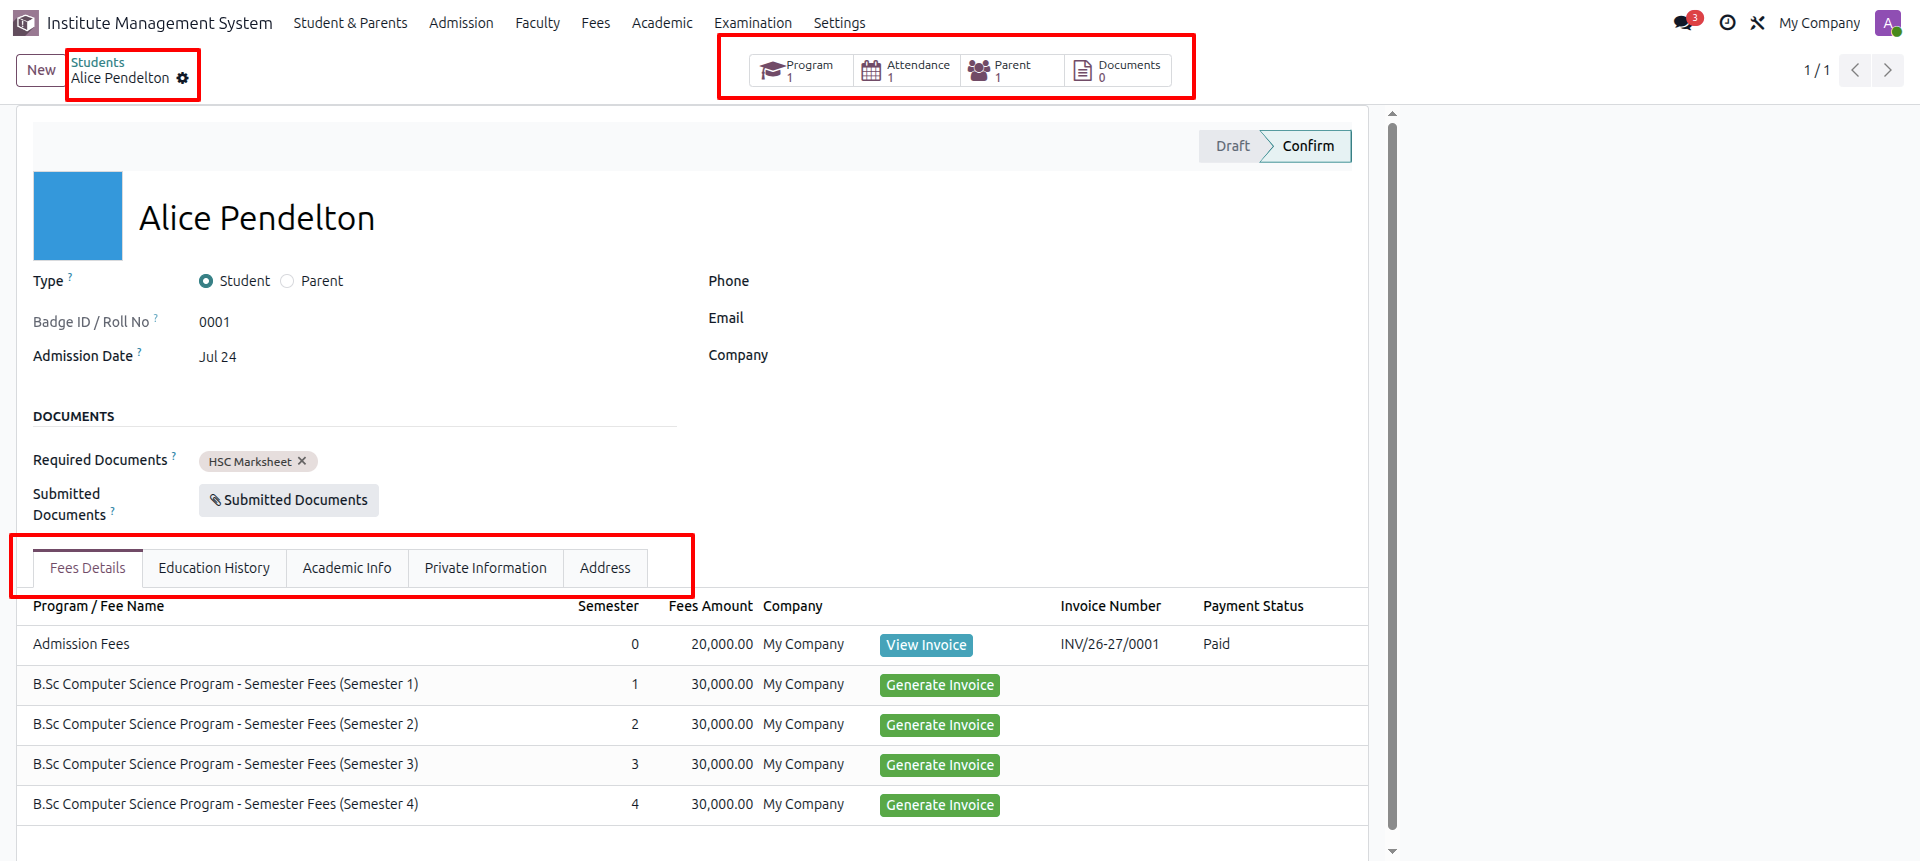
Open the Student Form View to create or manage a student record. Users can view and update details.
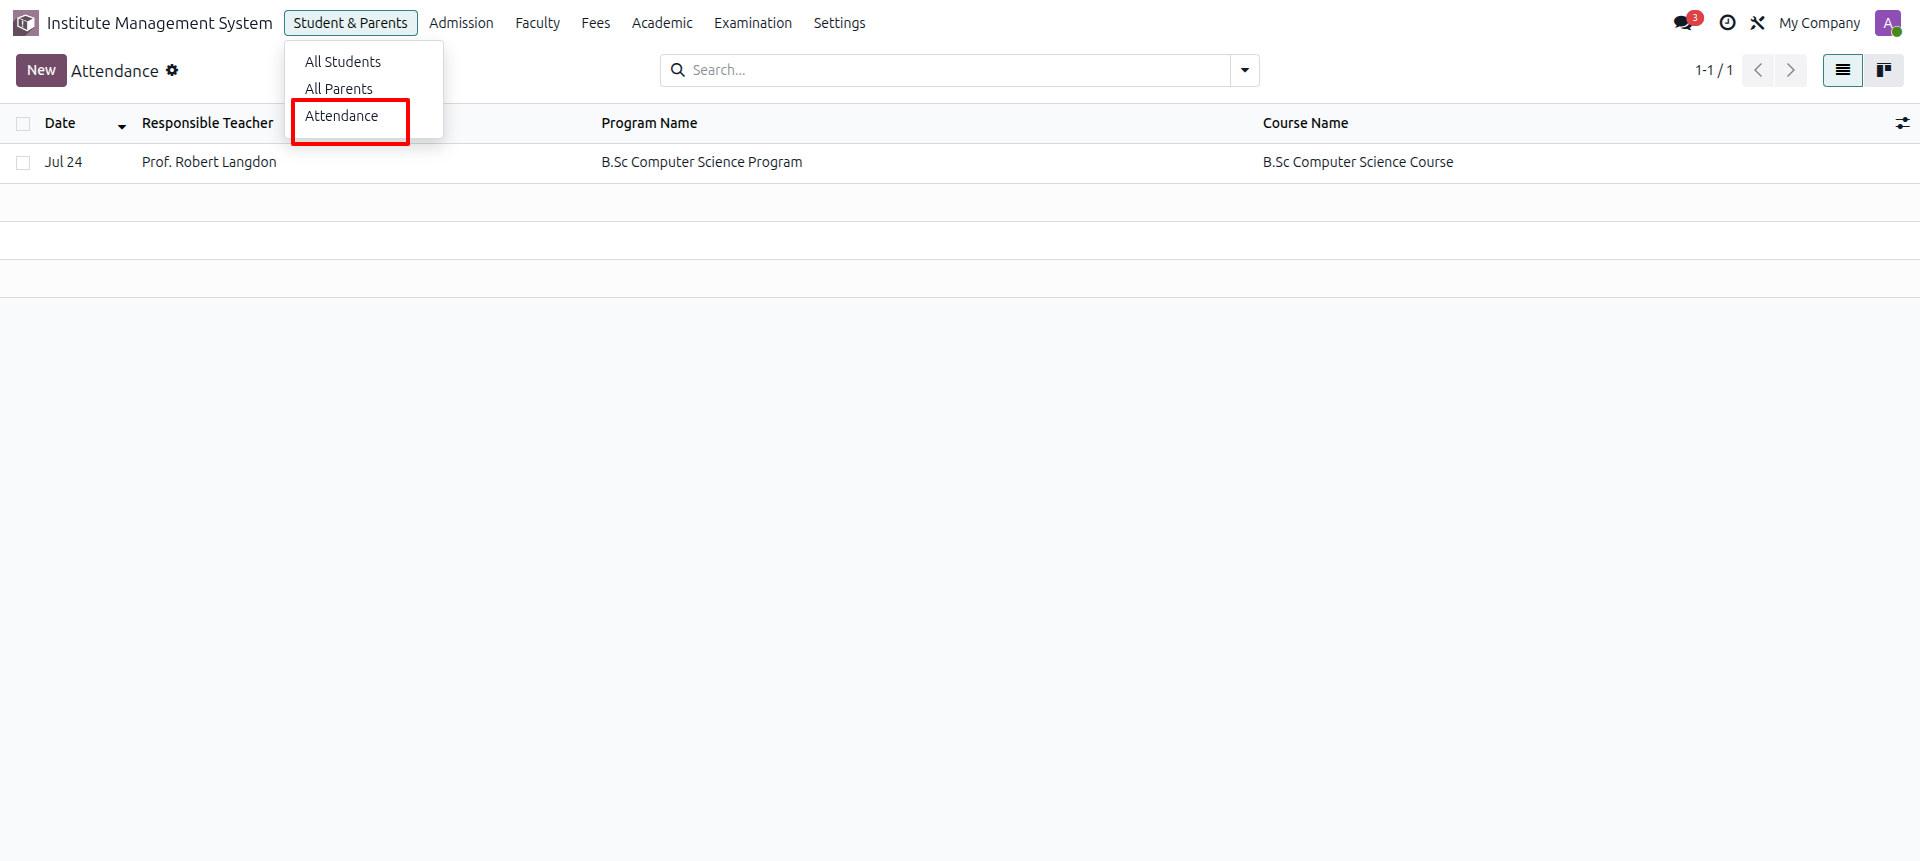
Select the Attendance submenu to view, record, and manage student attendance for classes, subjects, and academic sessions.
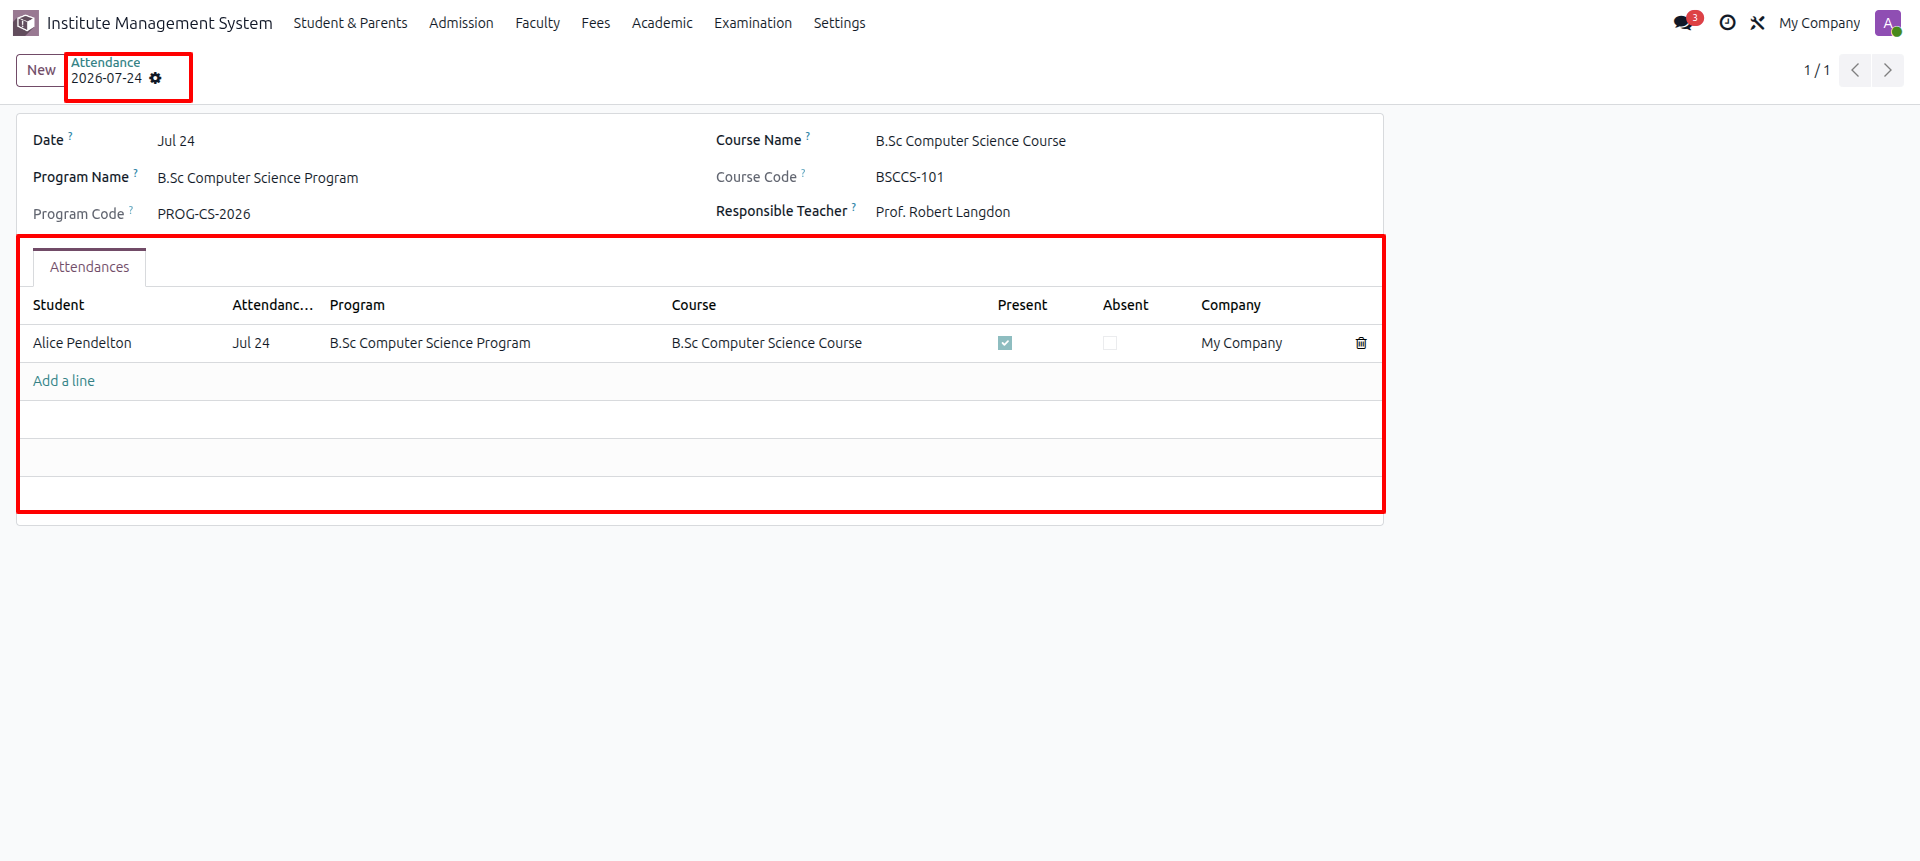
Open the Attendance Form View to create or manage attendance records. Users can select the Program, Course, Faculty, and Date, then mark each student's attendance status as Present, or Absent, and save the record.
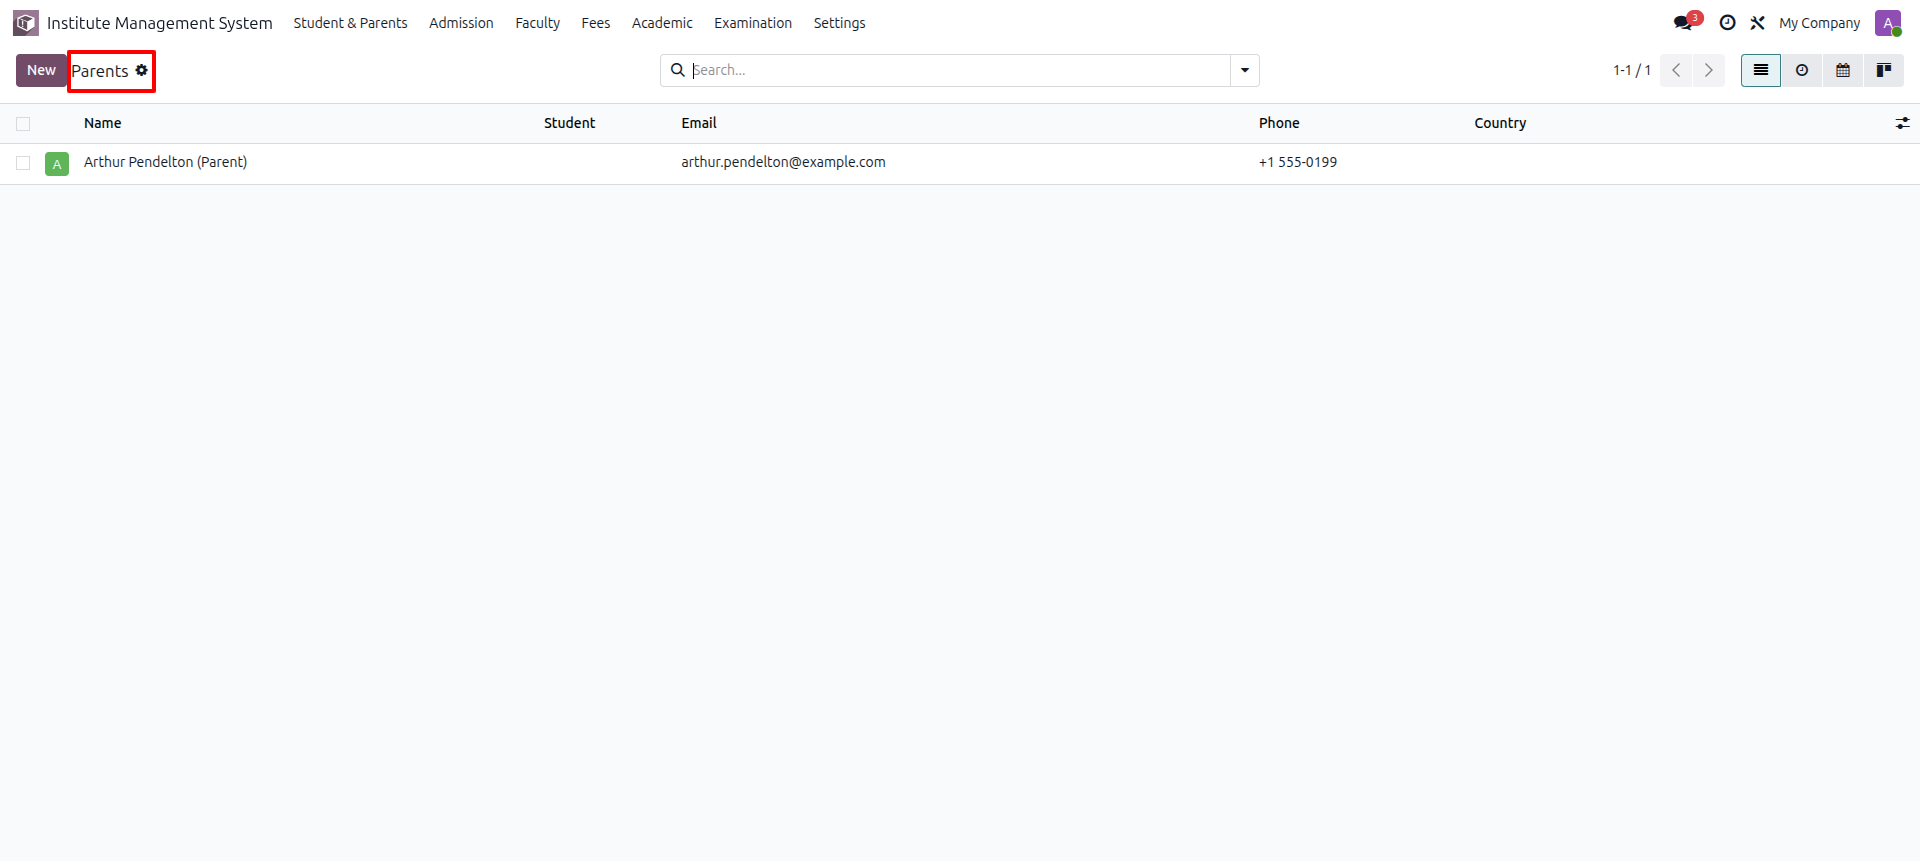
Go to the Students menu and select the Parents submenu to view, create, and manage Parent/Guardian records, including their contact information, linked students, and other related details.
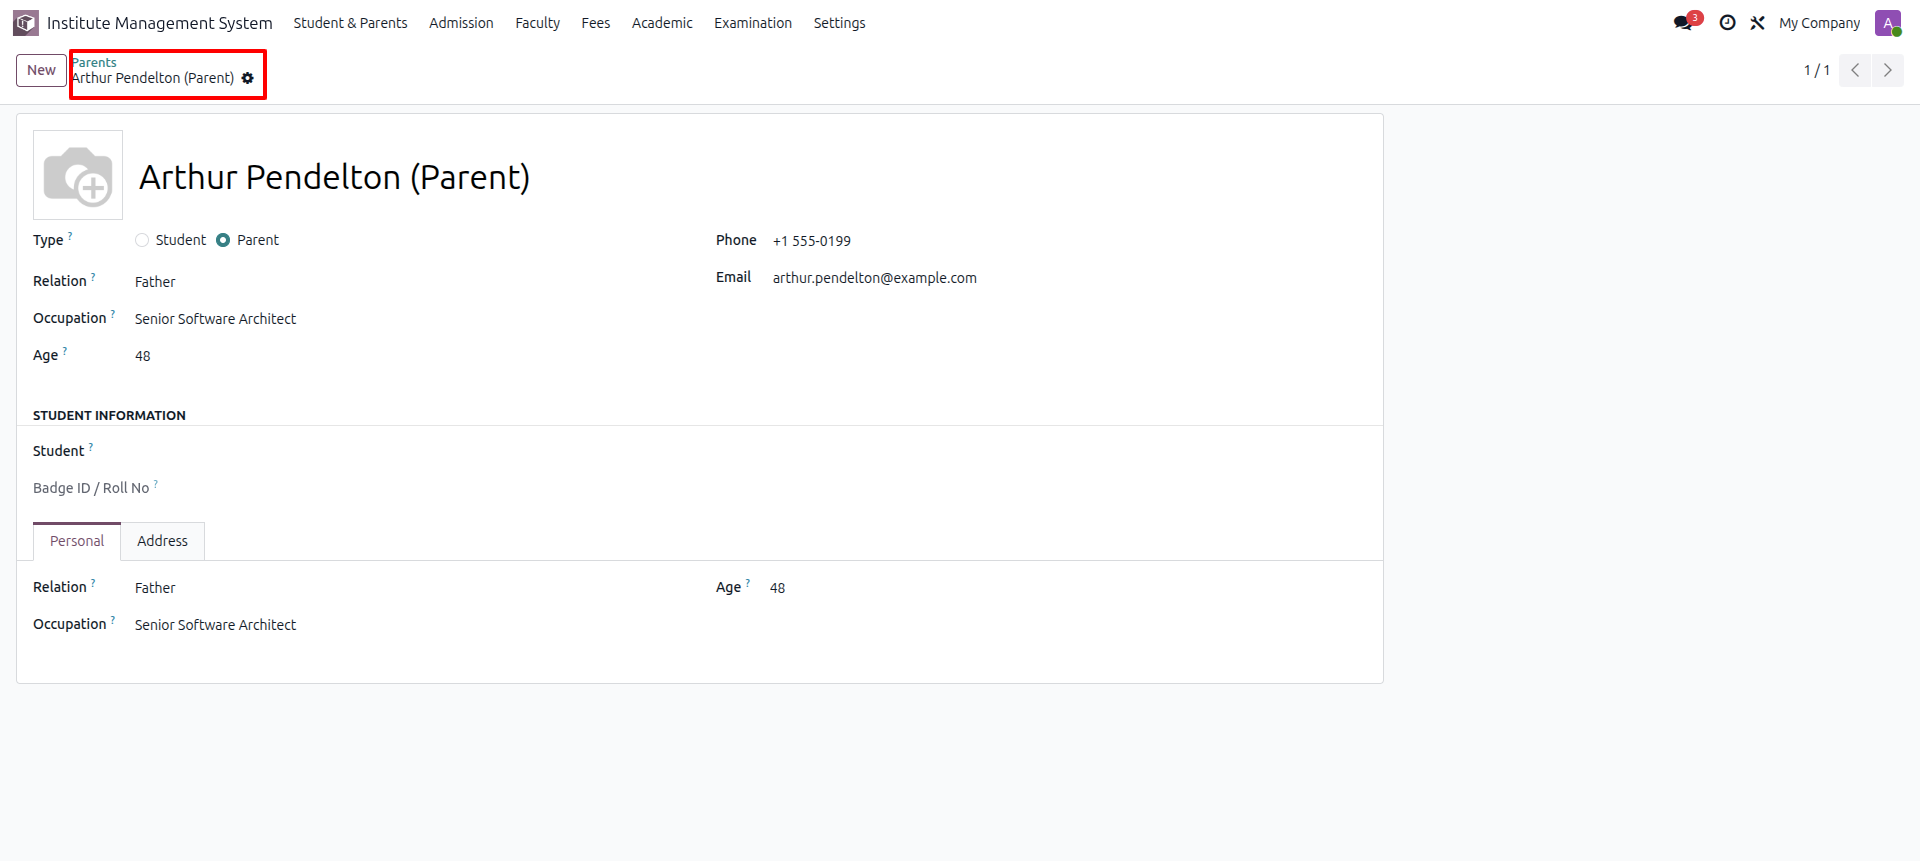
Open the Parent Form View to create or manage Parent/Guardian records.
Go to the Examinations menu to view, create, and manage all examination-related activities, including Exams, Exam Registration, Question Papers, Hall Tickets, and other examination records.
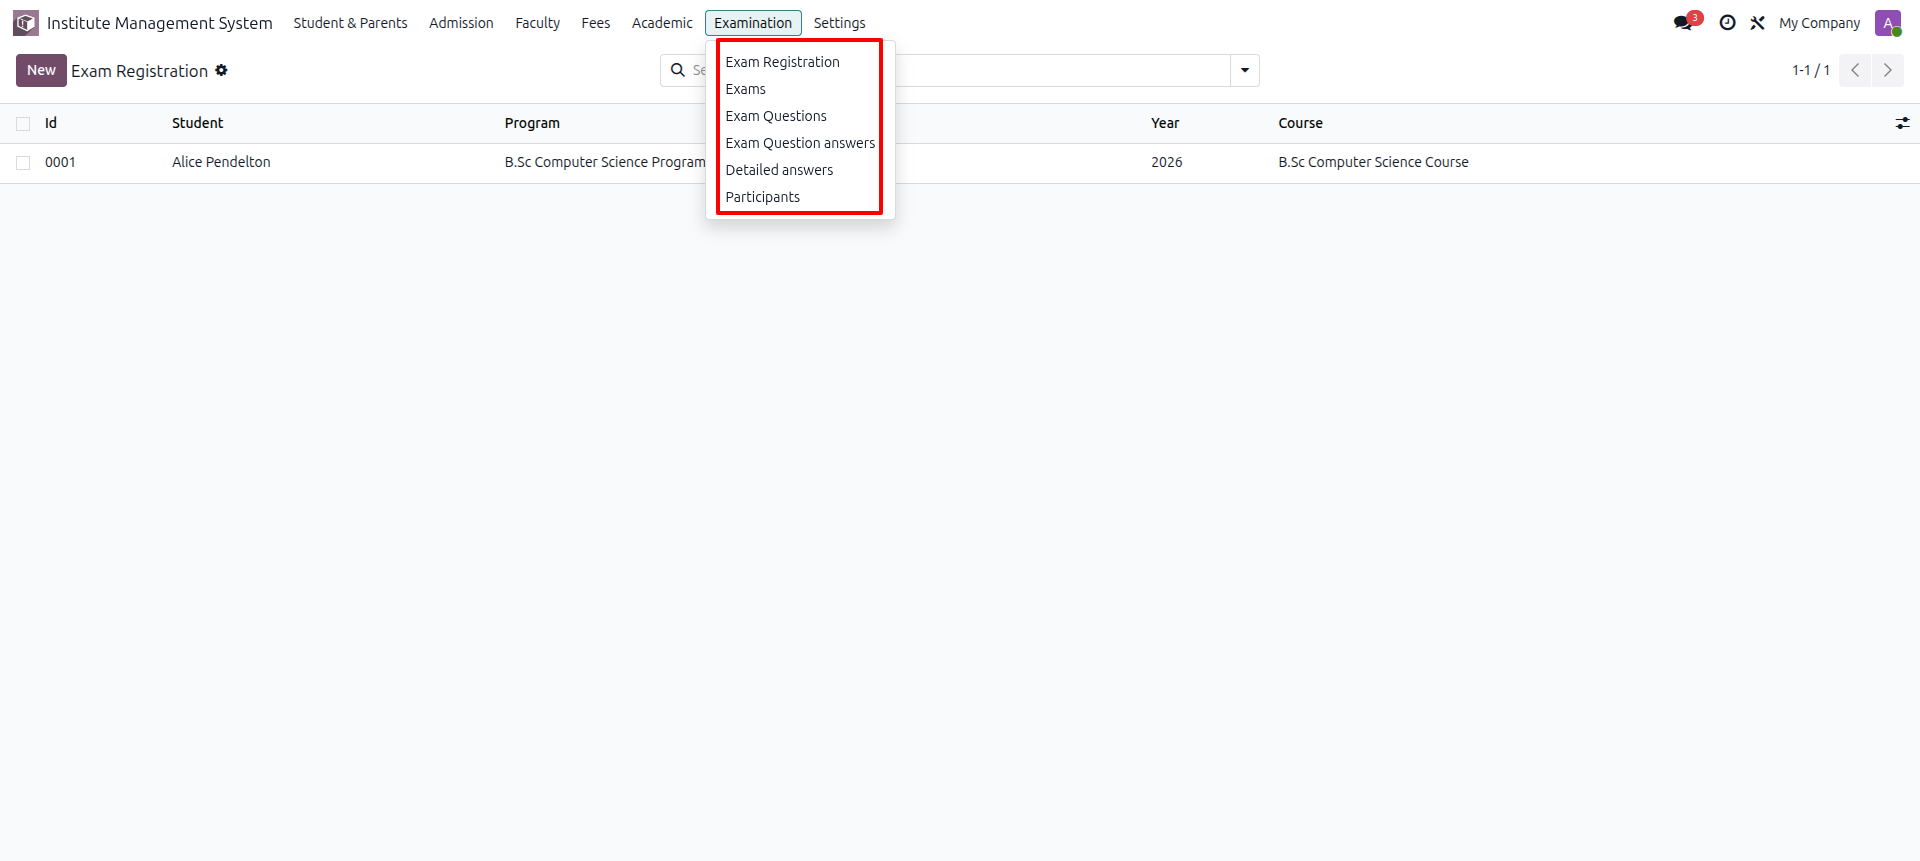
Open the Exam Registration Form View to create or manage a student's exam registration.
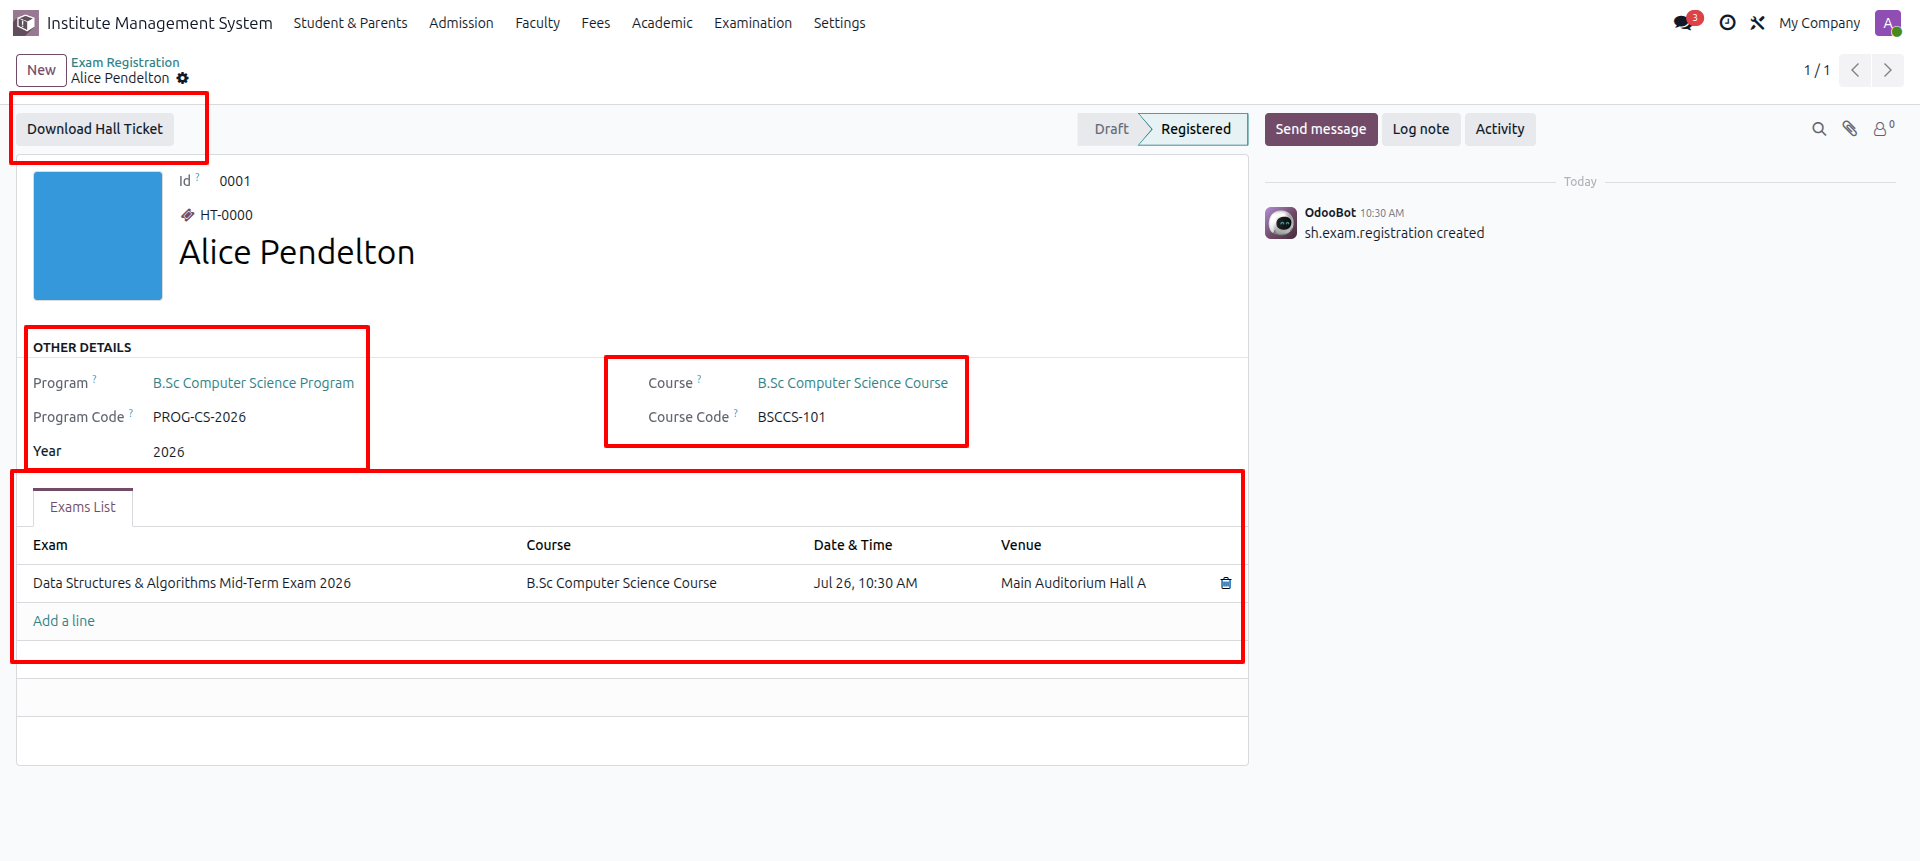
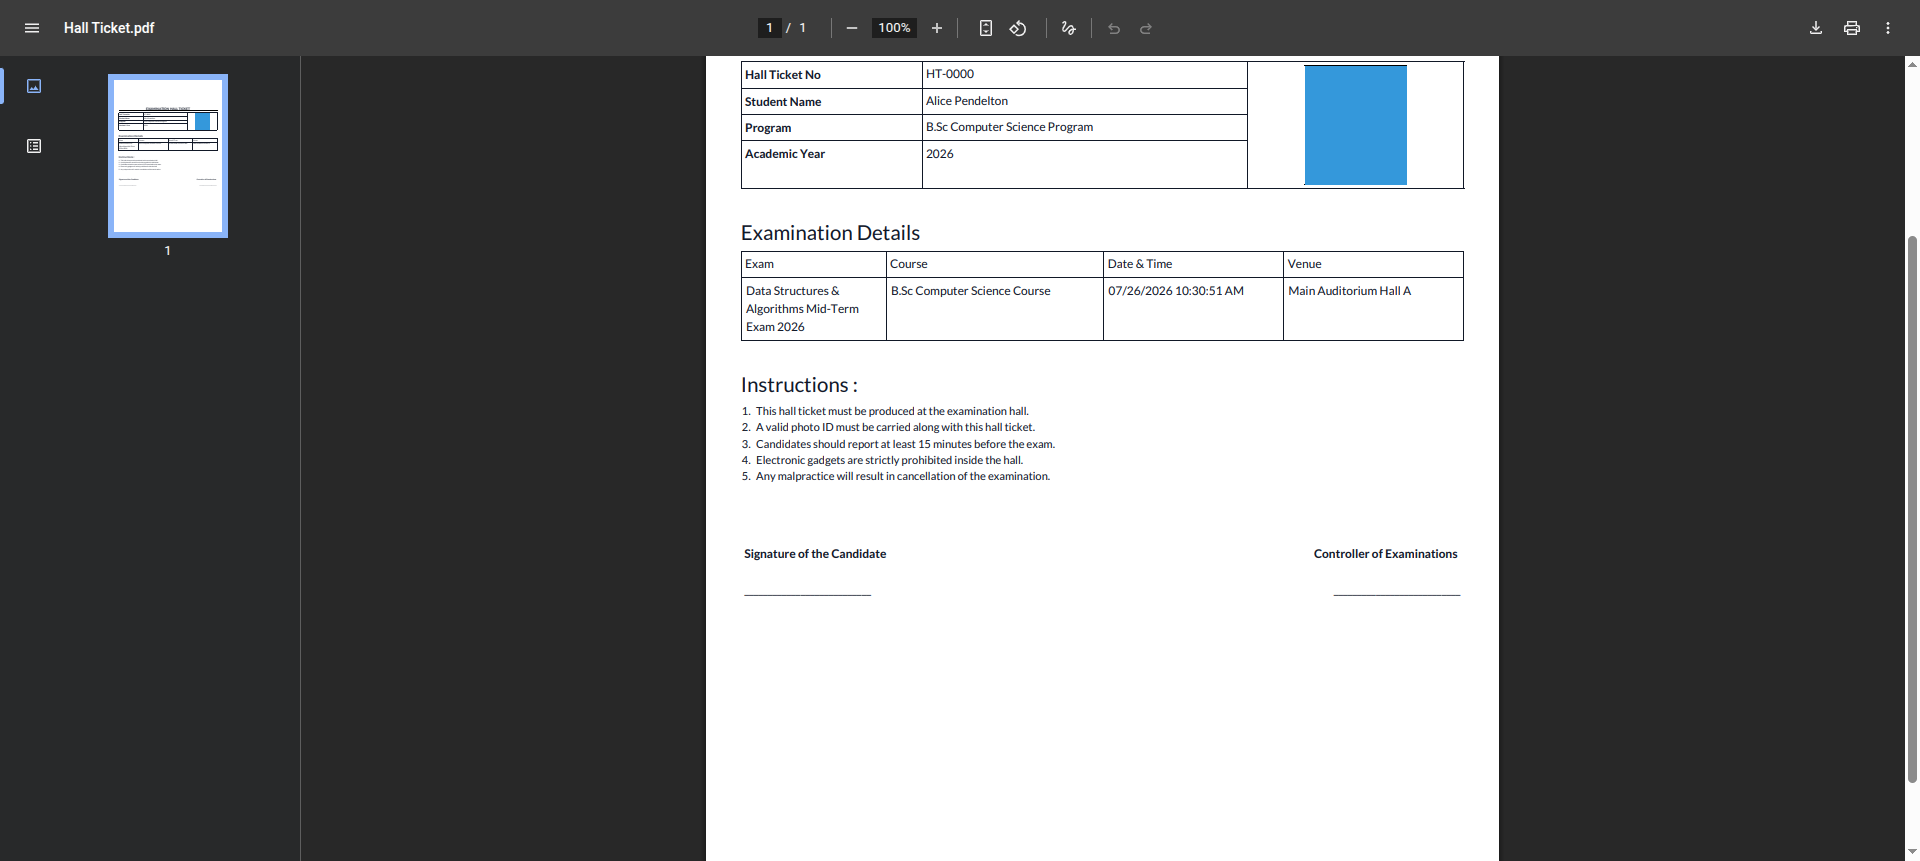
Open the Exam Registration record and click the Download Hall Ticket button to generate and download the student's Hall Ticket in PDF format.
Go to the Examinations menu and select the Exams submenu to view, create, and manage exam records.
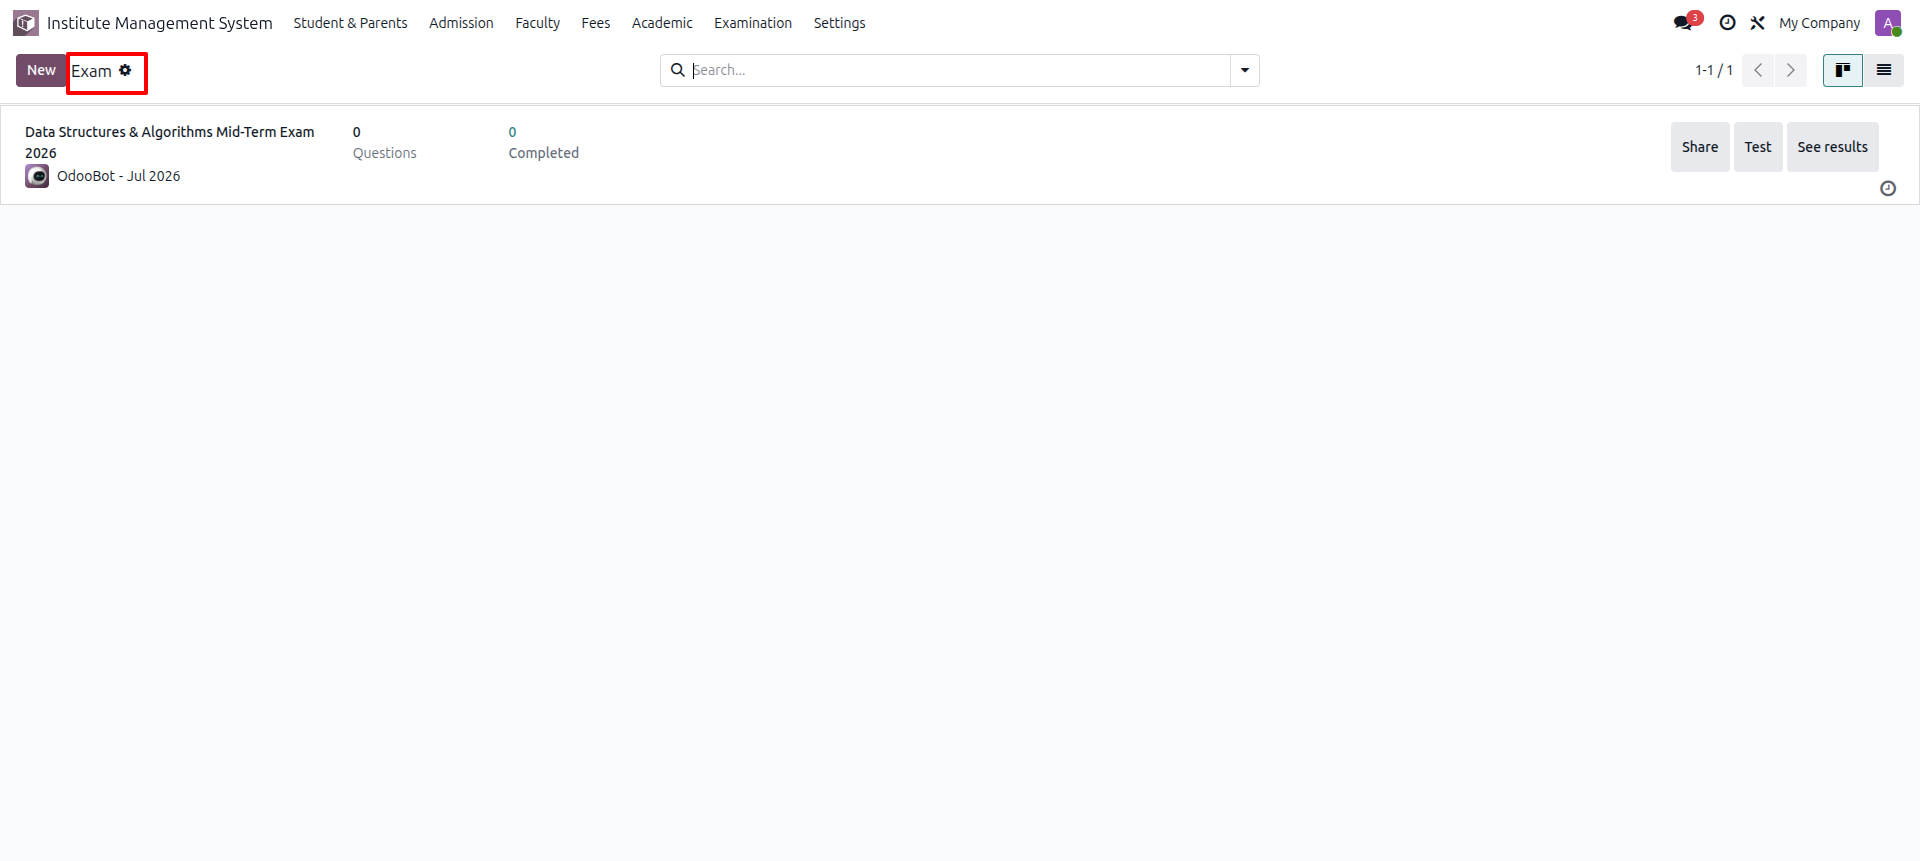
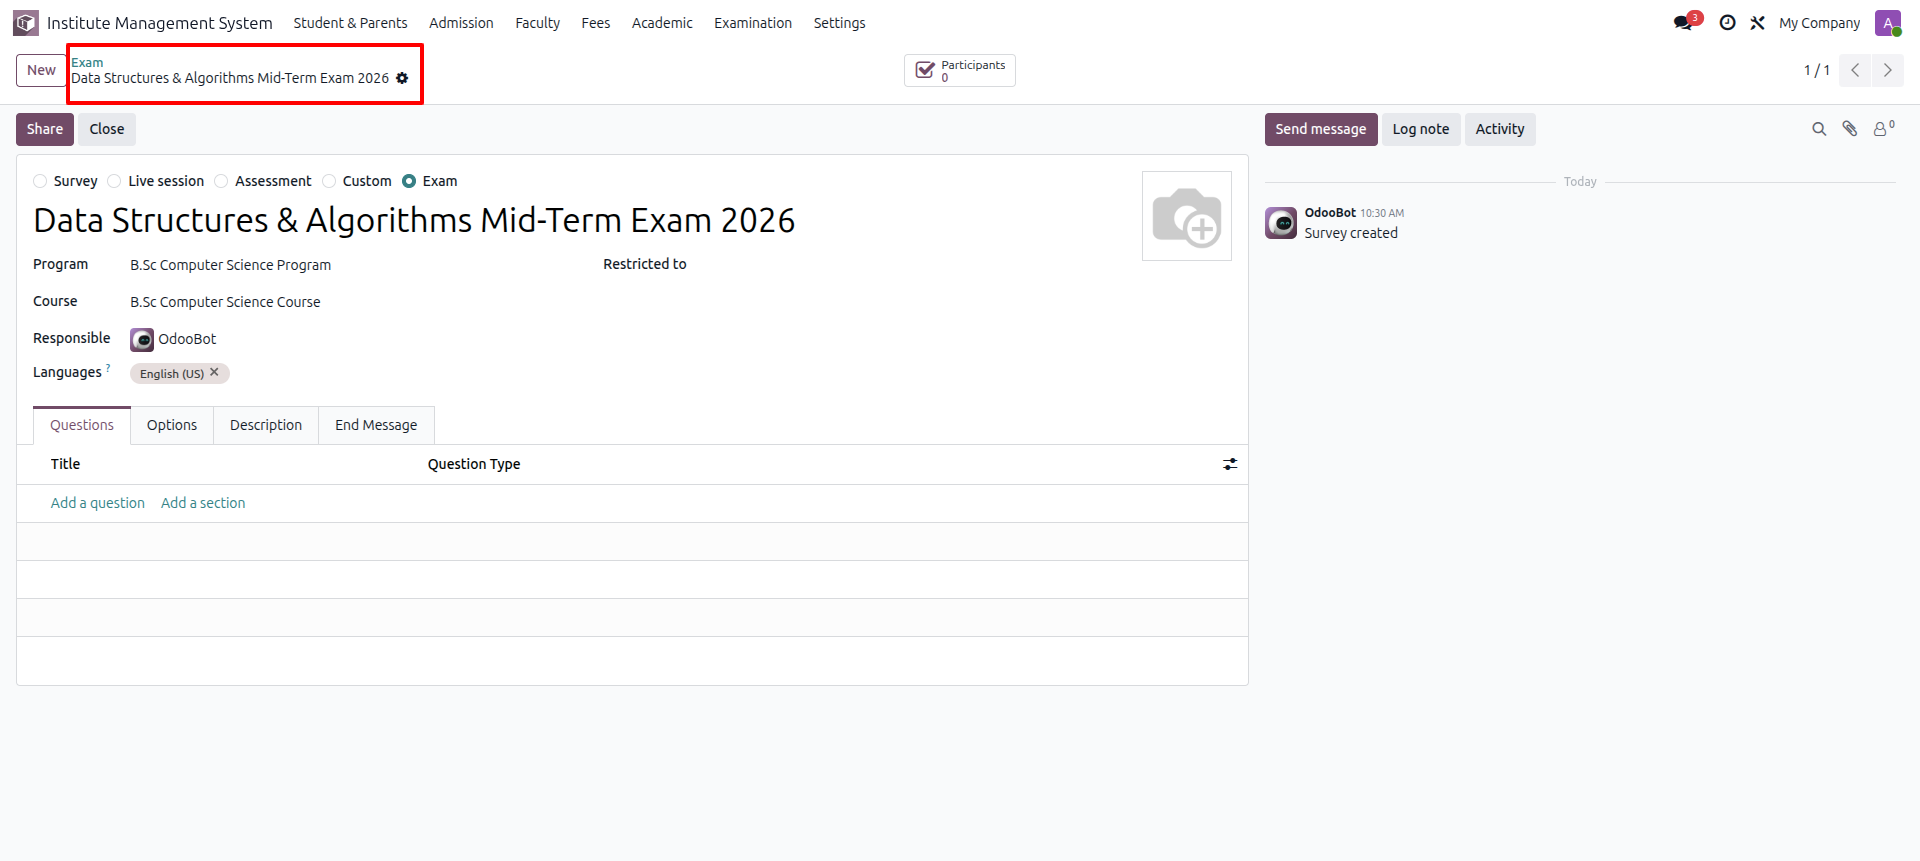
Open the Exam Form View to create or manage an exam. Users can configure details such as the Exam Name, Program, Course, Langugae, and other examination-related information.
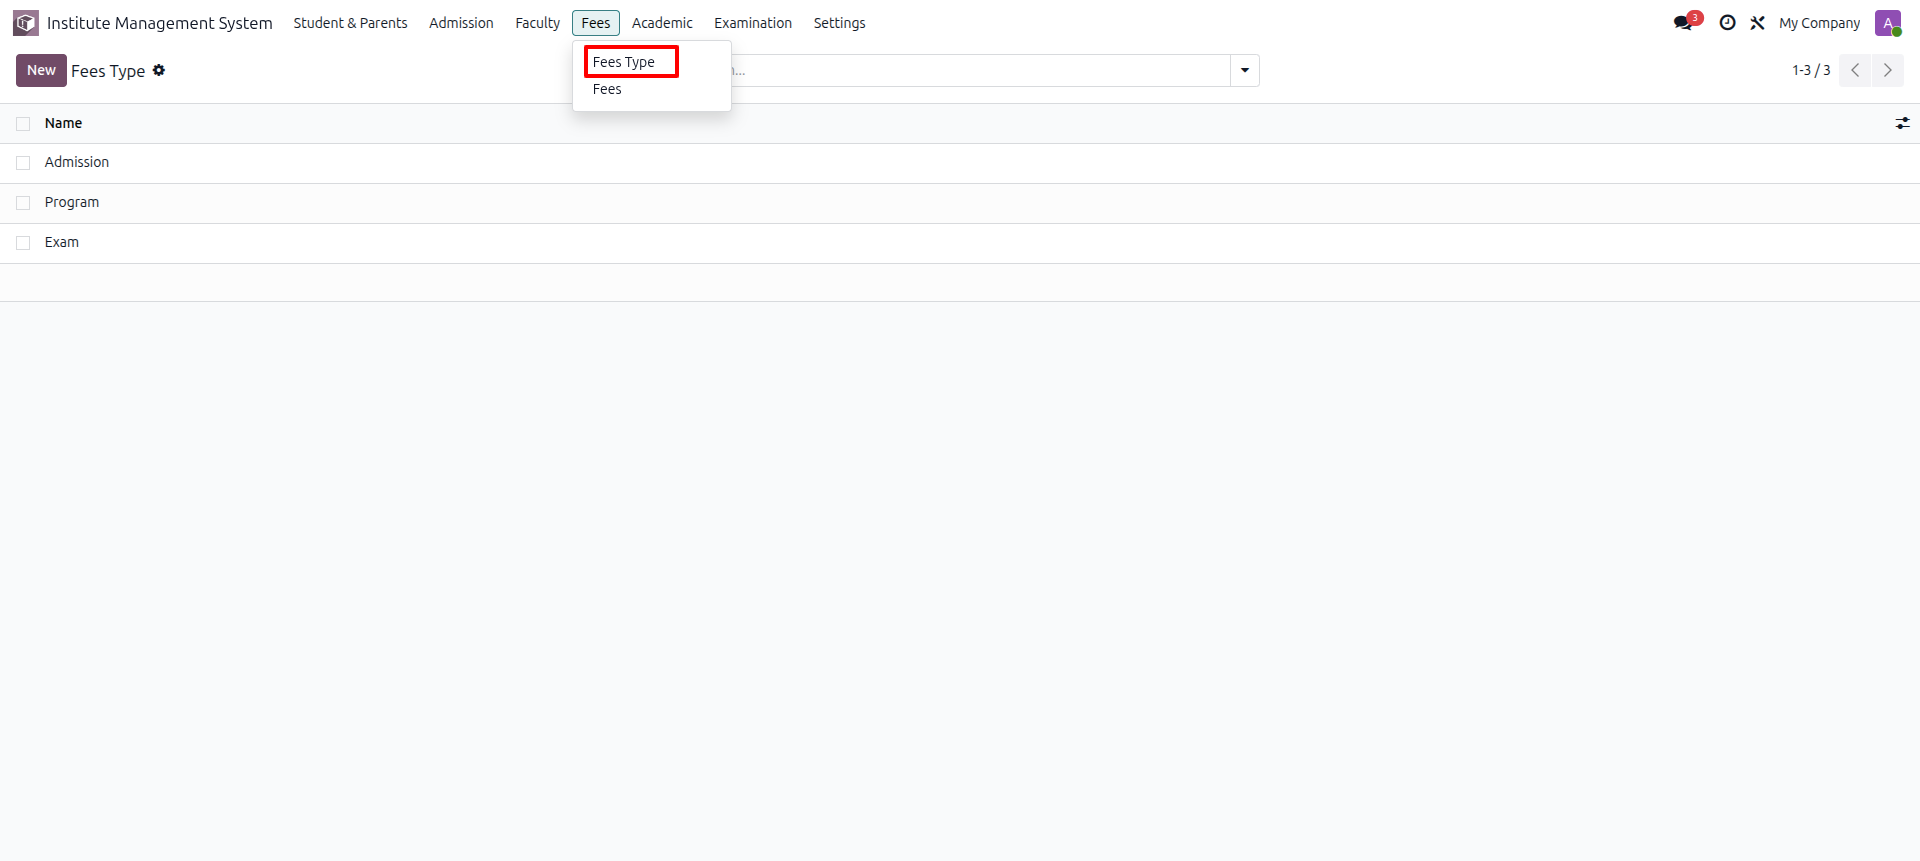
Go to the Fees menu and select the Fee Types submenu to view, create, and manage the different fee categories, such as Admission Fee, Tuition Fee, Examination Fee, and other institute-specific fee types.
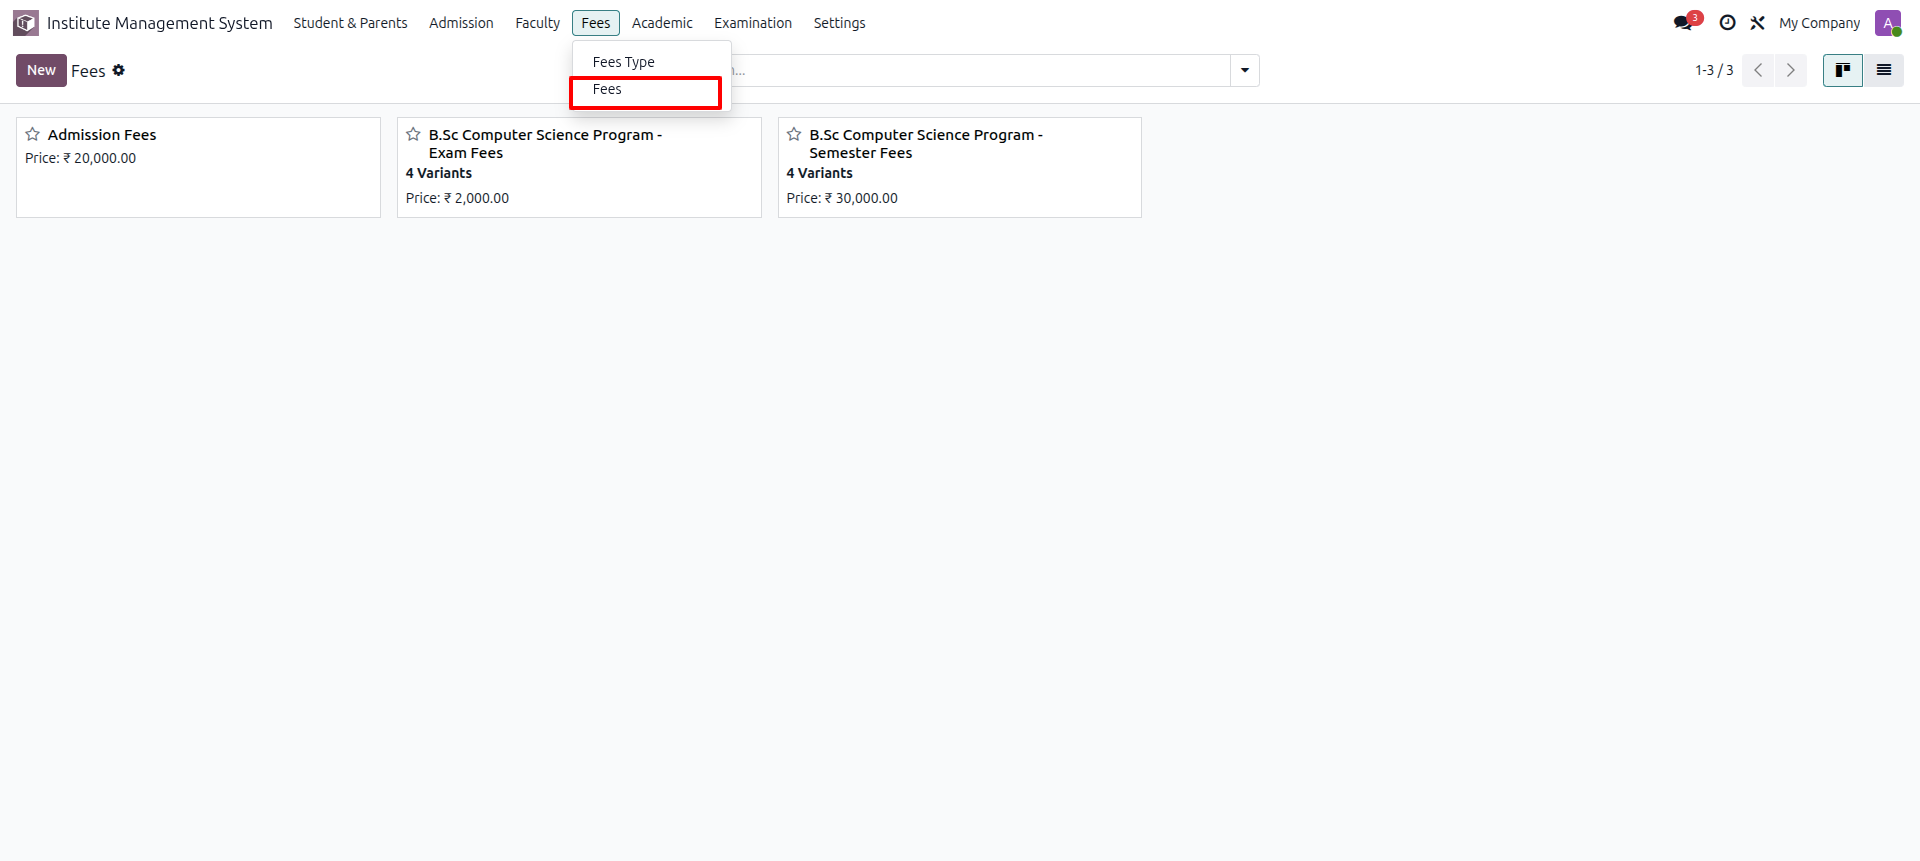
Go to the Fees menu and select the Fees submenu.
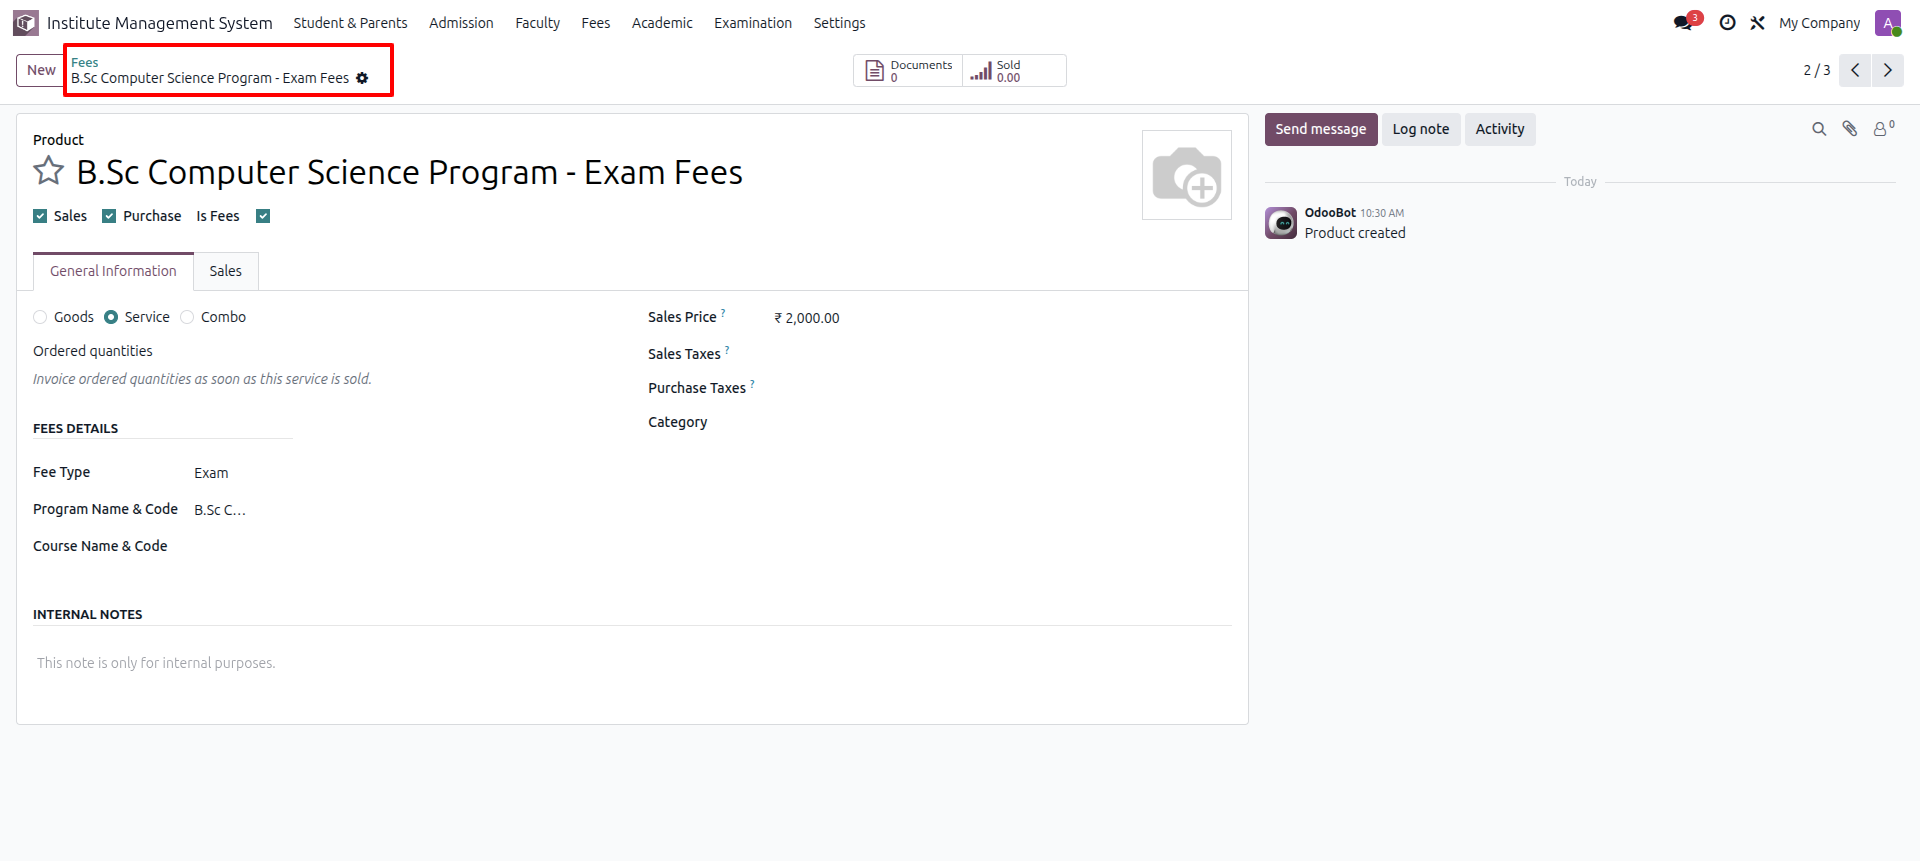
Open the Fees Form View to create or manage a student fee.
Create a Service product and enable the Is Fee checkbox.
Then configure the product to manage the fee for the selected Program and Course.
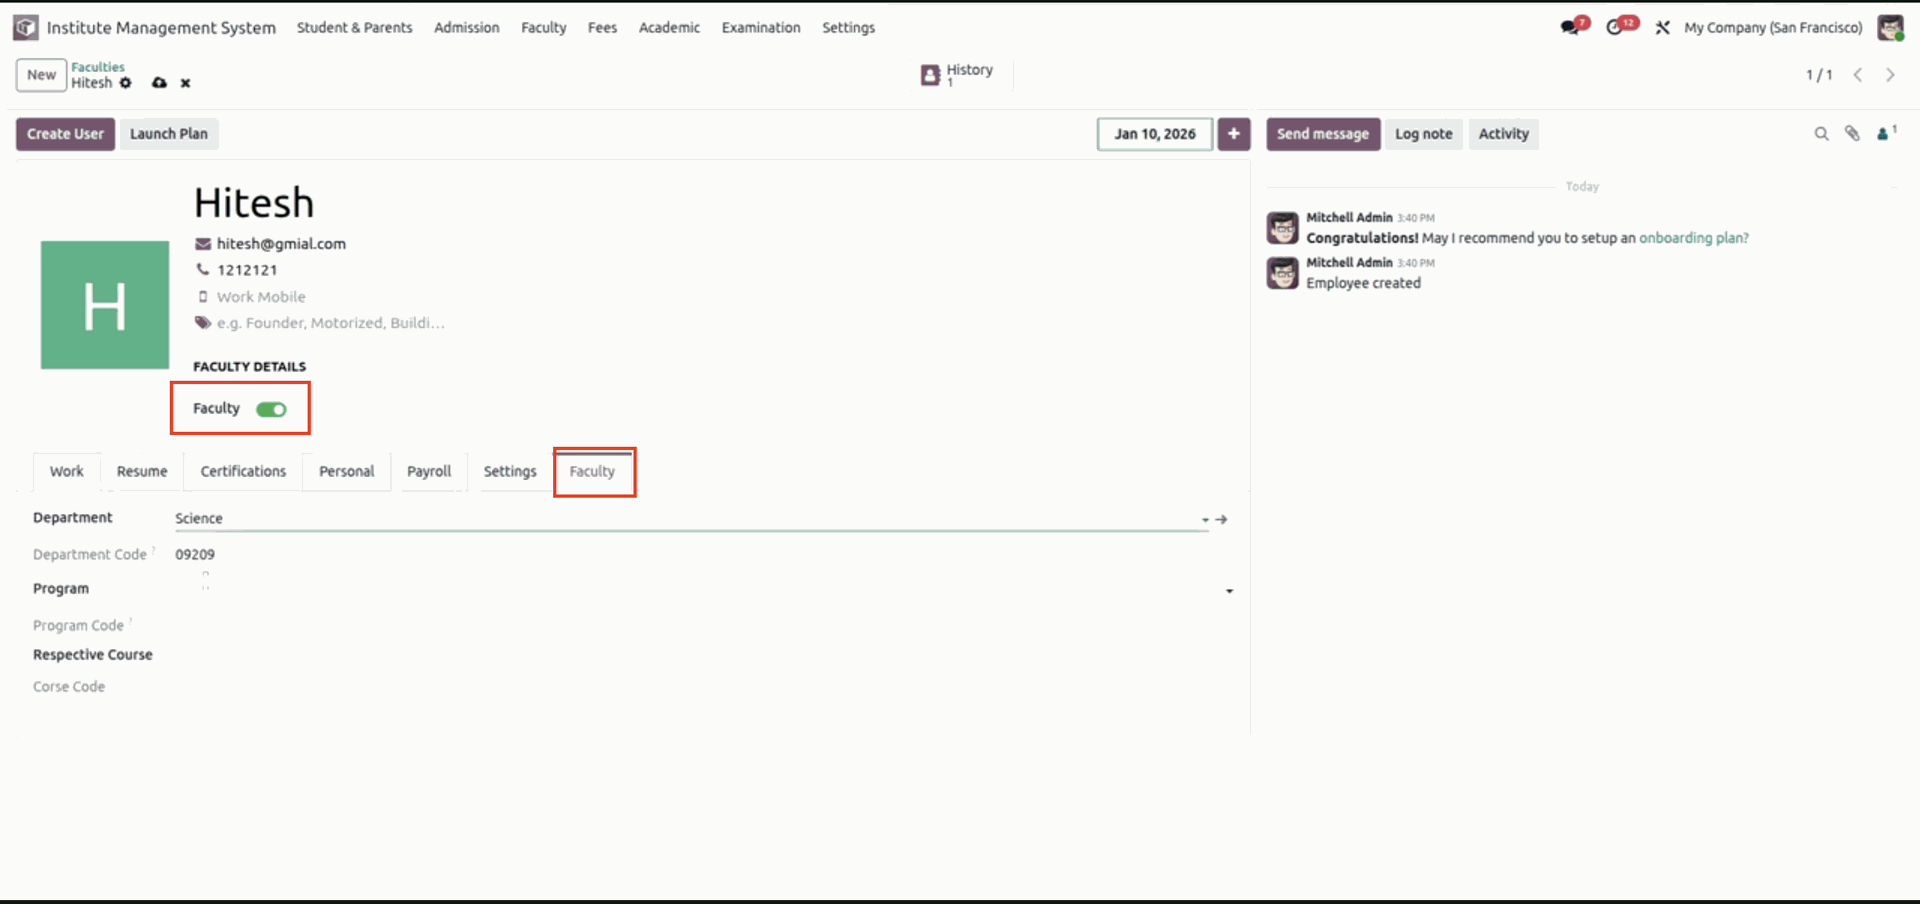
Go to the Faculty menu and open the desired Employee form. Enable the Faculty toggle button, then complete the required information under the Faculty tab, such as the Department, Program, Subjects, and any other faculty-related information.
Version 19.0.1.0.0 | Released on : 29nd July 2026
- Yes, this app works perfectly with Odoo Enterprise (Odoo.sh & Premise) as well as Community.
- No, this application is not compatible with odoo.com(odoo saas/Odoo Online)
- Yes, to test this module, please contact us at sales@softhealer.com.
- Please contact us at sales@softhealer.comto request customization.
- Yes, we provide free lifetime support for the version you purchased.
- Yes, you will receive lifetime free updates for the version of the module you purchased.
- No, there is no need to install any additional libraries.
- Yes, for version 12 and above, you need to purchase the module separately for each version you intend to use.
- No, exchanges or refunds are not allowed. Please make sure to select the correct version before purchasing.
- You can contact us at support@softhealer.com for language translation support. We use Google Translator tools to provide translations in multiple languages, so the accuracy may vary. We welcome your suggestions to help improve translations.
Discover Our Latest Apps