


Odoo Direct Print

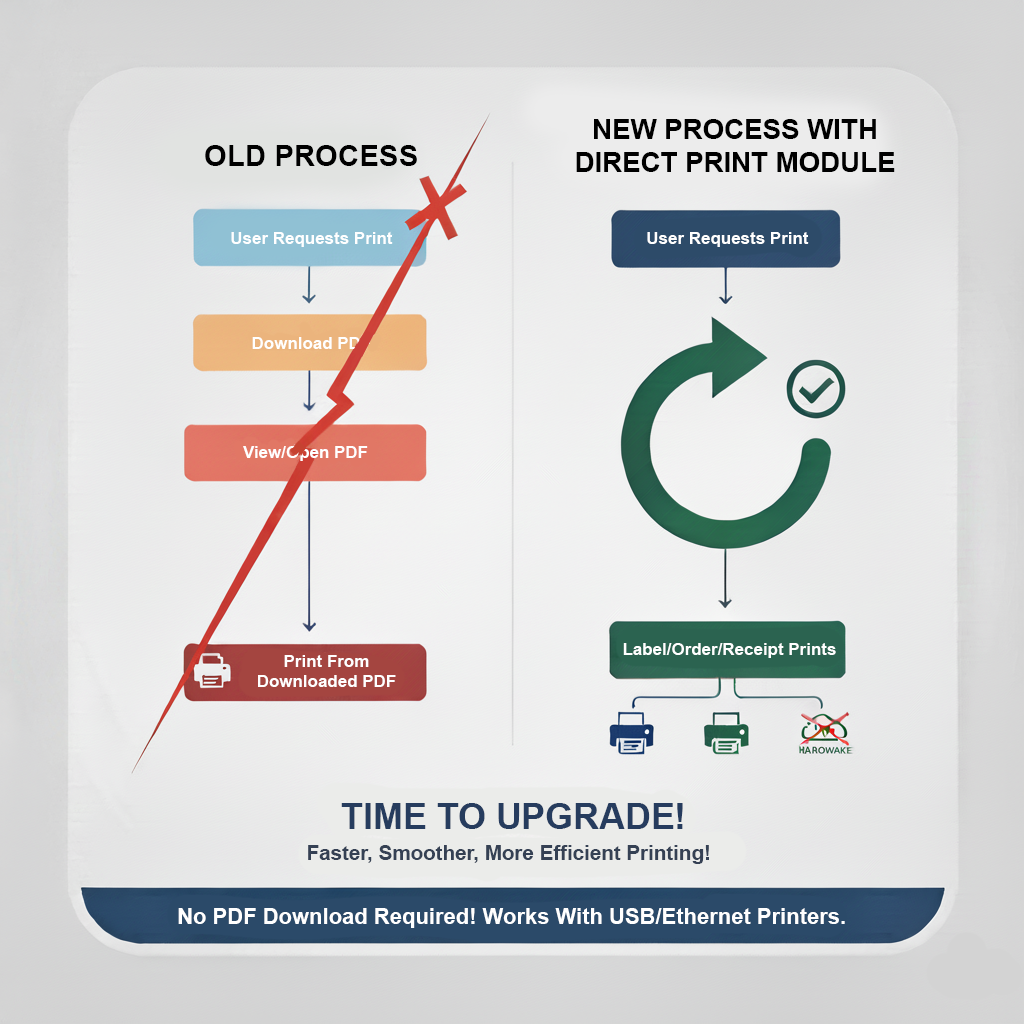
Still using the old process of downloading files before printing labels, sales orders, or receipts? It's time to leave that behind! With our module, you can print product labels, sales orders, or receipts directly, without the need to download PDFs. It works seamlessly with any printer connected to your system like Printer connected with the OOT ox ESPON printer, or more to making printing faster and hassle-free.
Related Modules
Higher Efficiency


Features
Print Any Odoo PDF (One-Click Print)
Print PDF reports and attachments in a single click without downloading.
Printer Compatibility
Works with any printer connected via USB or Ethernet, as long as it's properly configured on the user's system.

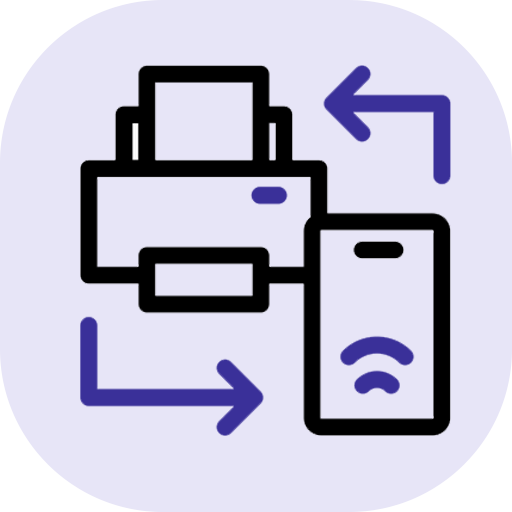
No IoT Required
No external IoT devices or hardware are needed.
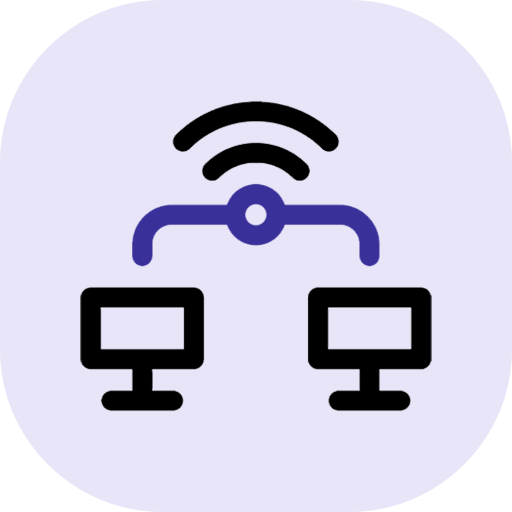
Access From Anywhere
Remote printing is possible if the printer supports Ethernet connectivity.

Supported Operating Systems
Fully compatible with Mac, Windows, and Ubuntu Linux.

No Recurring Charges
One-time setup with zero ongoing fees.

Lower Lines of Code
Optimized code leads a faster execution and smoother operations.

Strong Security for Complete Peace of Mind
Powered by Odoo's secure framework to safeguard your system, desktop app, and printer access.

Free Desktop App, No Recurring Costs
Enjoy a fully free desktop application with zero ongoing or recurring expenses. Use it anytime without subscription fees or additional charges.
Videos
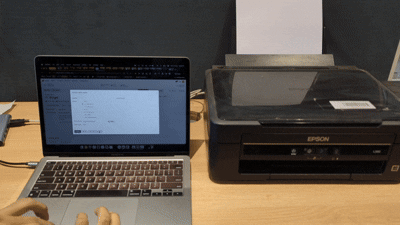
Print your Product Labels Using Normal Printer from your printer without the hassle of downloading a PDF. Make labeling faster, easier, and more efficient.
Print your Sales Orders/Quotations Using Normal Printer directly from your printer, no PDF download required. Speed up your workflow and make order management effortless.
Print Chatter Messages Using Normal Printer using a normal printer without needing to download any PDFs. Simplify your workflow and save time by printing directly from the chatter, making communication records quick, easy, and efficient to manage.
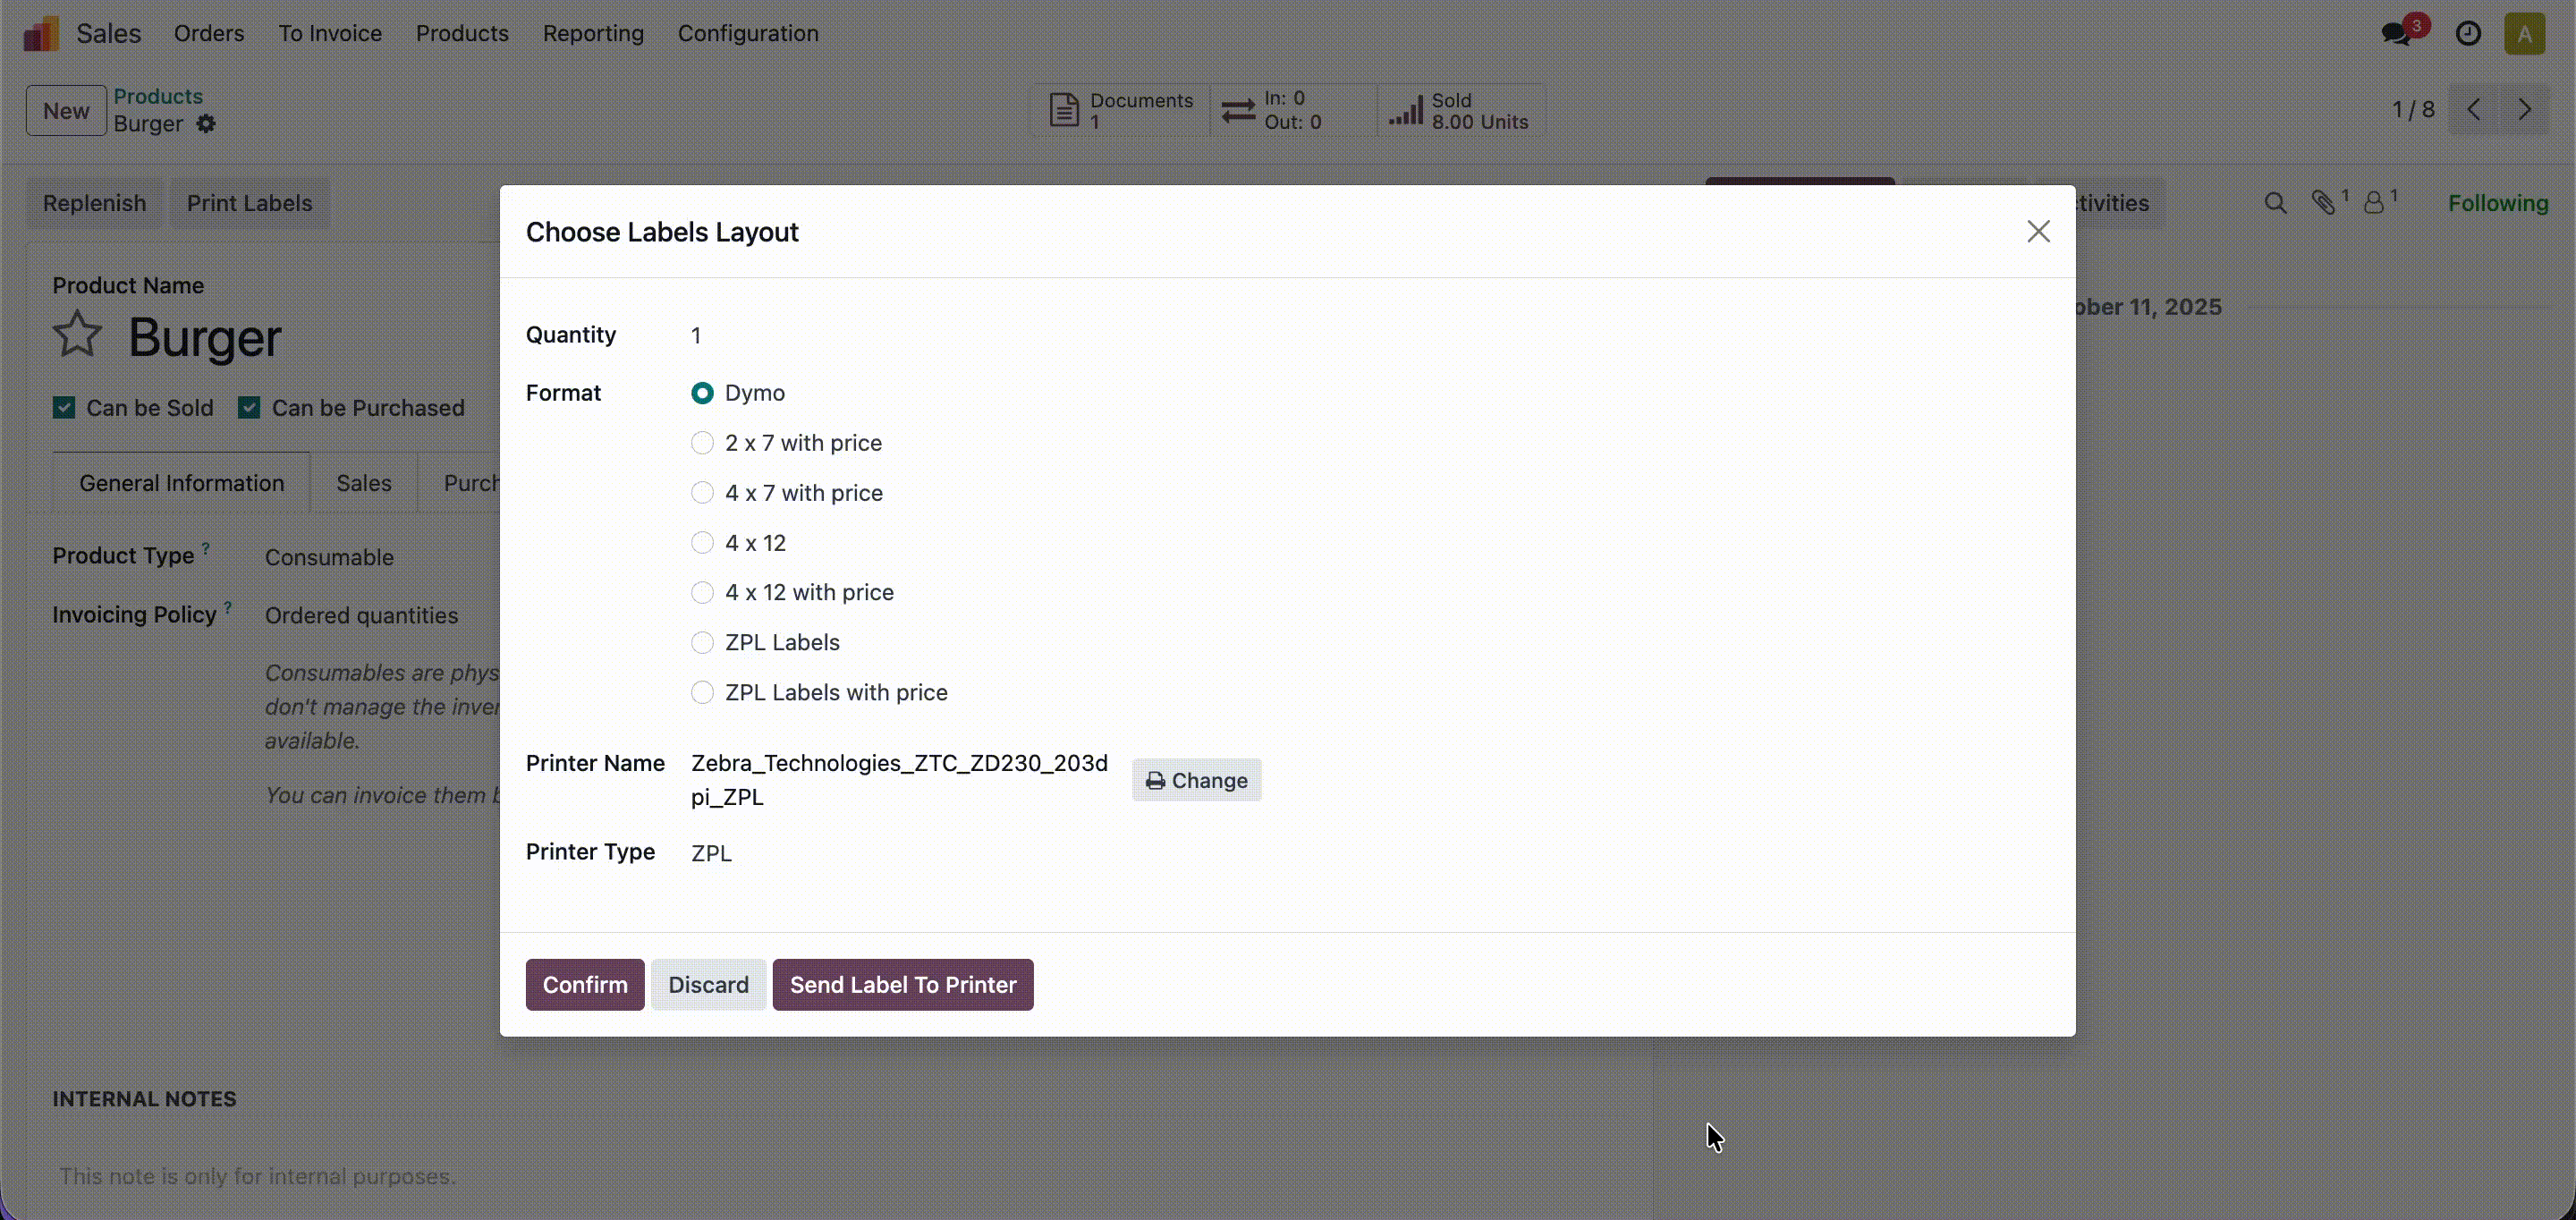
Print product labels directly from your Zebra printer, without the need to download any PDFs. Make labeling faster, simpler, and more efficient.
- Easily print product labels, sales orders, and receipts directly from Odoo.
- Skip the extra step, print without downloading PDFs.
- Effortlessly print receipts using Zebra printers.
- Easy to works with all printers like OOT, Epson, and other
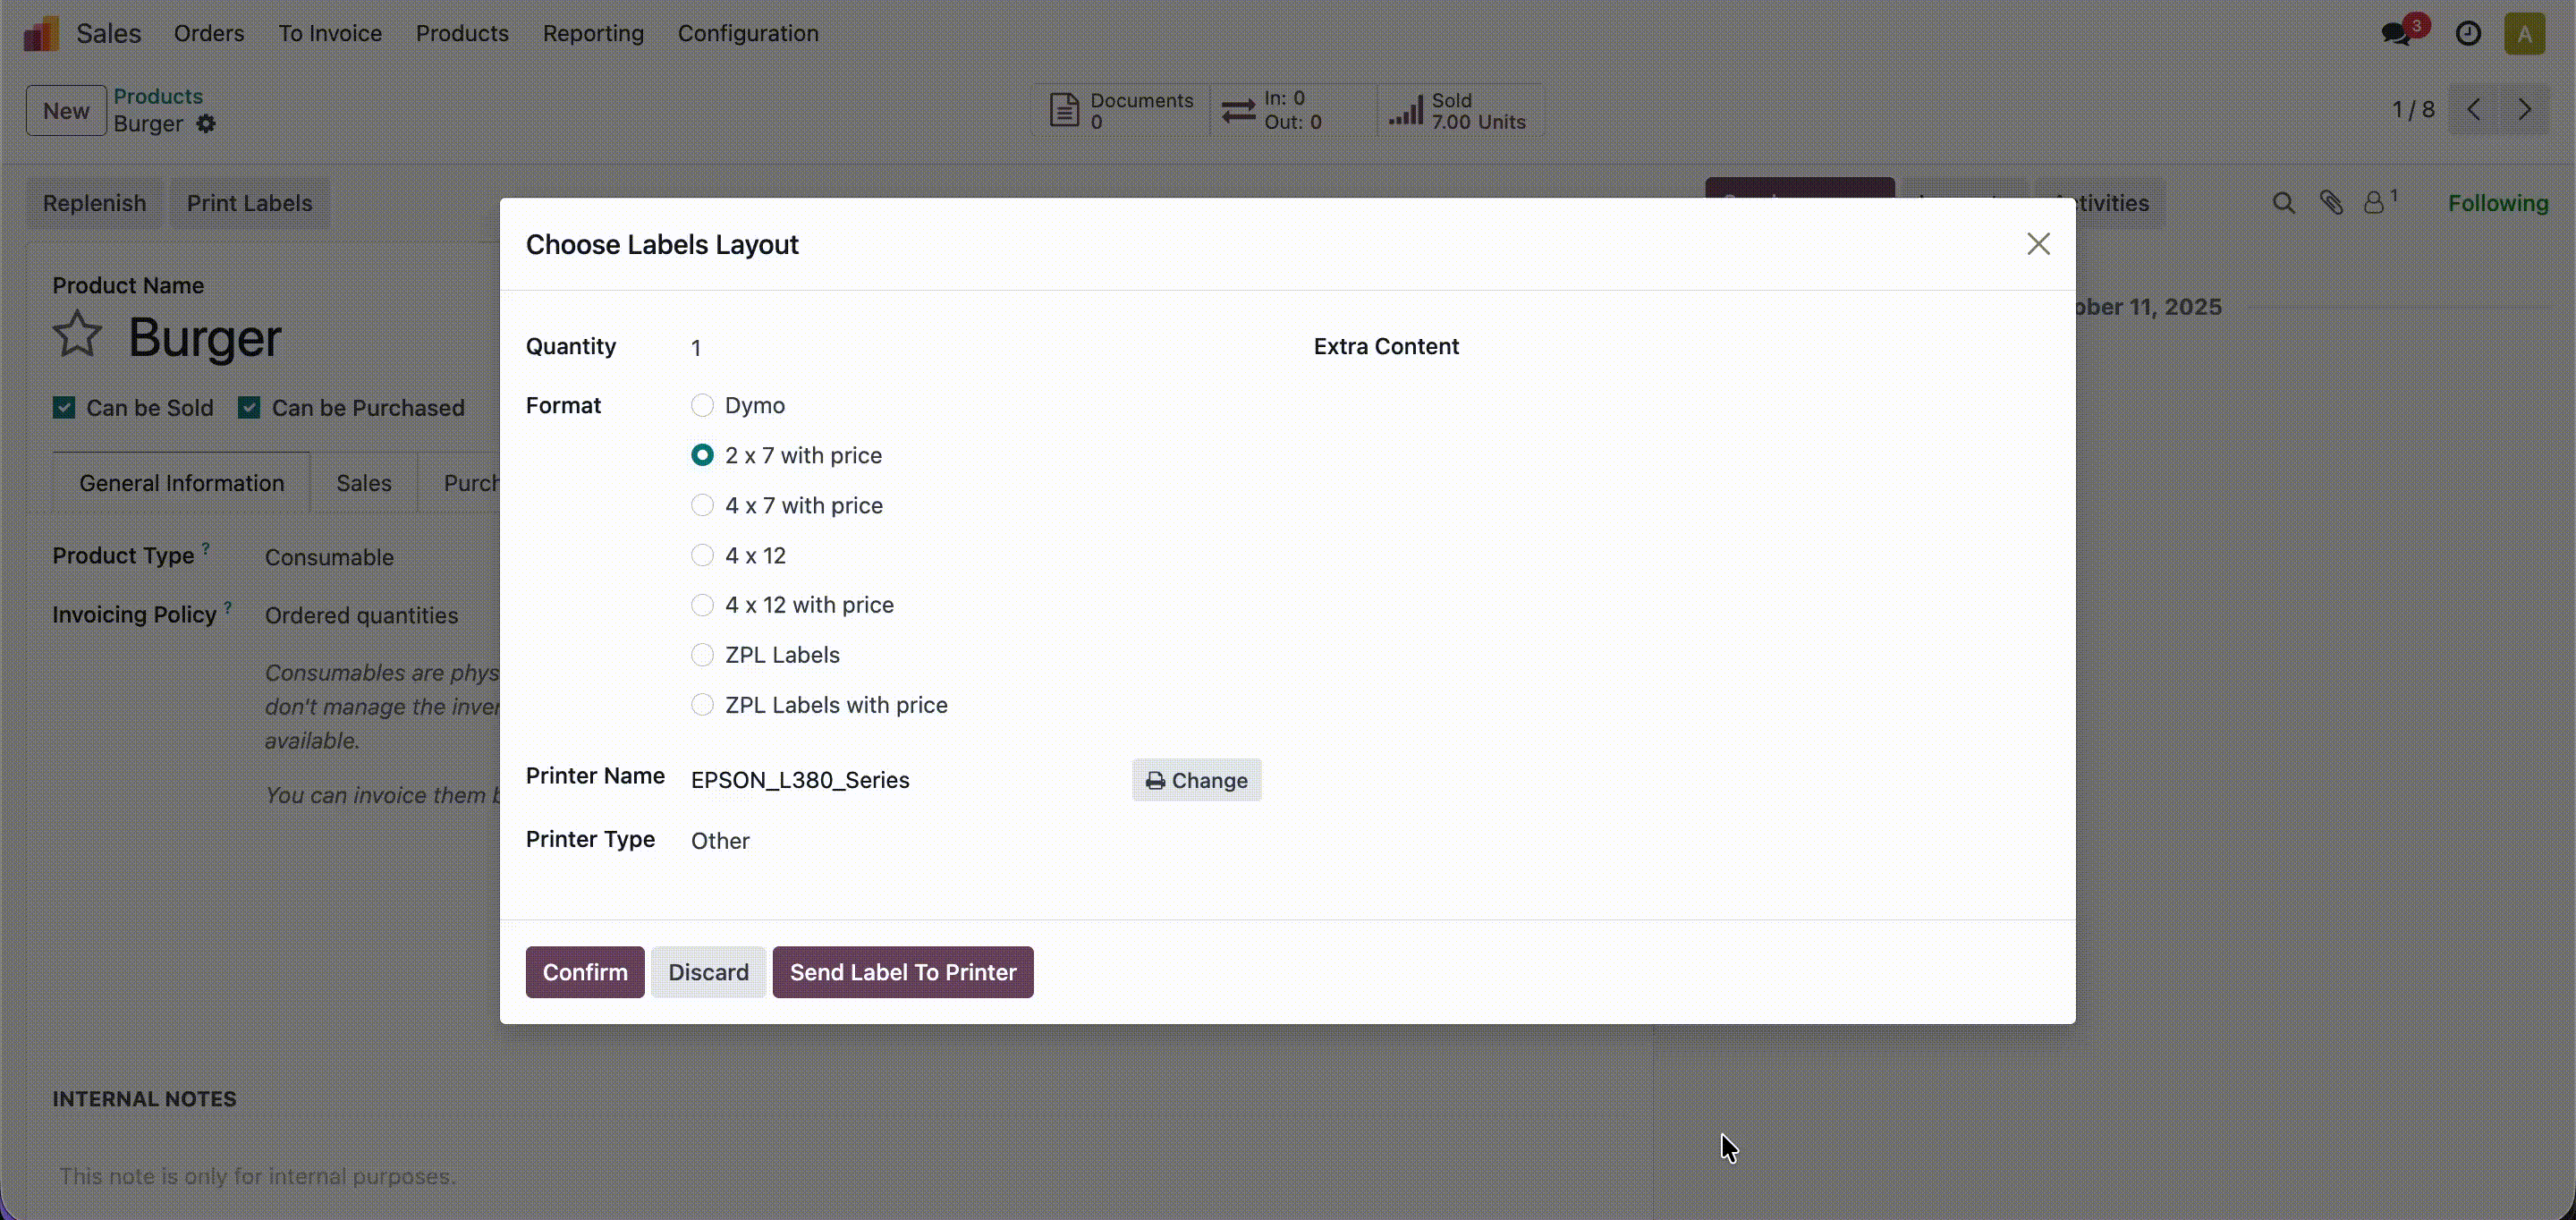
Go to the Printer settings and click on the "Change" button.
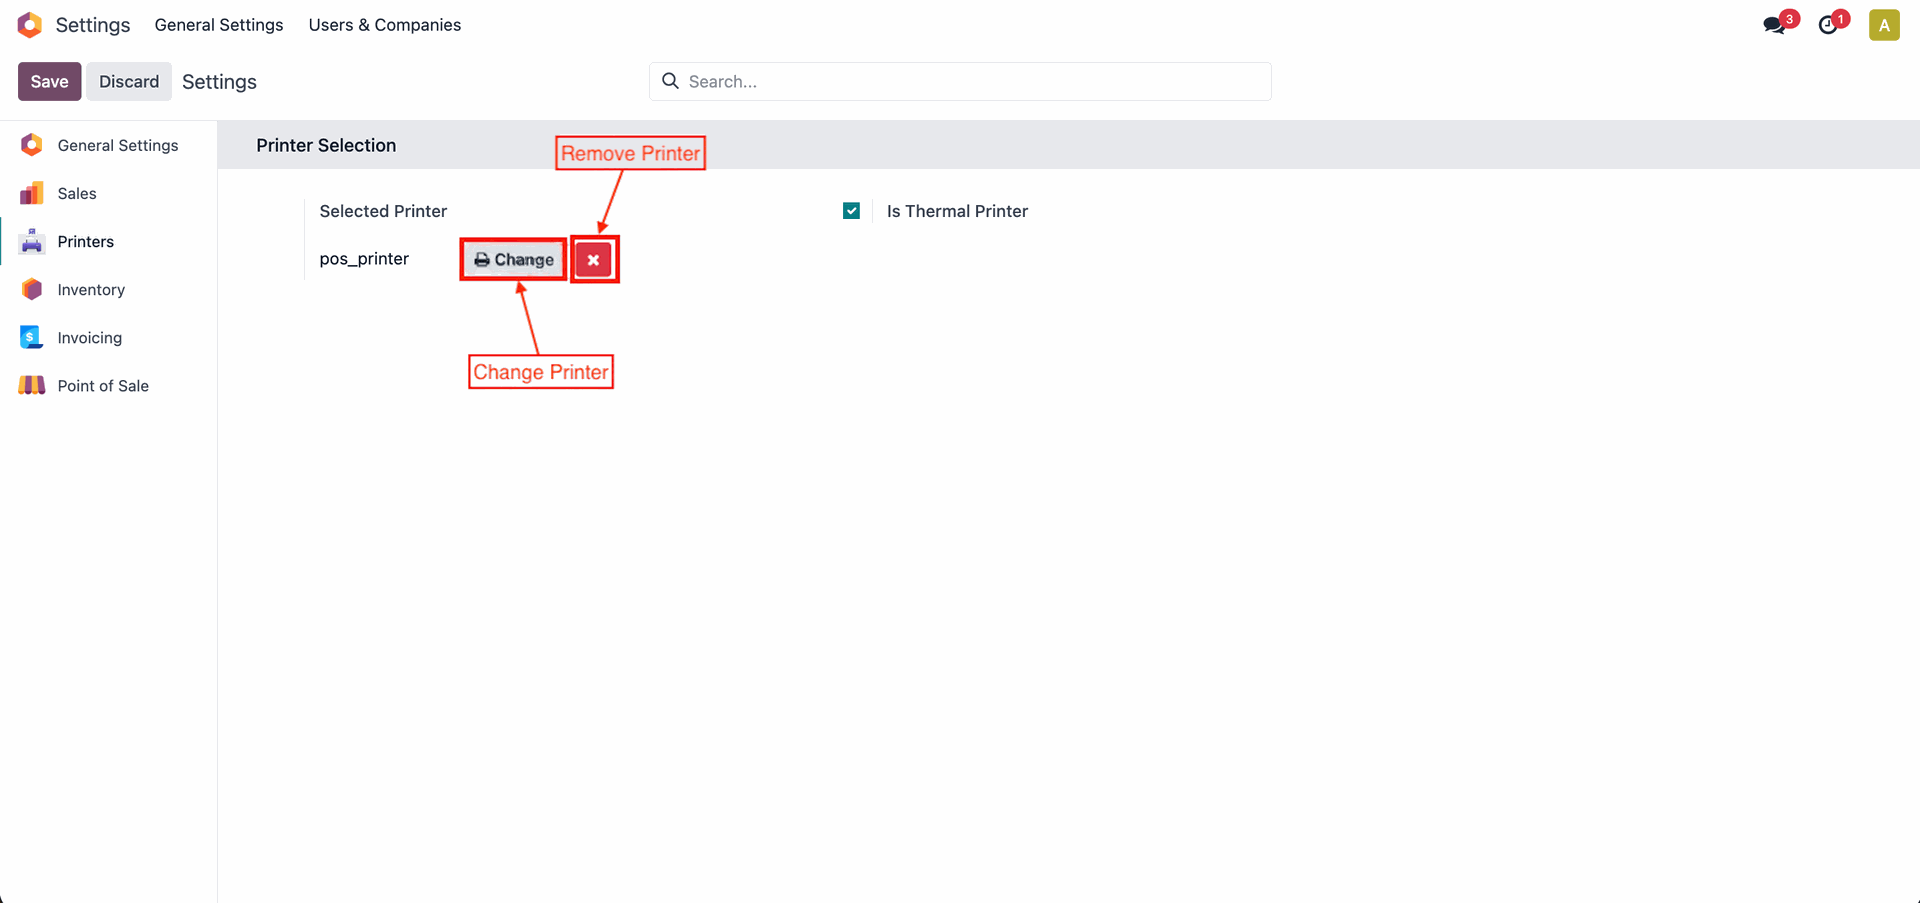
Select the printer.

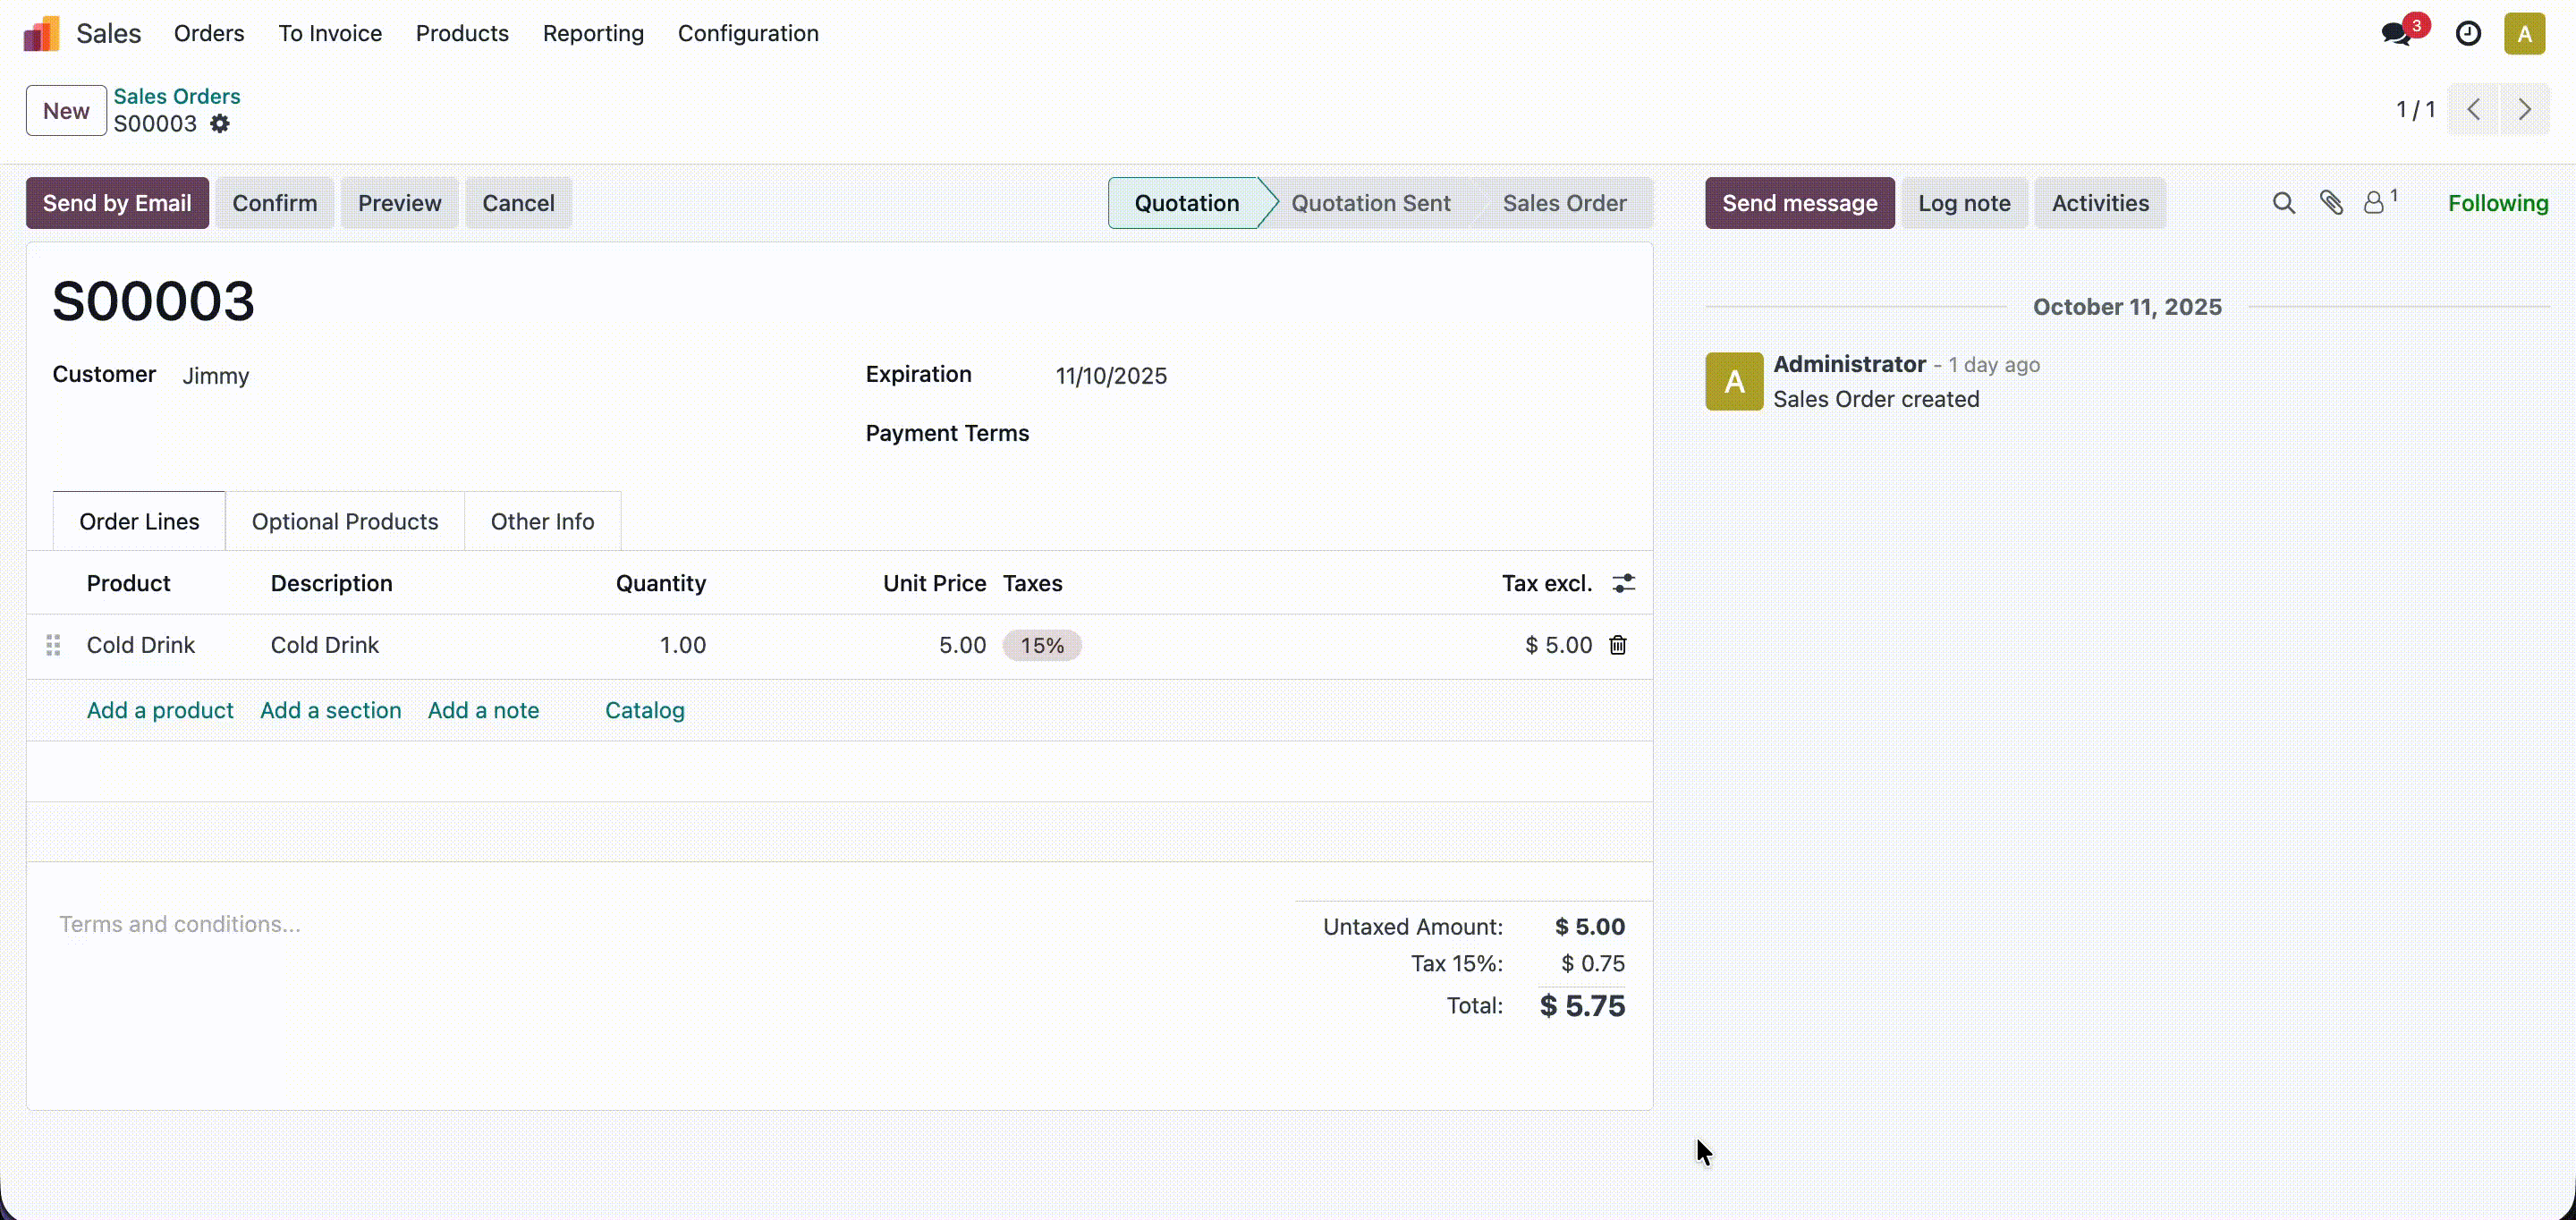
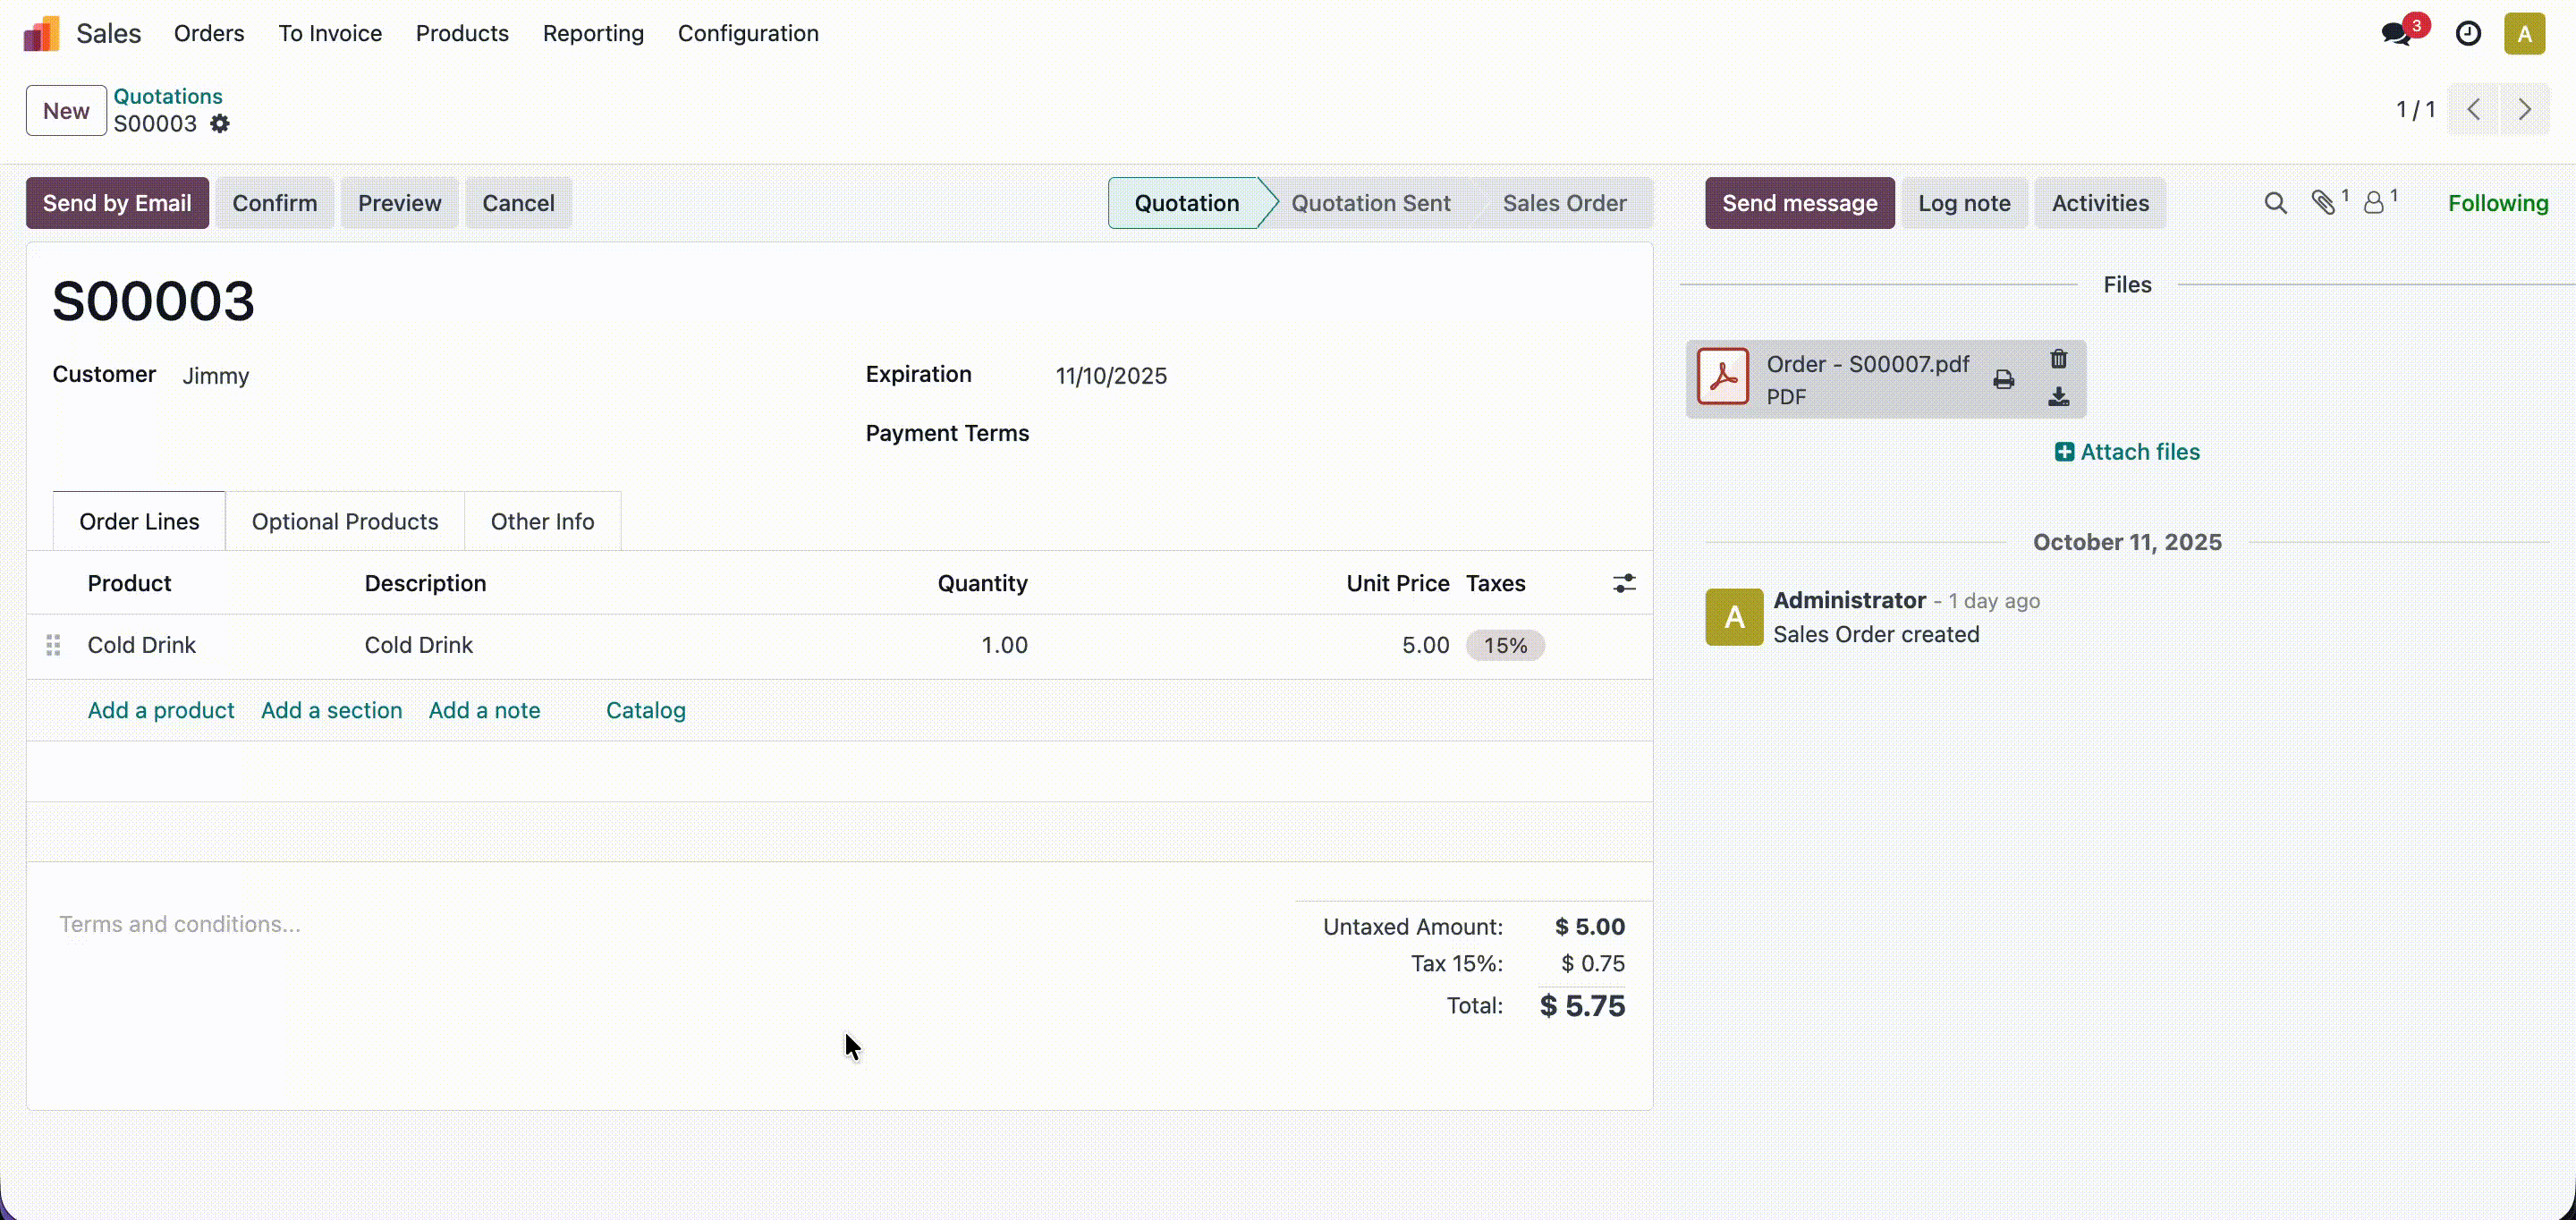
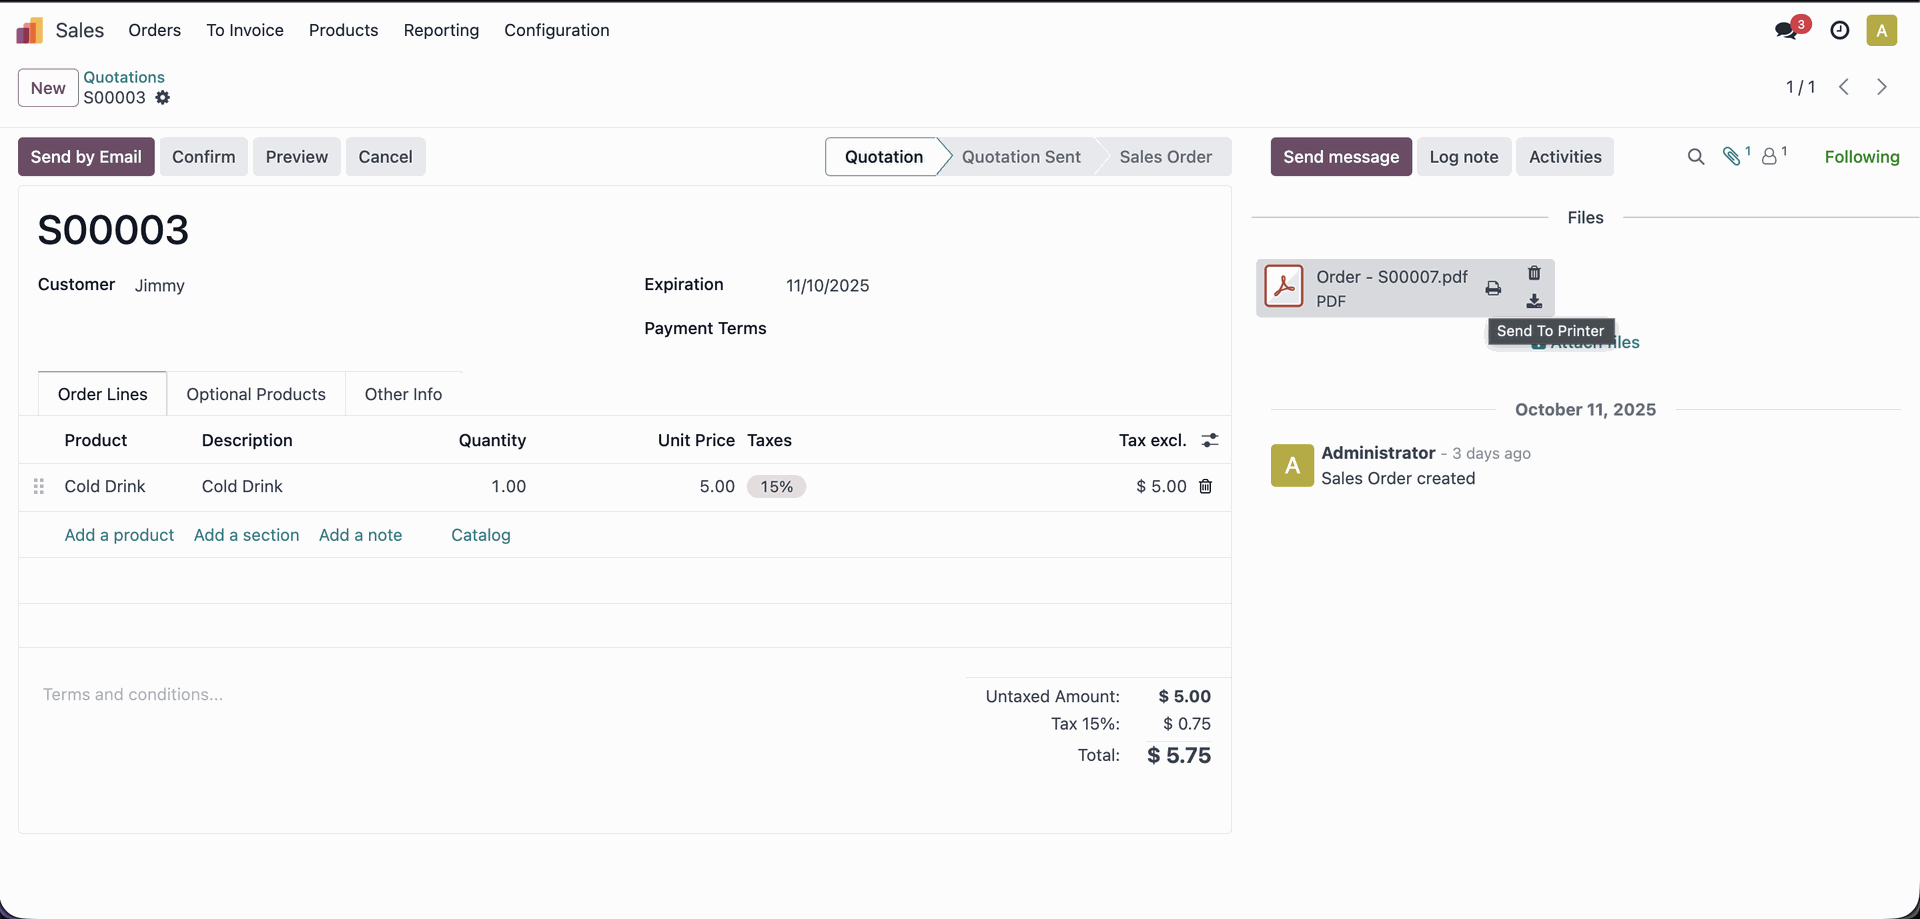
Create a Sale order/quotations and Click on the Action ==> Send to Printer ==>PDF Quote.
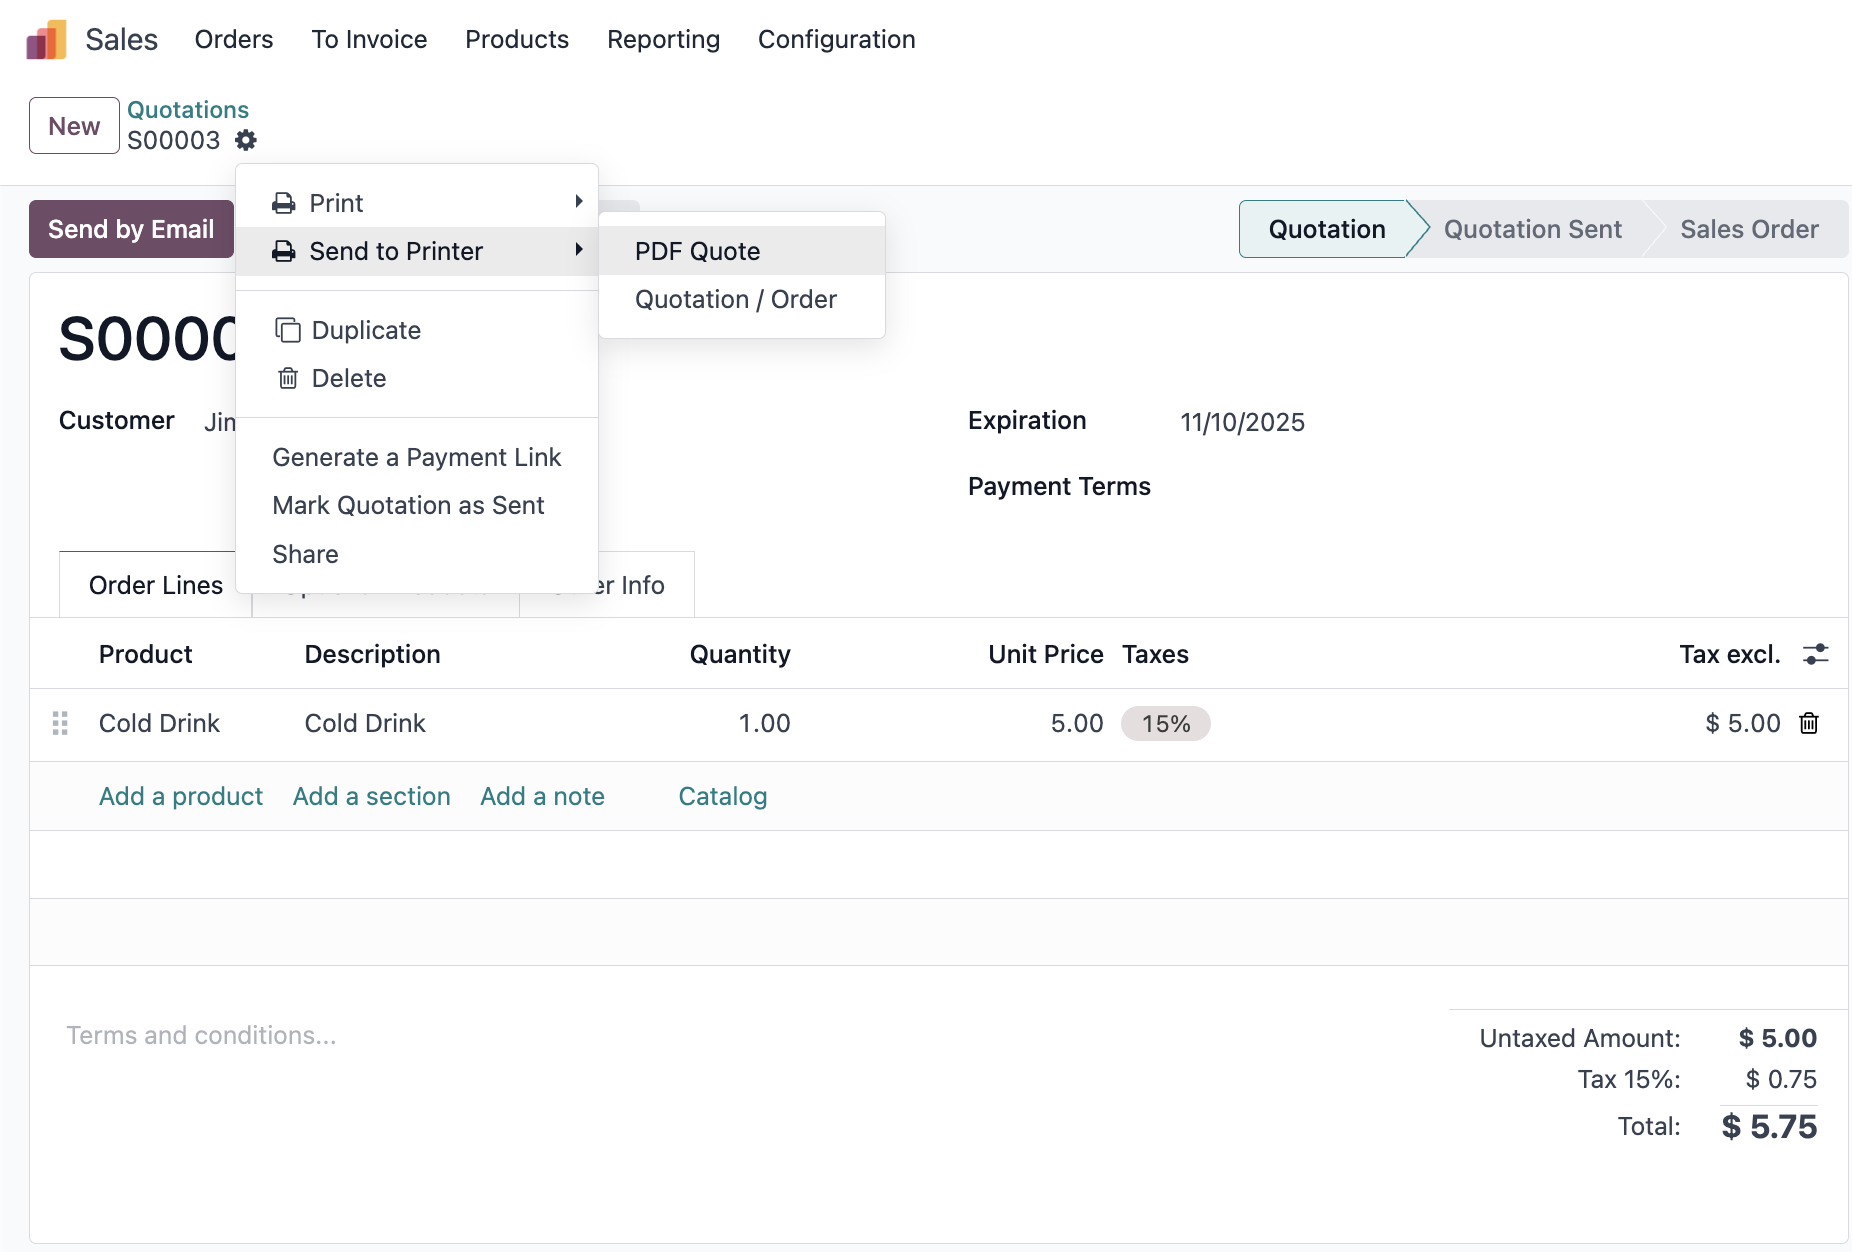
Here, you can see the generated PDF in the chatter, and when you hover your cursor over it, the “Send to Printer” will appear.
Version 17.0.1 | Released on : 8th November 2025
- Yes, this app works perfectly with Odoo Enterprise (Odoo.sh & Premise) as well as Community.
- No, this application is not compatible with odoo.com(odoo saas/Odoo Online)
- Yes, to test this module, please contact us at sales@softhealer.com.
- Please contact us at sales@softhealer.com to request customization.
- Yes, we provide free support for 365 days from the date of purchase.
- Yes, you will receive lifetime free updates for the version of the module you purchased.
- No, there is no need to install any additional libraries.
- Yes, for version 12 and above, you need to purchase the module separately for each version you intend to use.
- No, exchanges or refunds are not allowed. Please make sure to select the correct version before purchasing.
- You can contact us at support@softhealer.com for language translation support. We use Google Translator tools to provide translations in multiple languages, so the accuracy may vary. We welcome your suggestions to help improve translations.
